Deploy AWS User Management Application on Windows Server
Deploying the AWS User Management Application on Windows Server 2025
ℹ️ Information: This guide walks you through deploying a Node.js-based user management application on Windows Server 2025. The application uses Express.js as the web framework, Handlebars for templating, and MySQL for data storage, providing a complete CRUD interface for managing AWS user information.
Setting Up the Node.js Project
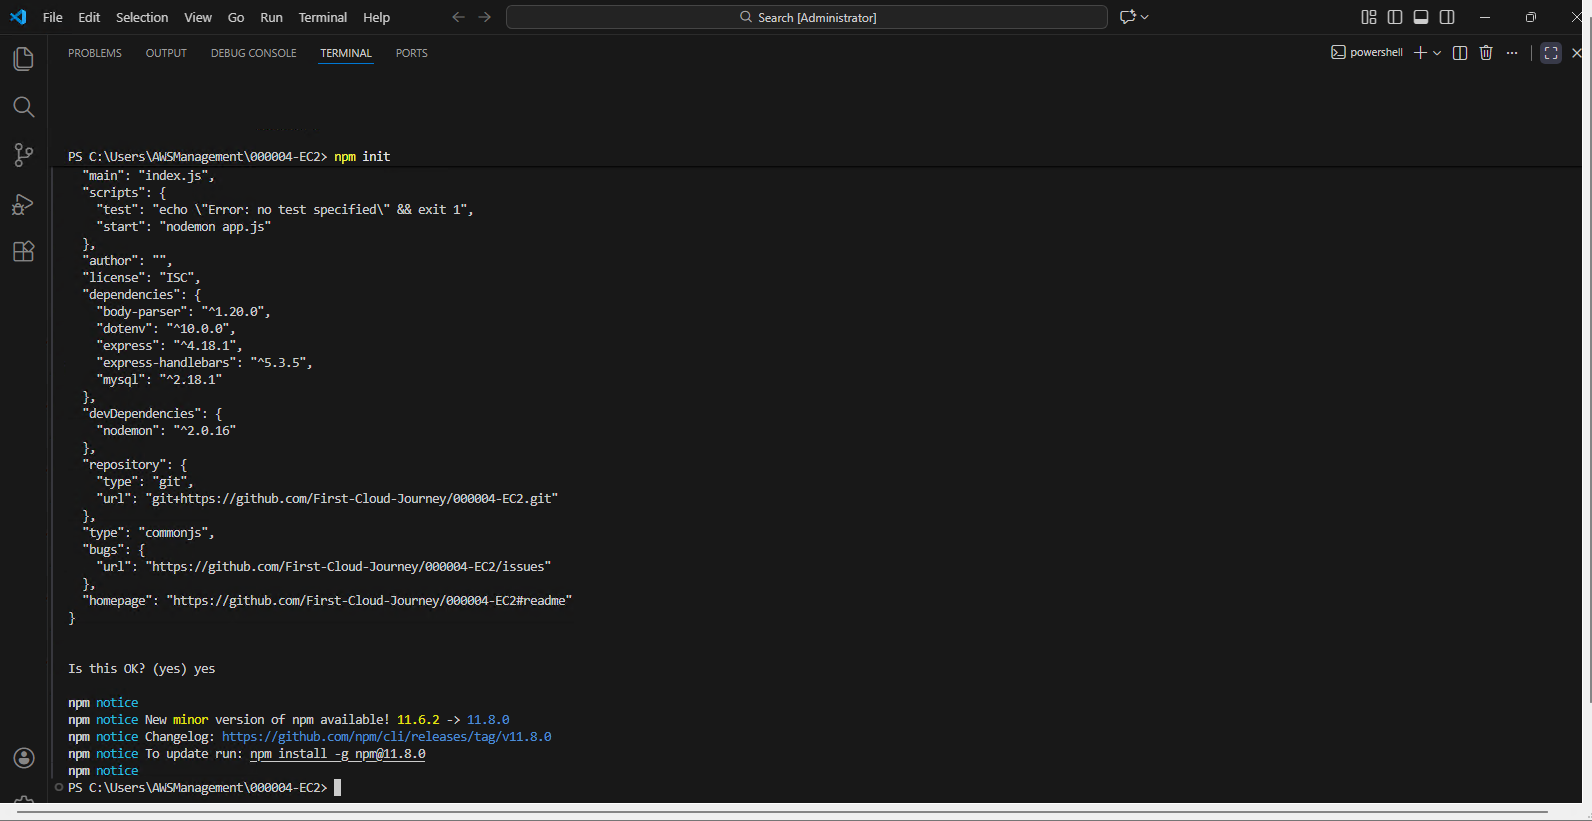
Initialize the Node.js project using NPM (Node Package Manager):
npm init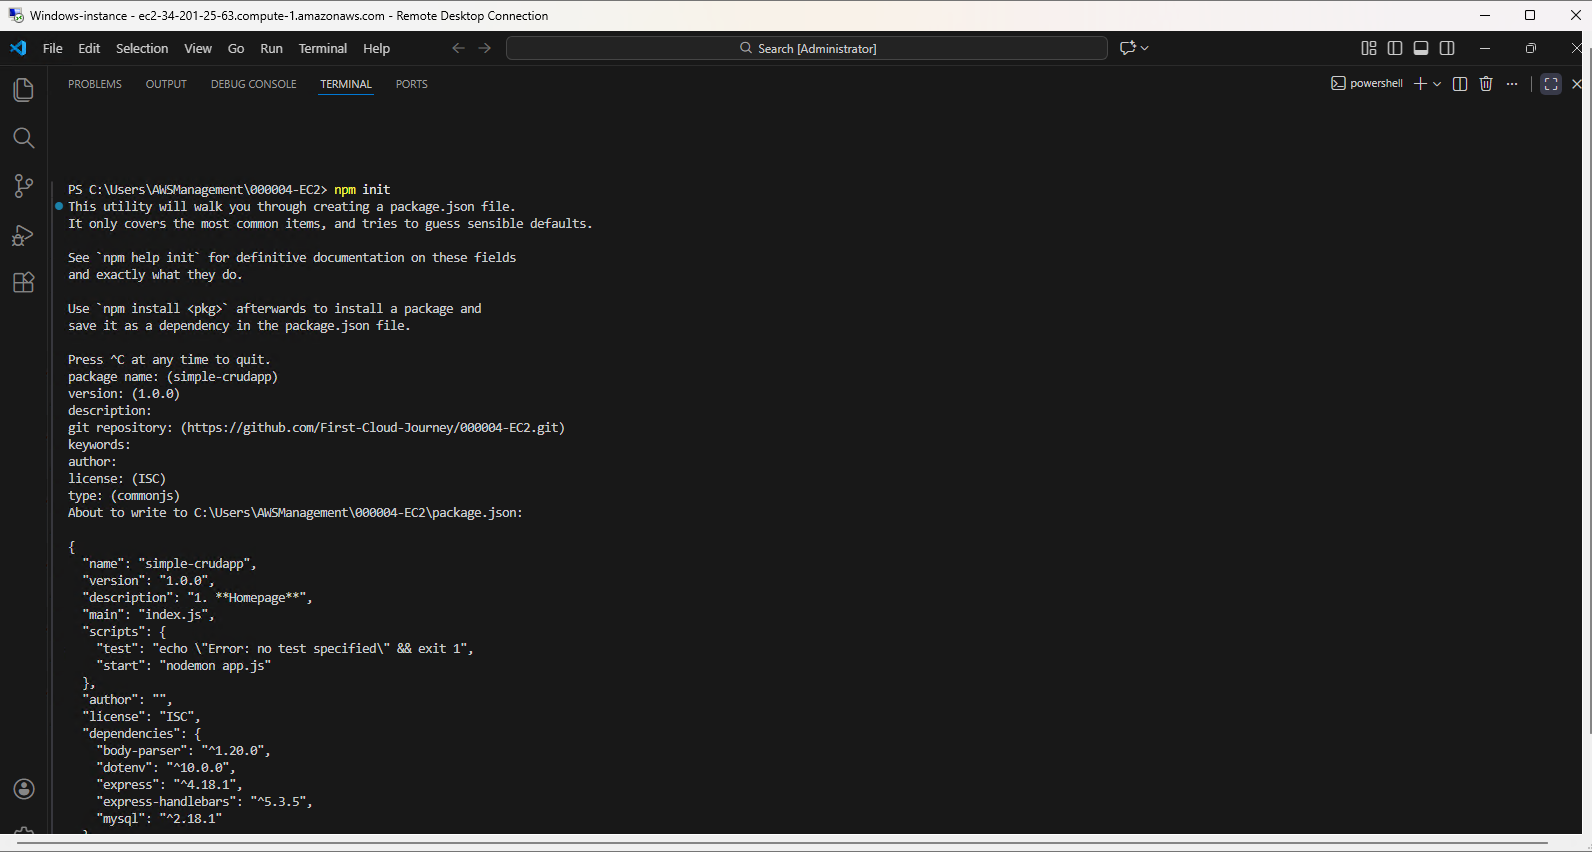
Complete the application configuration by providing the requested information:
- Package name
- Version
- Description
- Entry point (app.js)
- Other project metadata
Installing Required Dependencies
Install the necessary Node.js packages for the application:
npm install express dotenv express-handlebars body-parser mysqlThese packages provide the following functionality:
- express: Web application framework
- dotenv: Environment variable management
- express-handlebars: Templating engine
- body-parser: Request body parsing middleware
- mysql: MySQL database connector
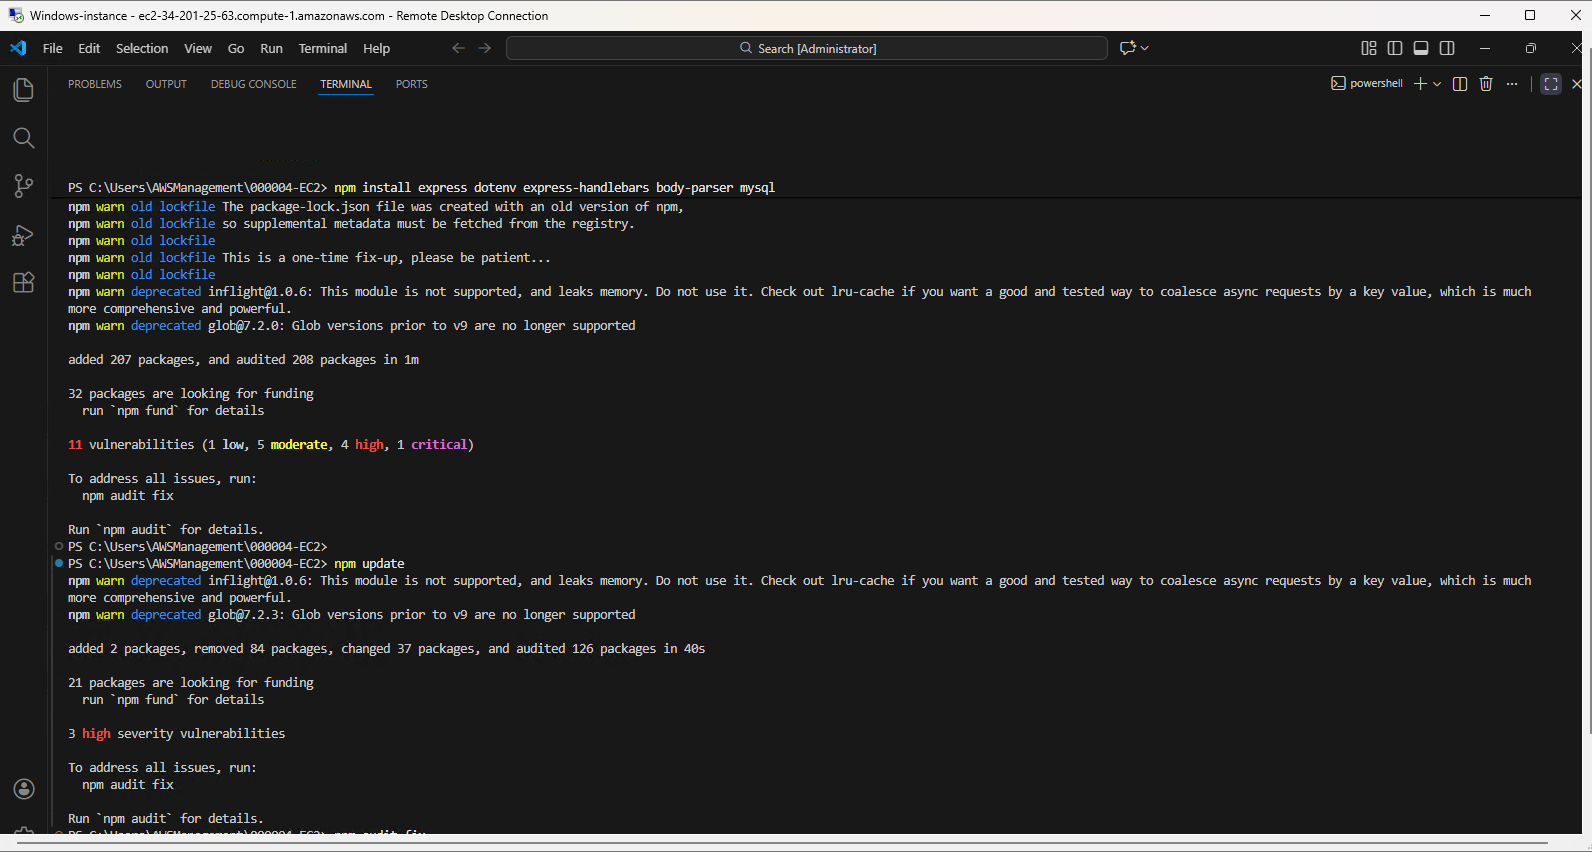
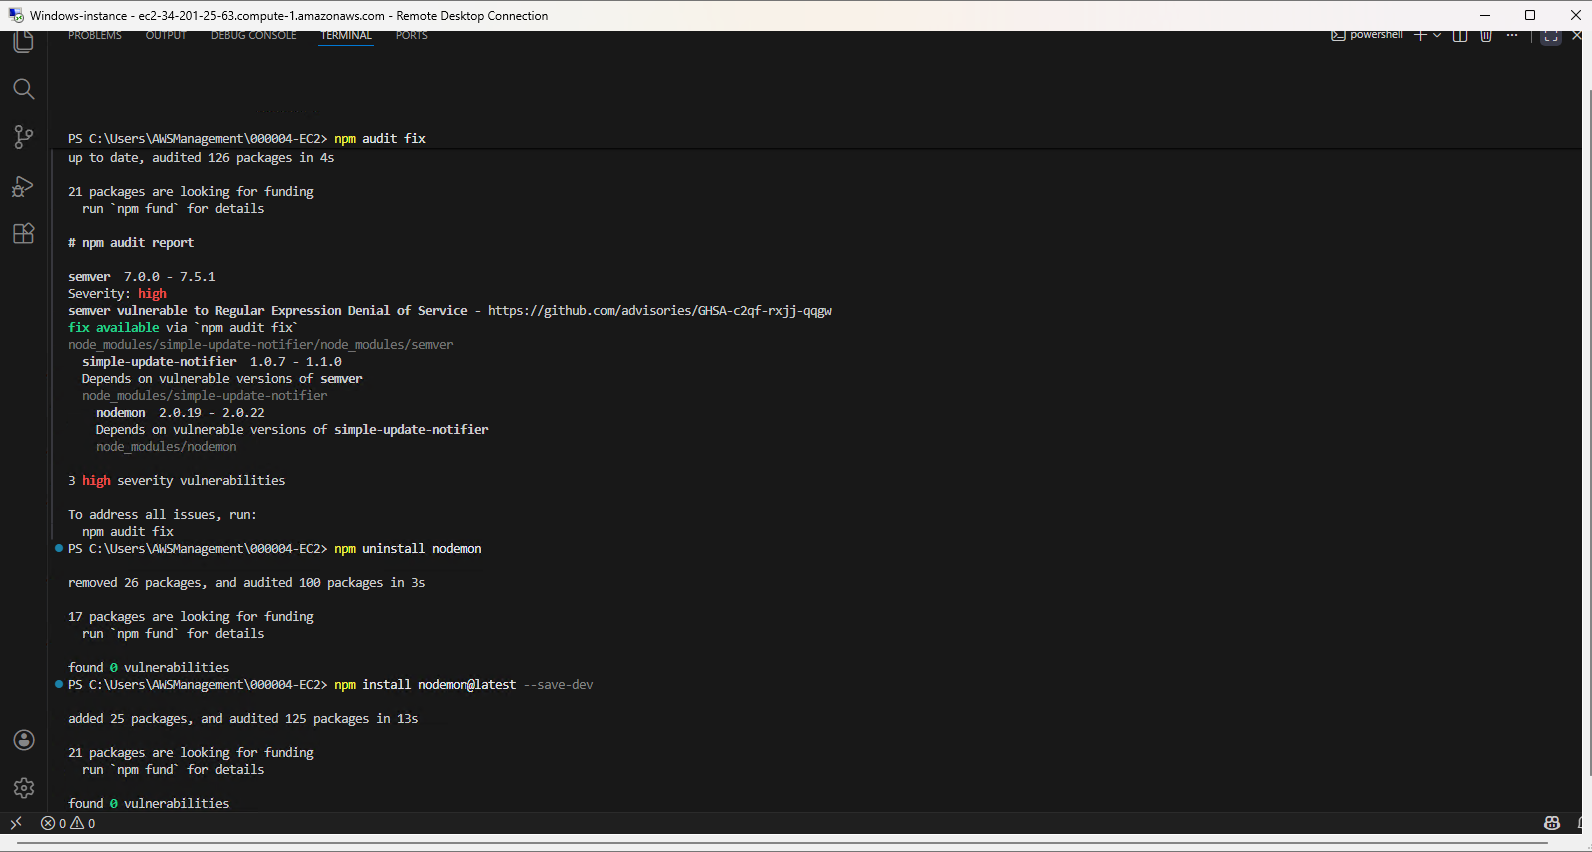
! If high severity vulnerabilities (x high severity vulnerabilities) still remain after running npm update and npm audit fix, it is recommended to remove and reinstall nodemon using the latest version:
Remove the current nodemon package:
npm uninstall nodemonInstall the latest version of nodemon as a development dependency:
npm install nodemon@latest --save-dev(Optional) Verify vulnerabilities again:
npm audit
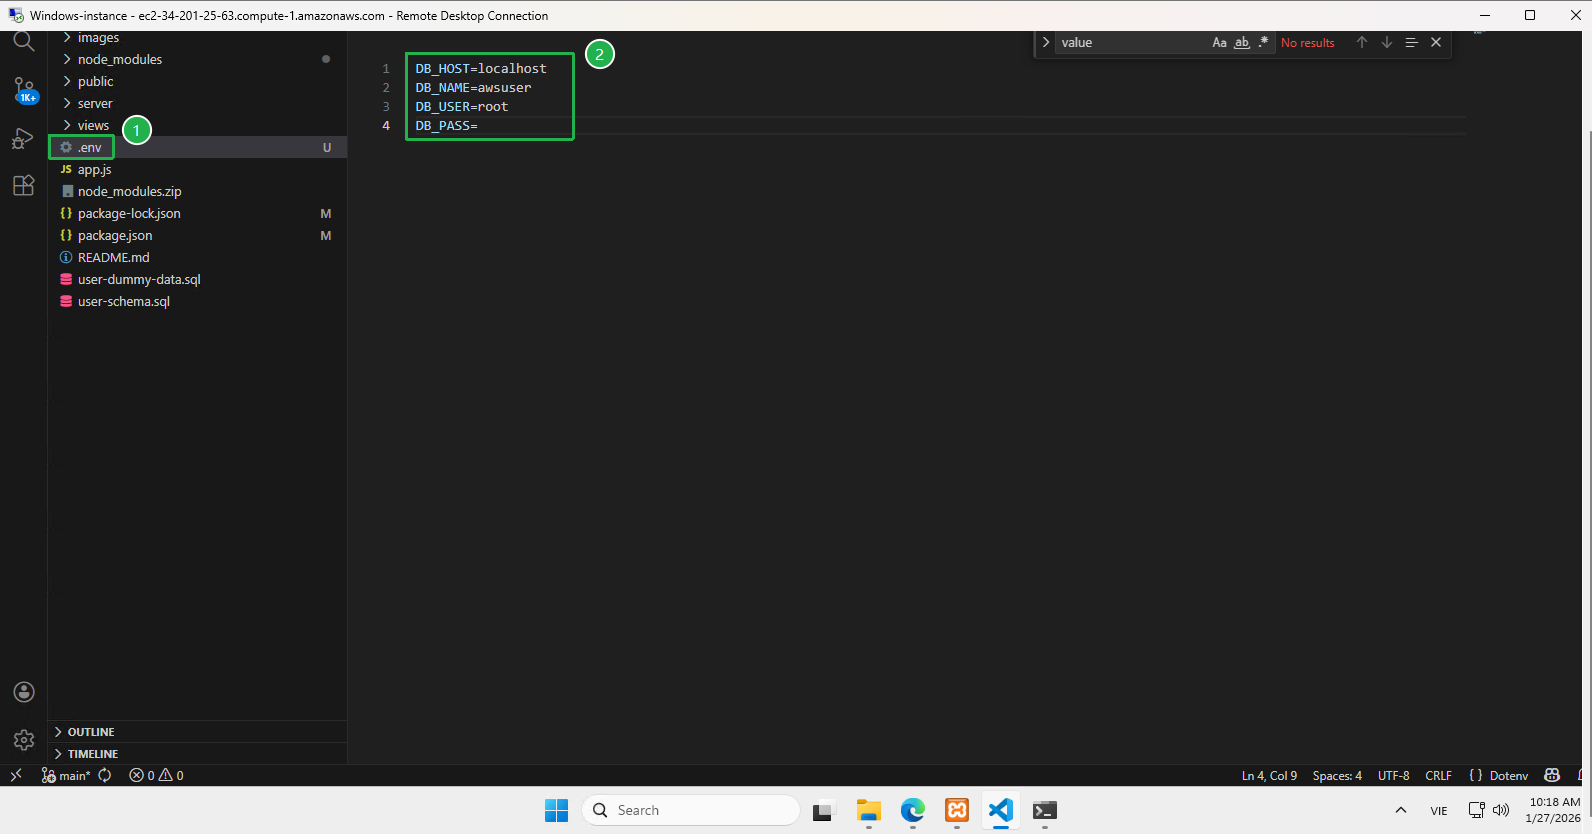
Configuring Database Connection
- Open the project in Visual Studio Code and create a .env file to store database configuration:
DB_HOST=localhost
DB_NAME=awsuser
DB_USER=root
DB_PASS=
🔒 Security Note: For production environments, avoid using the root database user. Instead, create a dedicated database user with limited permissions specific to the application’s needs. The root account should be reserved exclusively for database administration tasks.
Running the Application
Start the application server:
npm start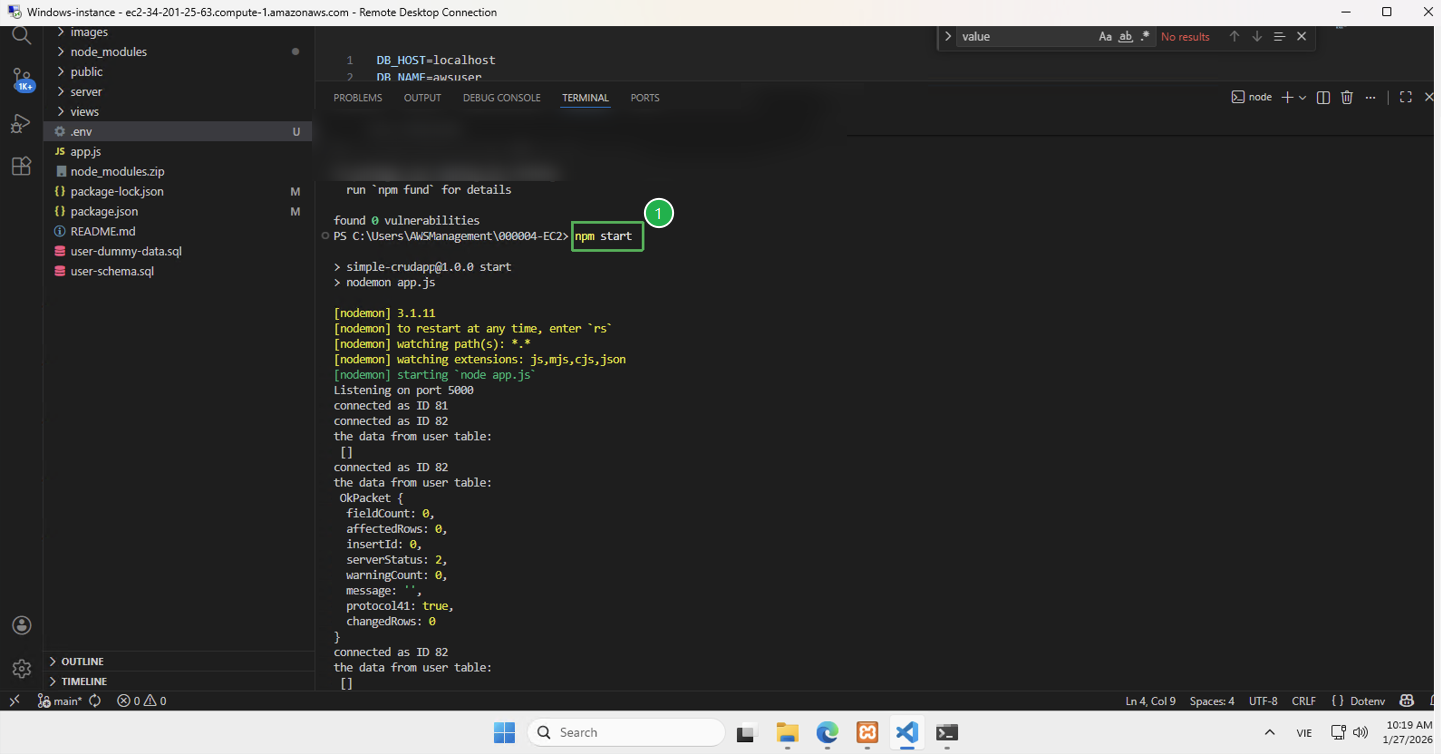
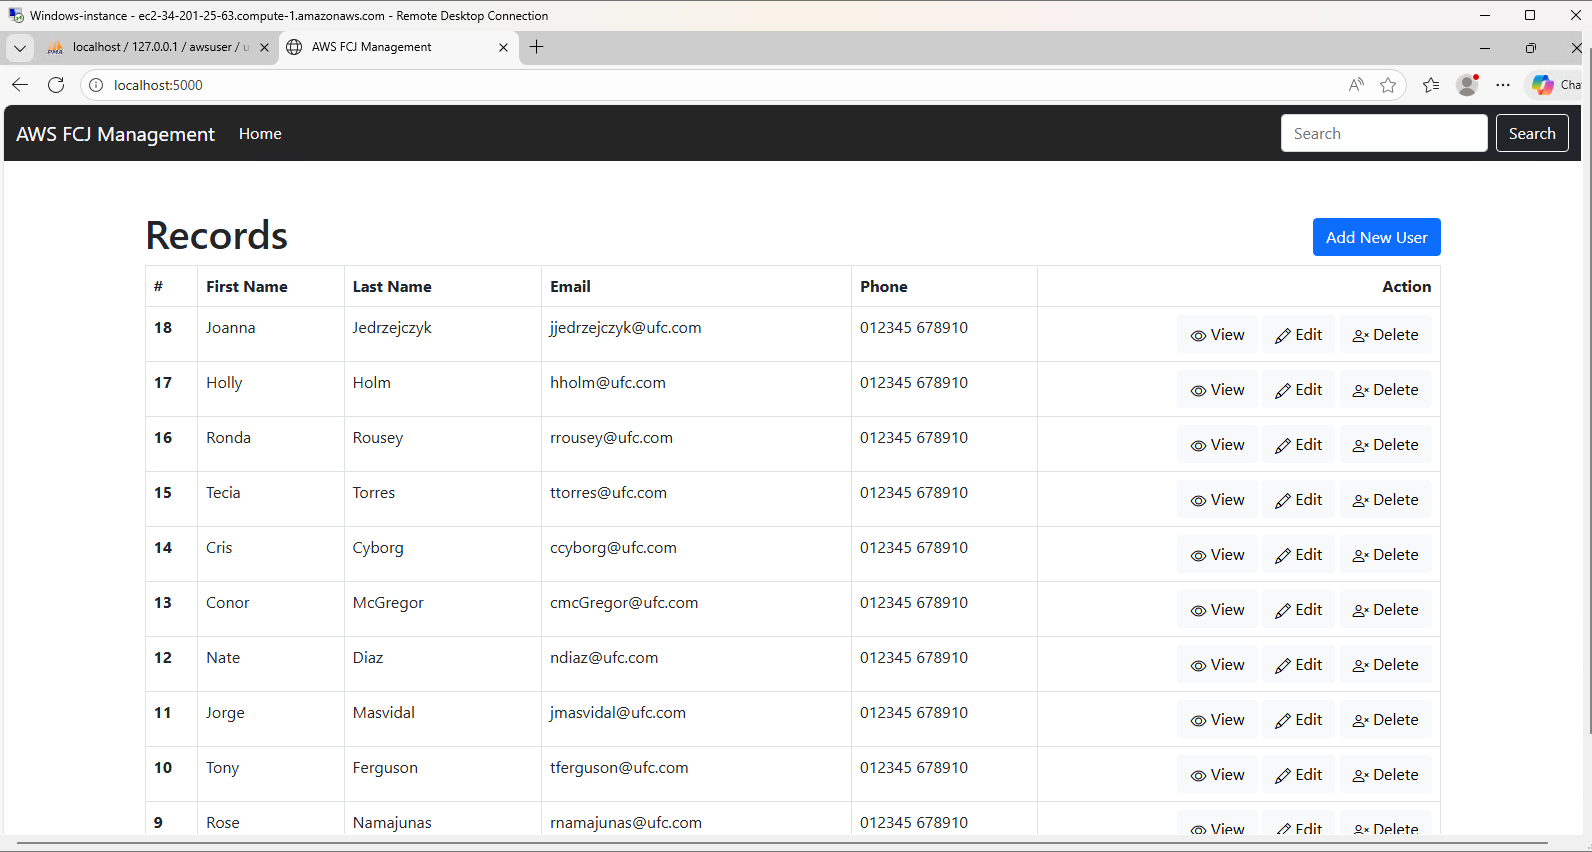
Access the application by opening a web browser and navigating to: http://localhost:5000
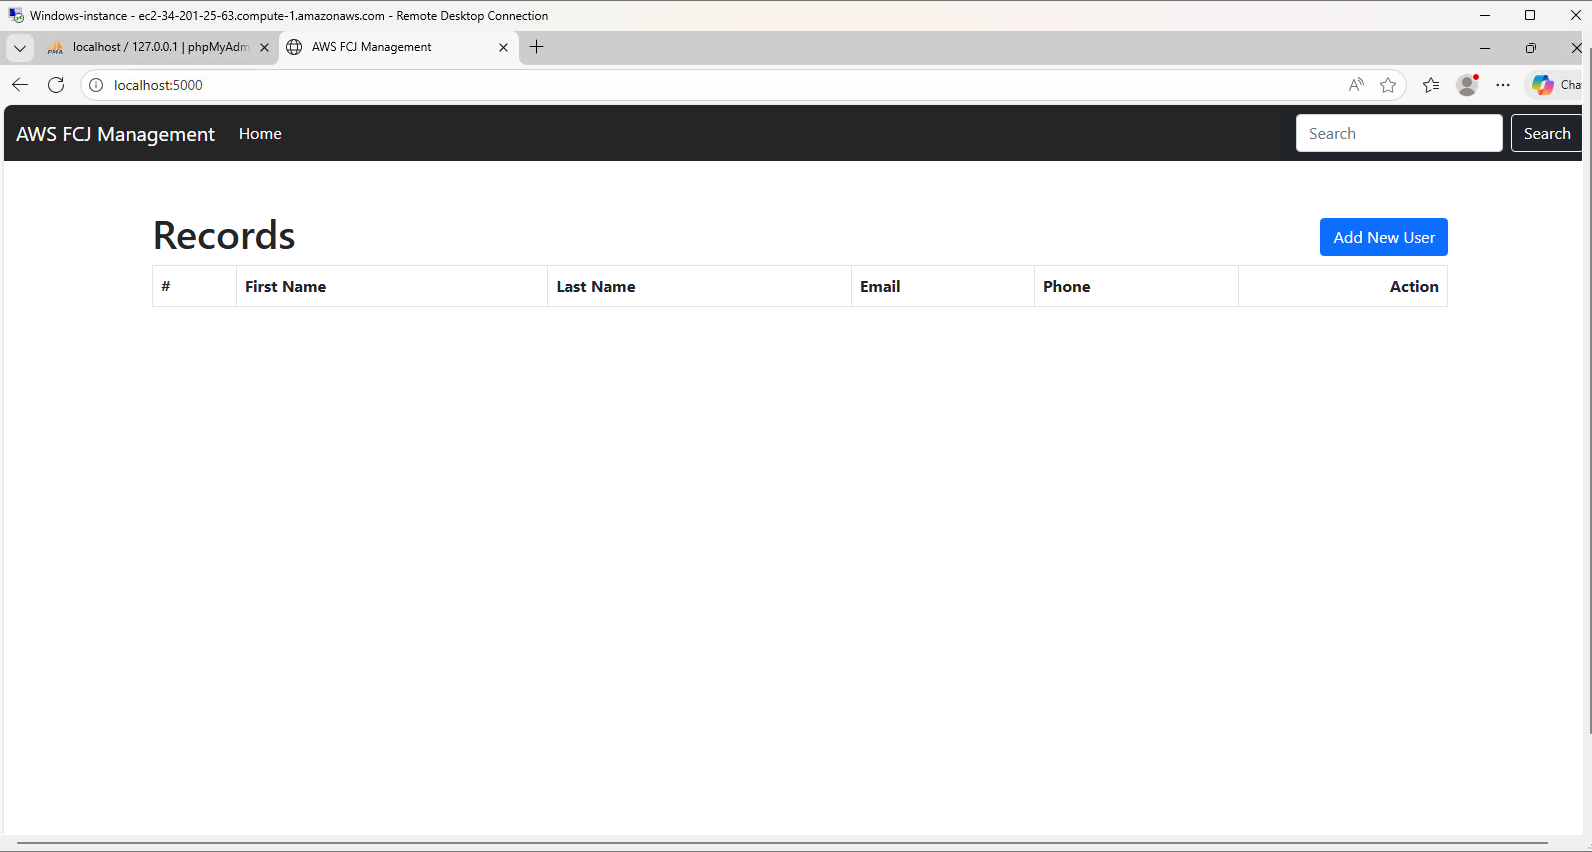
Testing CRUD Functionality
Add a new user by completing the form with user information:
- First Name
- Last Name
- Phone
- Comments (optional)
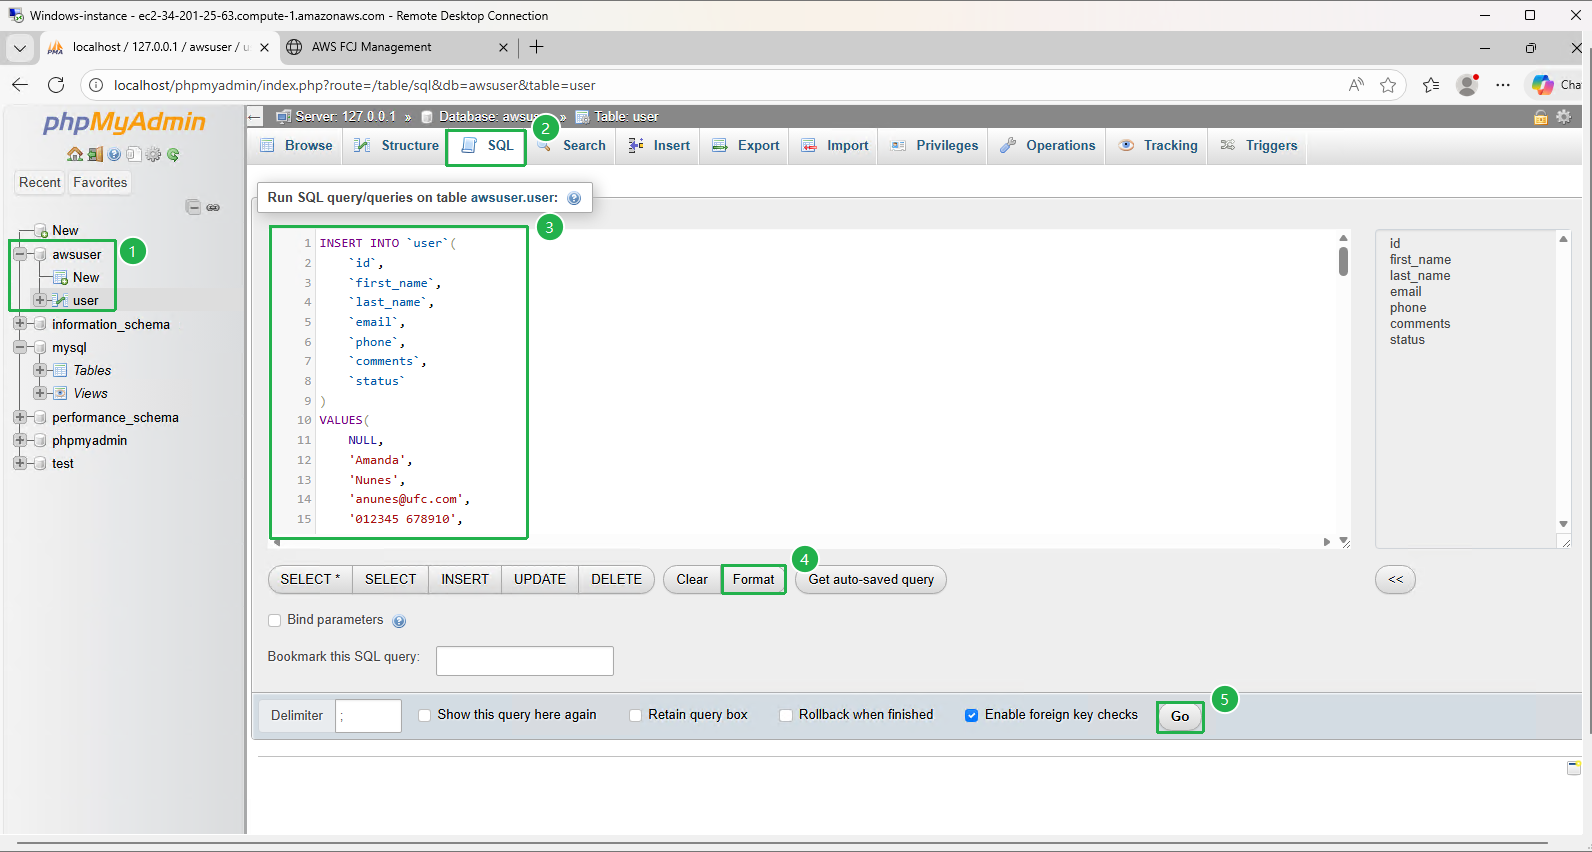
View the updated user list in the application interface:
💡 Pro Tip: For a production deployment, consider configuring Windows Firewall to allow inbound traffic on port 5000, or set up a reverse proxy using IIS to forward requests from port 80 to your Node.js application.