Launch Amazon Linux Instance
Creating an Amazon Linux Instance
ℹ️ Information: In this section, you’ll learn how to launch an Amazon Linux instance in Amazon EC2. Amazon Linux is a Linux distribution provided by AWS that is designed to provide a secure, stable, and high-performance execution environment for applications running on Amazon EC2.
Step 1: Access the EC2 Console
- Sign in to the AWS Management Console
- In the search bar, type EC2
- Select EC2 from the services list
- Click on Instances in the navigation pane
- Click Launch instances
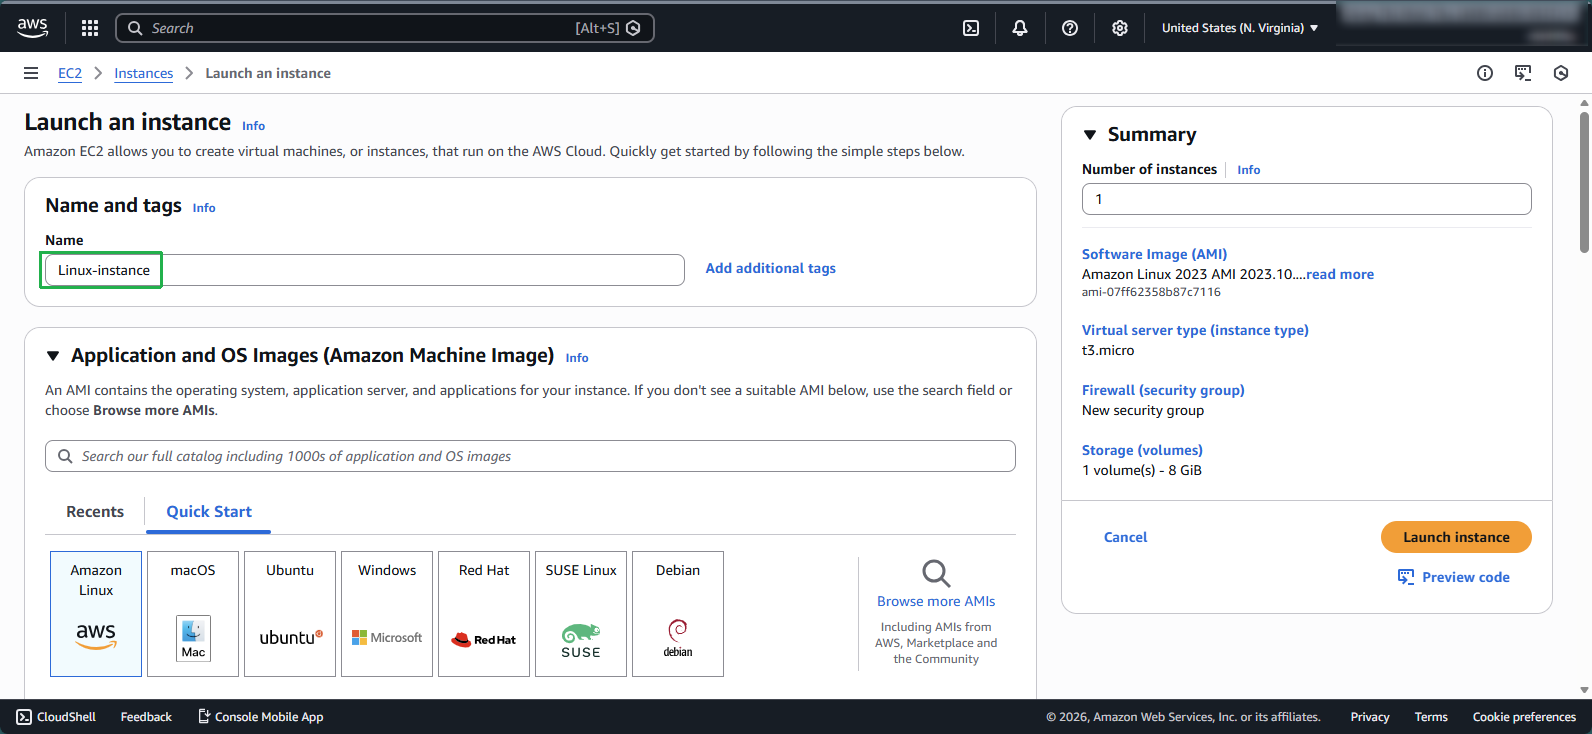
Step 2: Configure Instance Details
Enter basic details:
- Name: Enter
Linux-instance
- Name: Enter
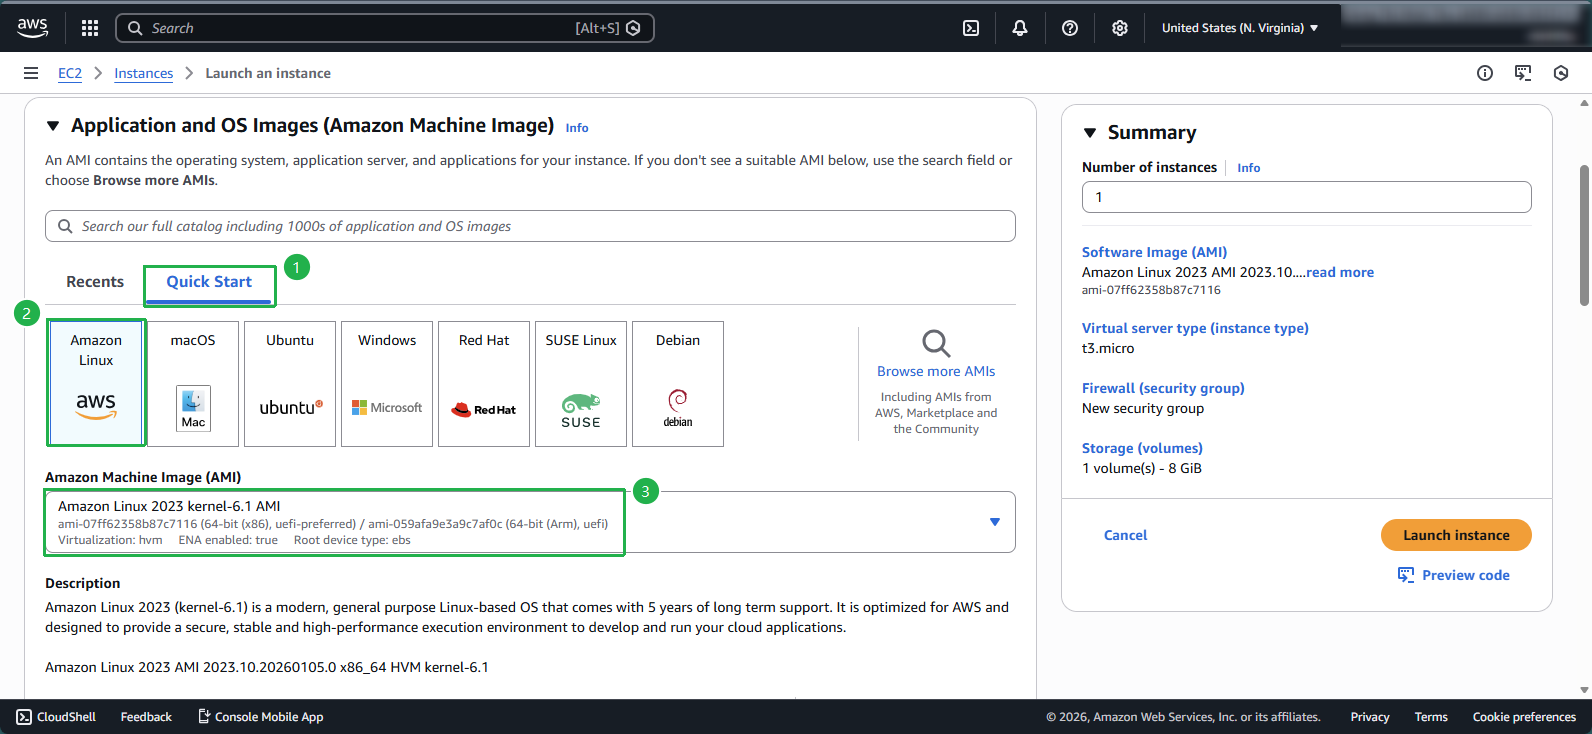
Select the Amazon Machine Image (AMI):
- Under Quick Start, select Amazon Linux
- Choose Amazon Linux 2023 AMI from the available options
💡 Pro Tip:The Amazon Linux 2023 AMI is regularly updated by AWS with security patches and performance improvements. Using this AMI provides a stable and secure platform for running your applications.
Choose instance specifications:
- Select an appropriate Instance type based on your workload requirements
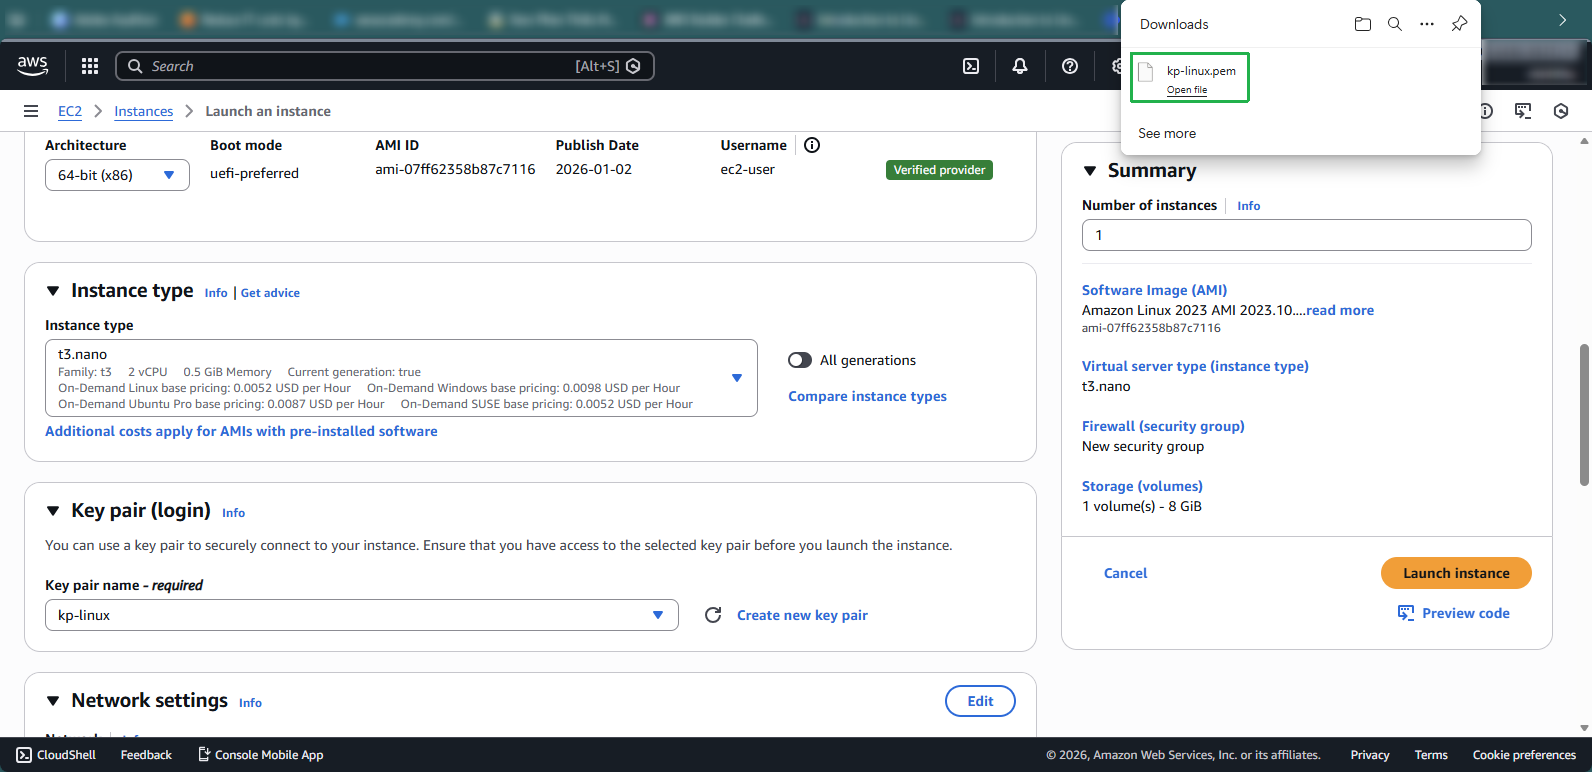
- Click Create new key pair
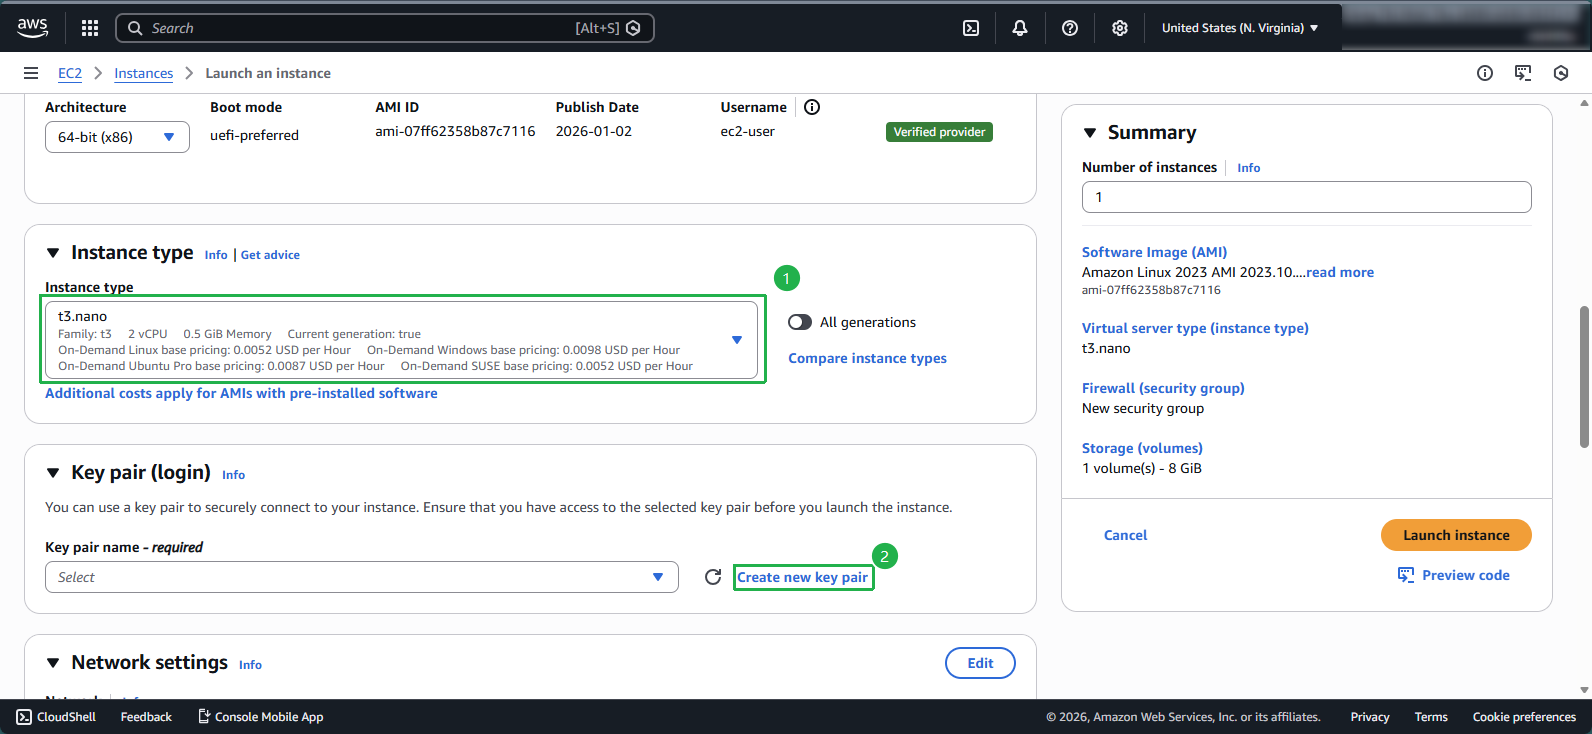
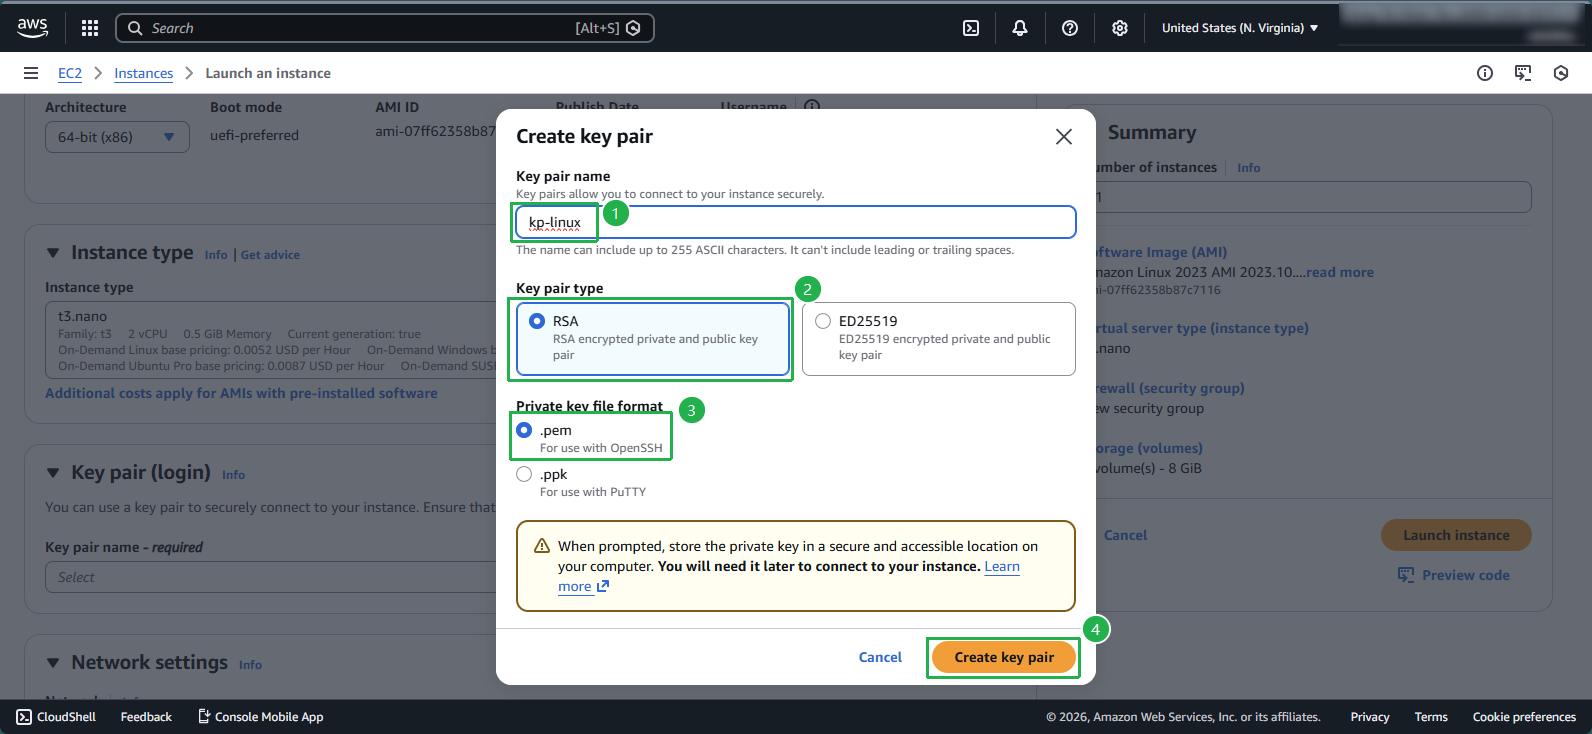
Step 3: Create a Key Pair
Configure your key pair:
- Key pair name: Enter
kp-linux - Key pair type: Select RSA
- Private key file format: Select .pem
- Click Create key pair
- Key pair name: Enter
🔒 Security Note: The private key file will automatically download to your computer. Store this file securely as it’s required for SSH access to your Linux instance.
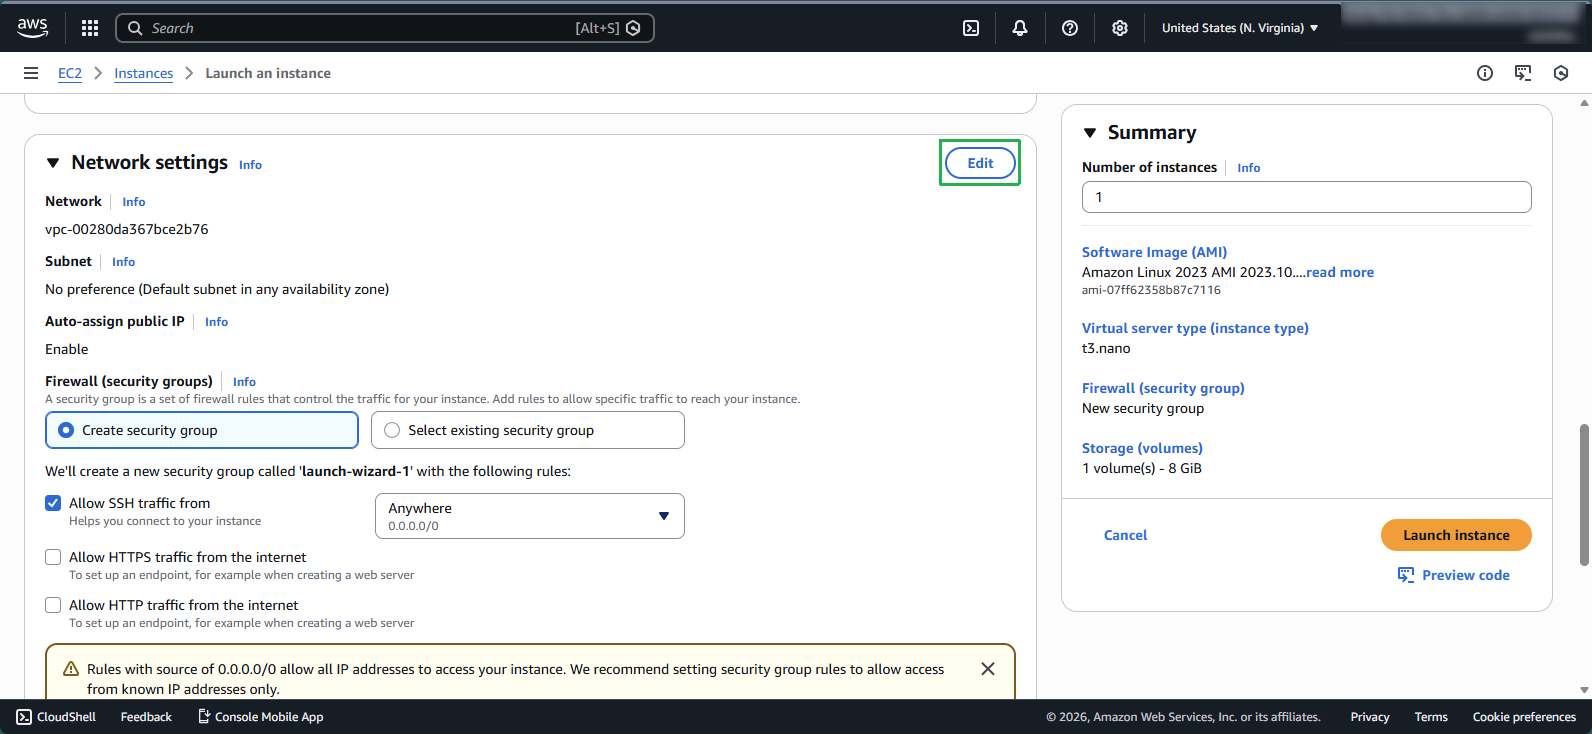
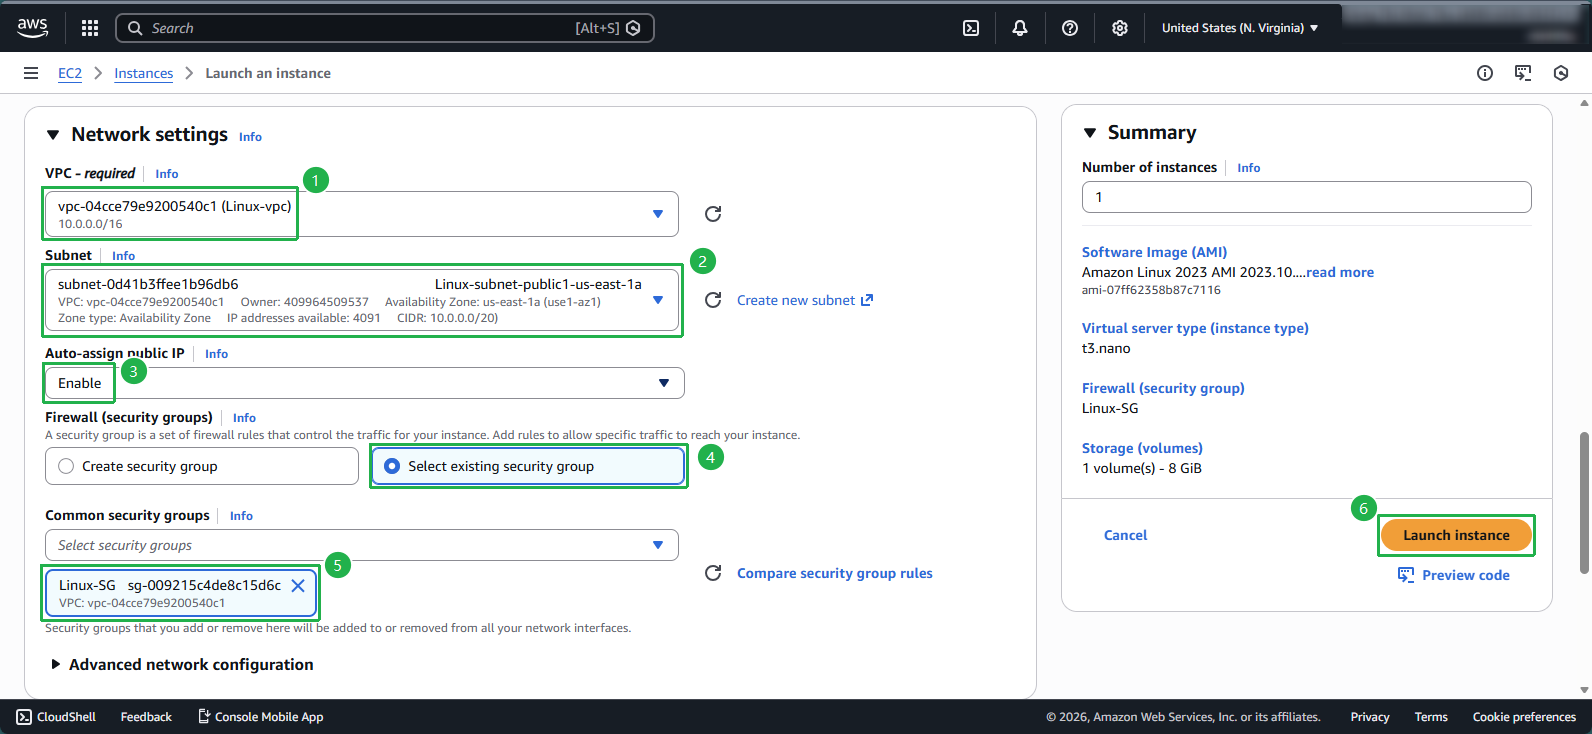
Step 4: Configure Network Settings
Click Edit in the Network settings section
Configure the network parameters:
- VPC: Select Linux-vpc
- Subnet: Select public subnet
- Auto-assign public IP: Select Enable
- Firewall (security groups): Select Select existing security group
- Common security groups: Select Linux-SG
Step 5: Review and Launch
Review your configuration settings
Click Launch instance
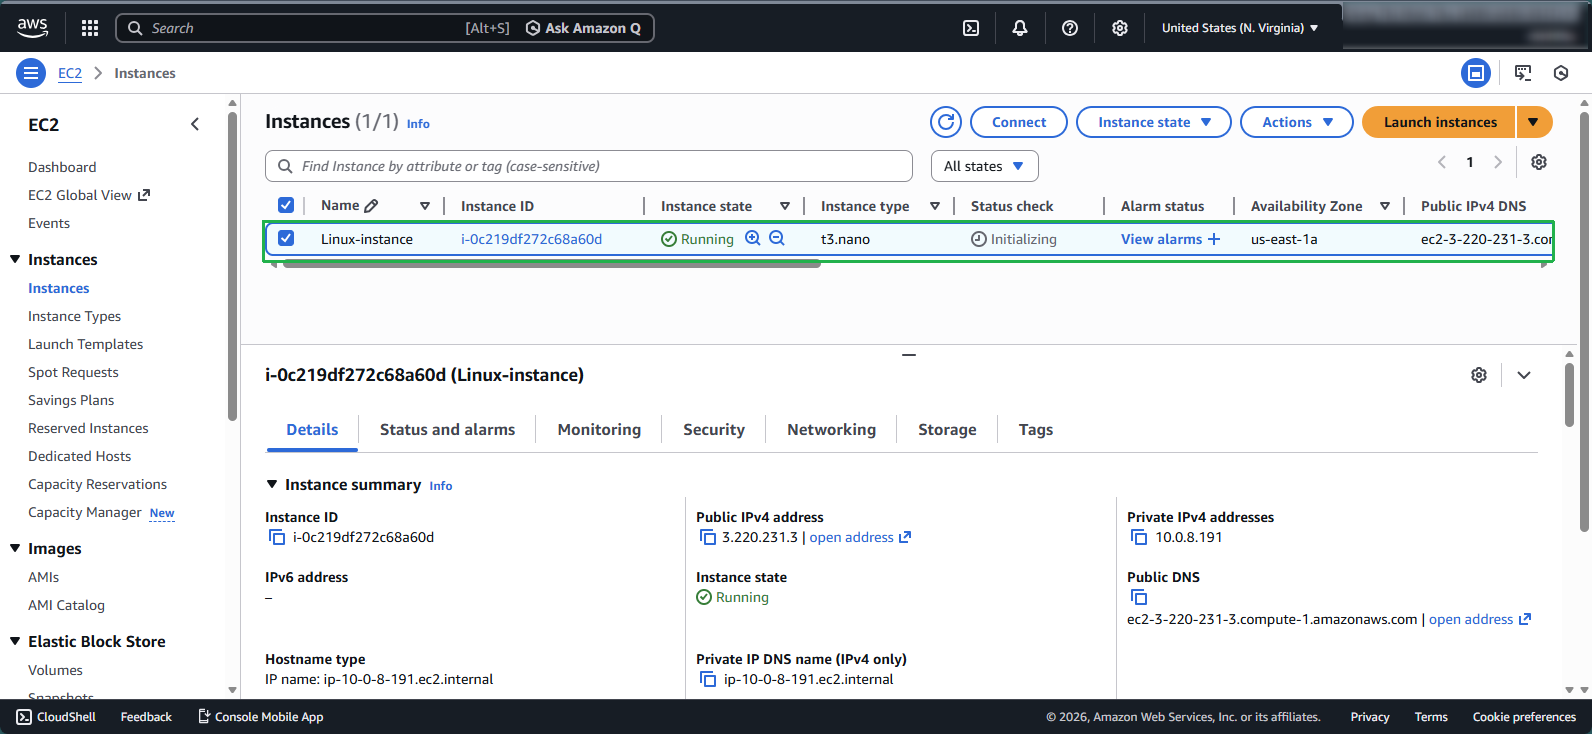
Launch instance successful

Step 6: Wait for Instance Initialization
- Wait approximately 5 minutes for the instance to complete initialization
- The instance is ready when:
- Status check shows 2/2 checks passed
- Instance state displays Running
💡 Pro Tip: While waiting for your instance to initialize, you can prepare your SSH client or review the security group settings to ensure proper connectivity.