Launch an Instance from a Custom AMI
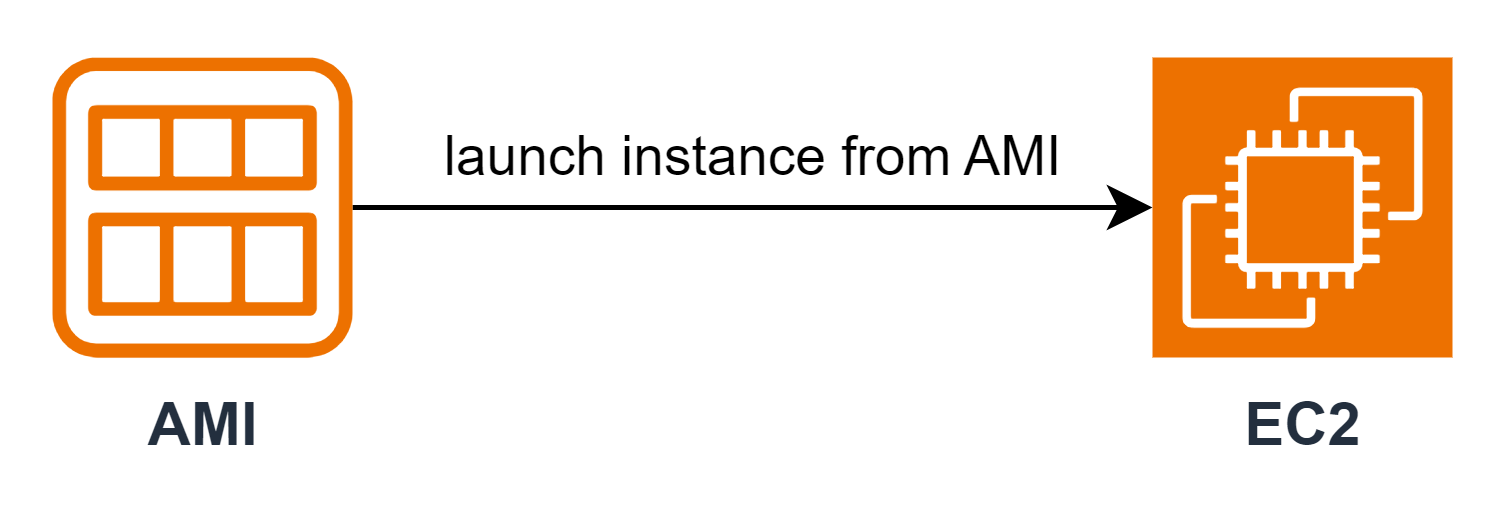
Launching an EC2 Instance from a Custom AMI
ℹ️ Information: Custom AMIs allow you to quickly deploy pre-configured instances with your specific software, configurations, and data. This significantly reduces deployment time and ensures consistency across your environment.
Step-by-Step Launch Process
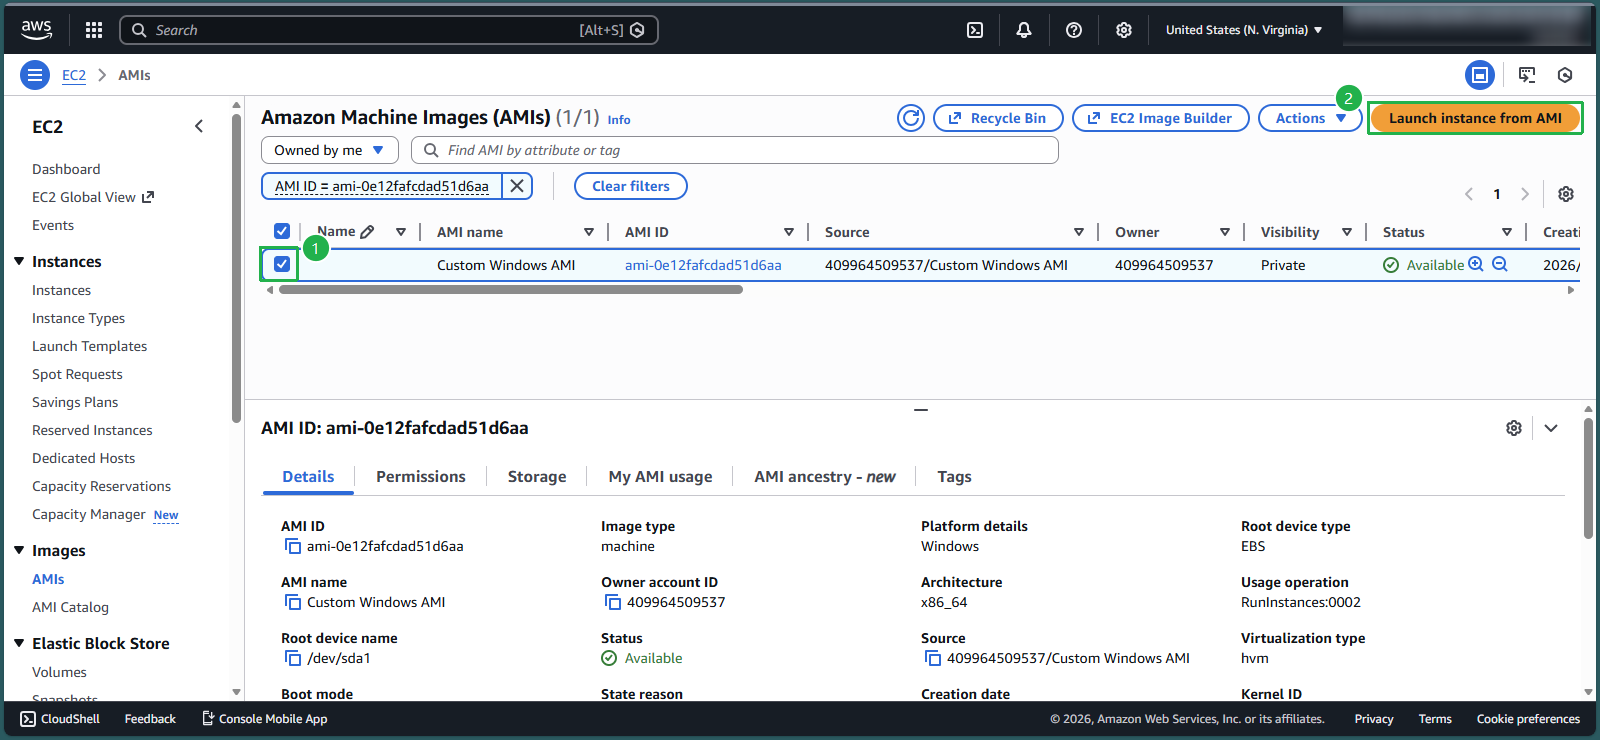
Step 1: Locate Your Custom AMI
In the EC2 console:
- Select AMIs from the navigation pane
- Locate and select your Custom Windows AMI created from the Windows Server 2025 instance
- Click Launch instance from AMI
Step 2: Configure Instance Details
Provide a descriptive name for your instance:
- Enter
Windows Server AMIin the Name field
- Enter
Verify the AMI selection:
- Confirm AMI from catalog is selected
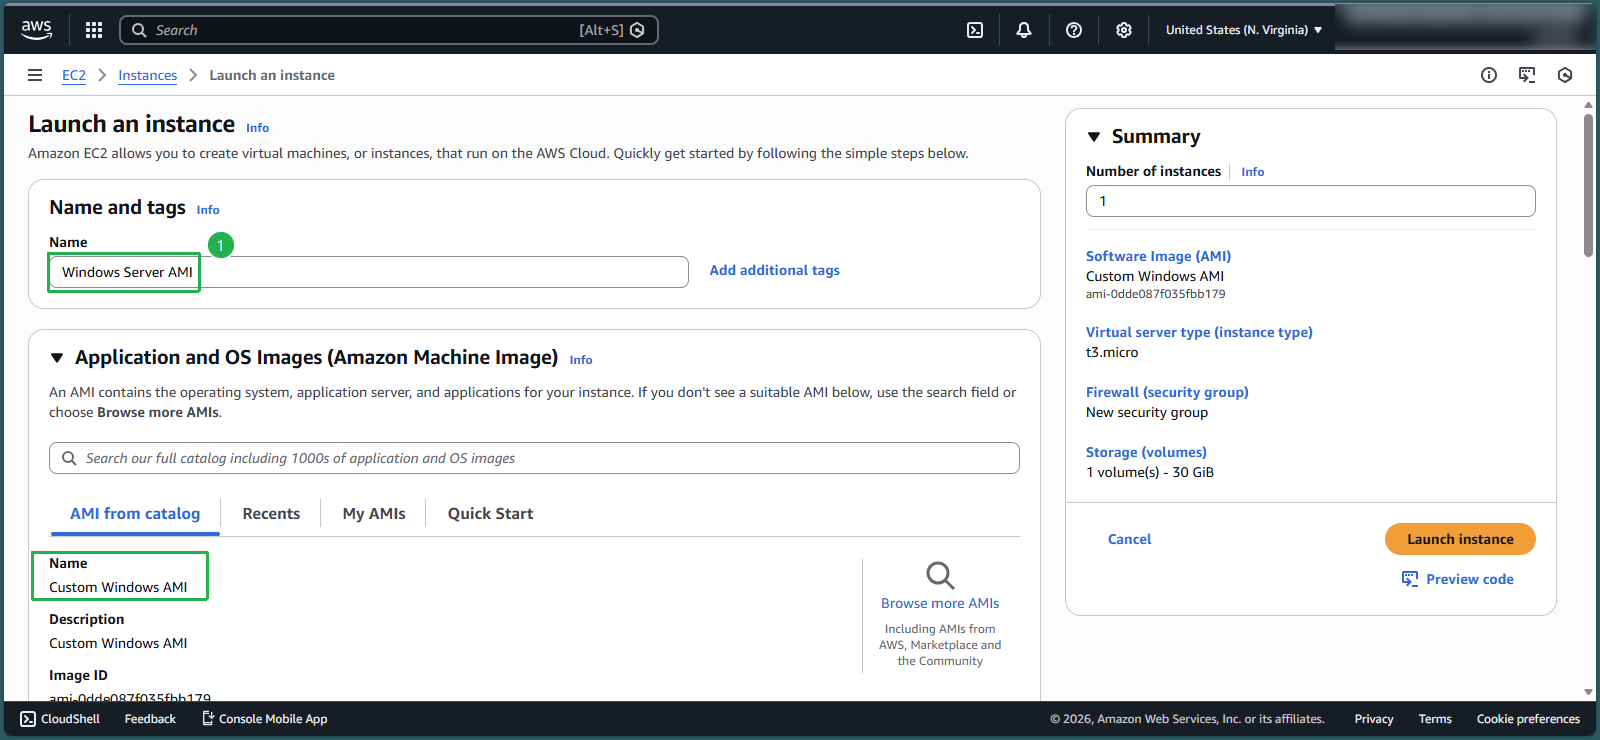
Configure instance specifications:
- Select an appropriate Instance type
- Click Create new key pair to generate authentication credentials

Step 3: Create a New Key Pair
In the Create key pair dialog:
- Key pair name: Enter
kp-windows2 - Private key file format: Select .pem
- Click Create key pair
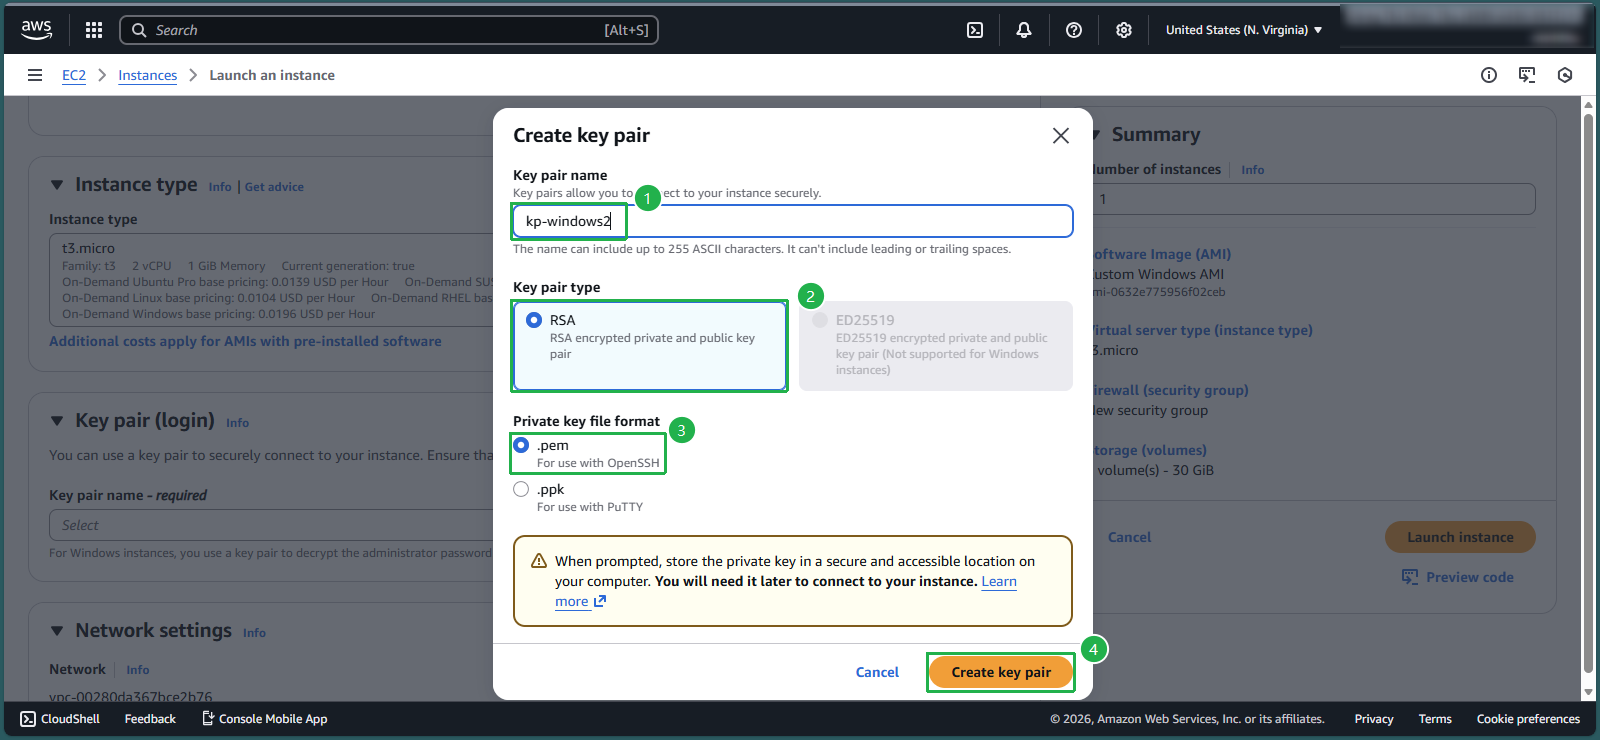
- Key pair name: Enter
🔒 Security Note: Store your key pair file (.pem) in a secure location. This file is required to decrypt the administrator password for your Windows instance and cannot be recovered if lost.
Step 4: Configure Network Settings
Under Network settings, click Edit and configure:
- VPC: Select Windows-vpc
- Subnet: Choose public subnet
- Auto-assign public IP: Set to Enable
- Firewall (security group): Select Select existing security group
- Common security groups: Choose Windows-SG
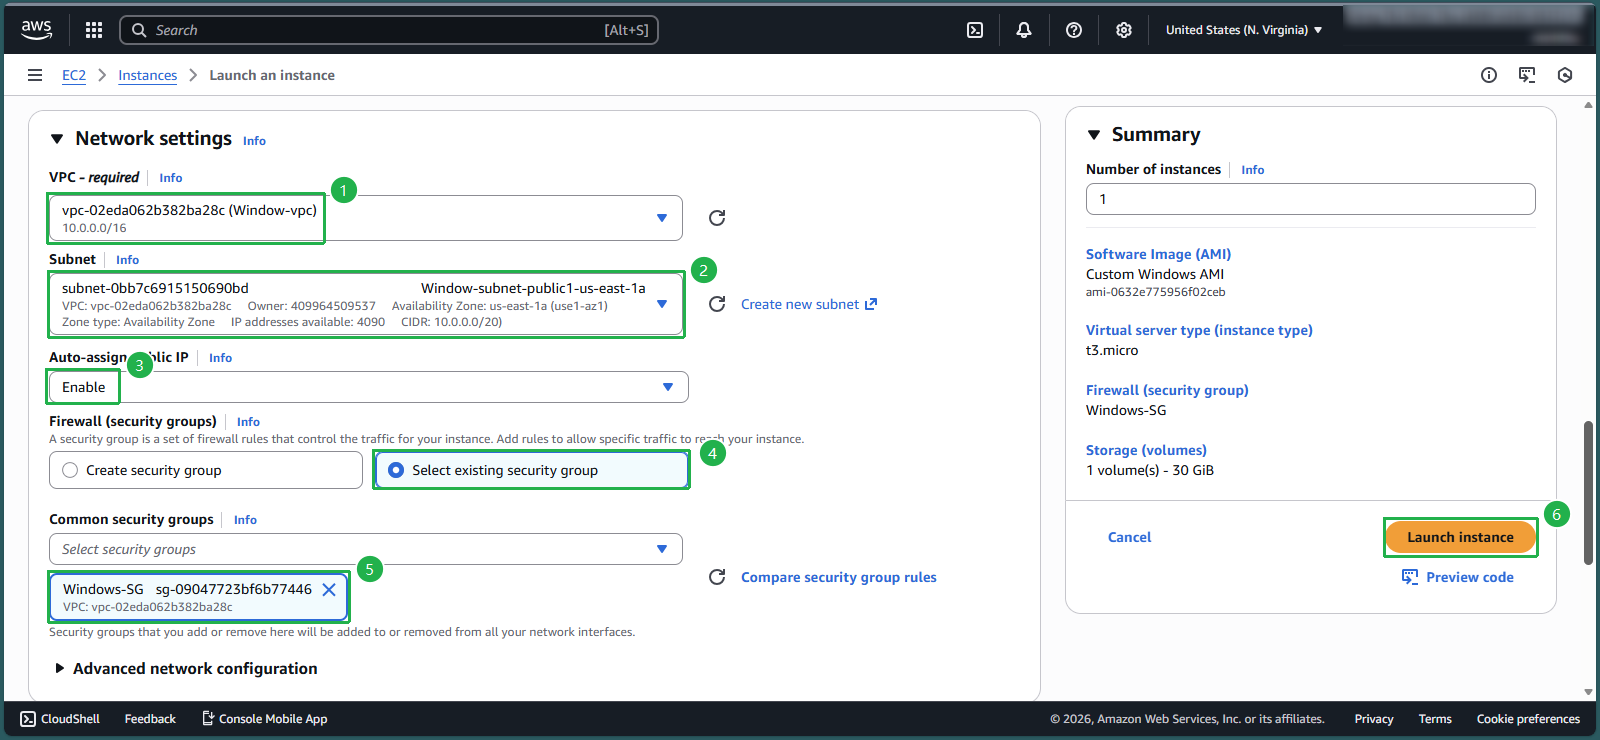
💡 Pro Tip: Using existing security groups ensures consistent network access controls across similar instances. Review the security group rules to confirm they match your requirements before proceeding.
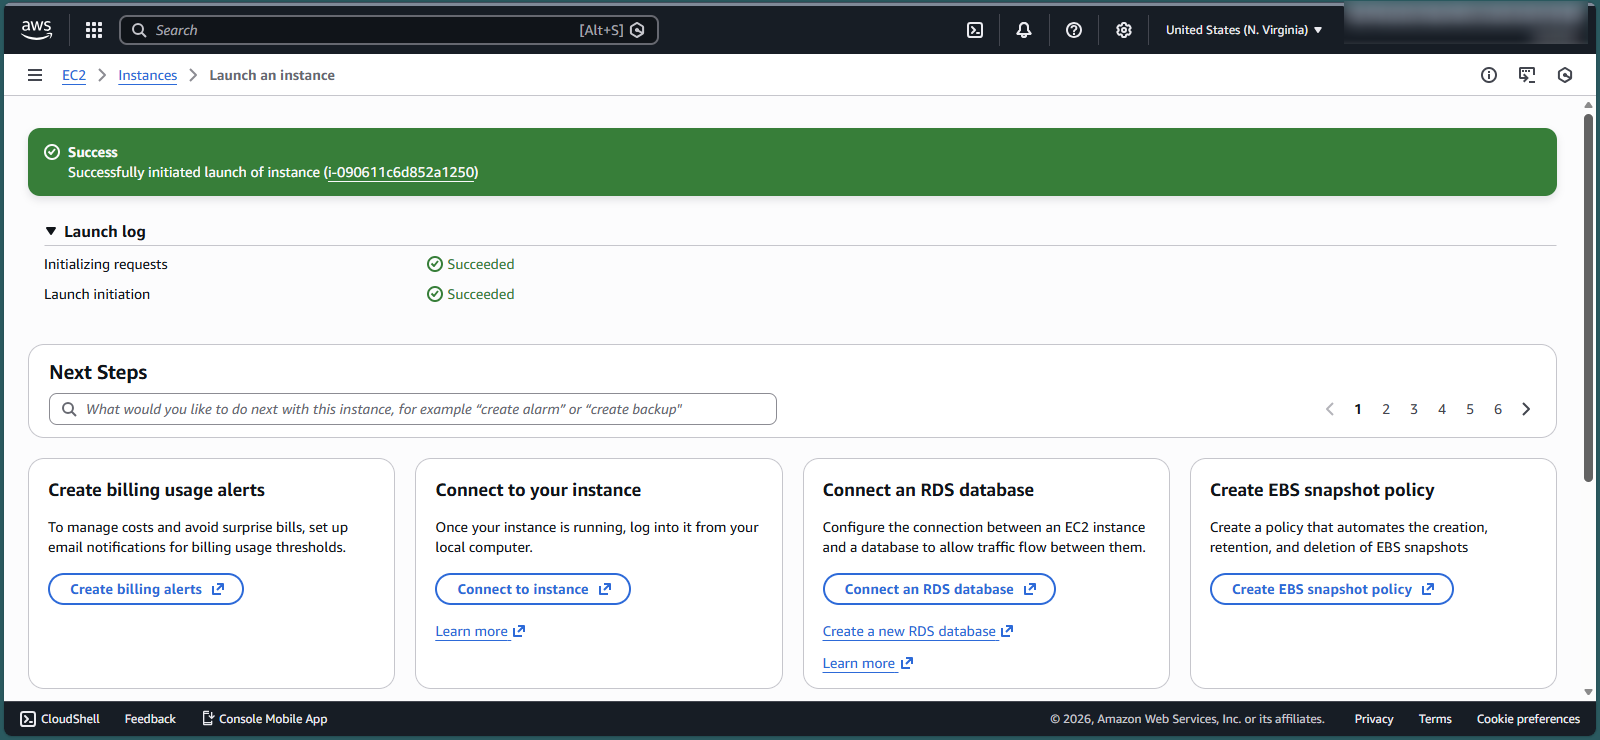
Step 5: Review and Launch
Review all configuration settings:
- Verify instance details, networking, and security settings
- Click Launch instance to create the instance
Step 6: Monitor Instance Initialization
After successful creation:
- Click View all instances to monitor the instance status
Wait for instance initialization:
- Allow approximately 5 minutes for the instance to fully initialize
- Verify the Status check shows 3/3 checks passed
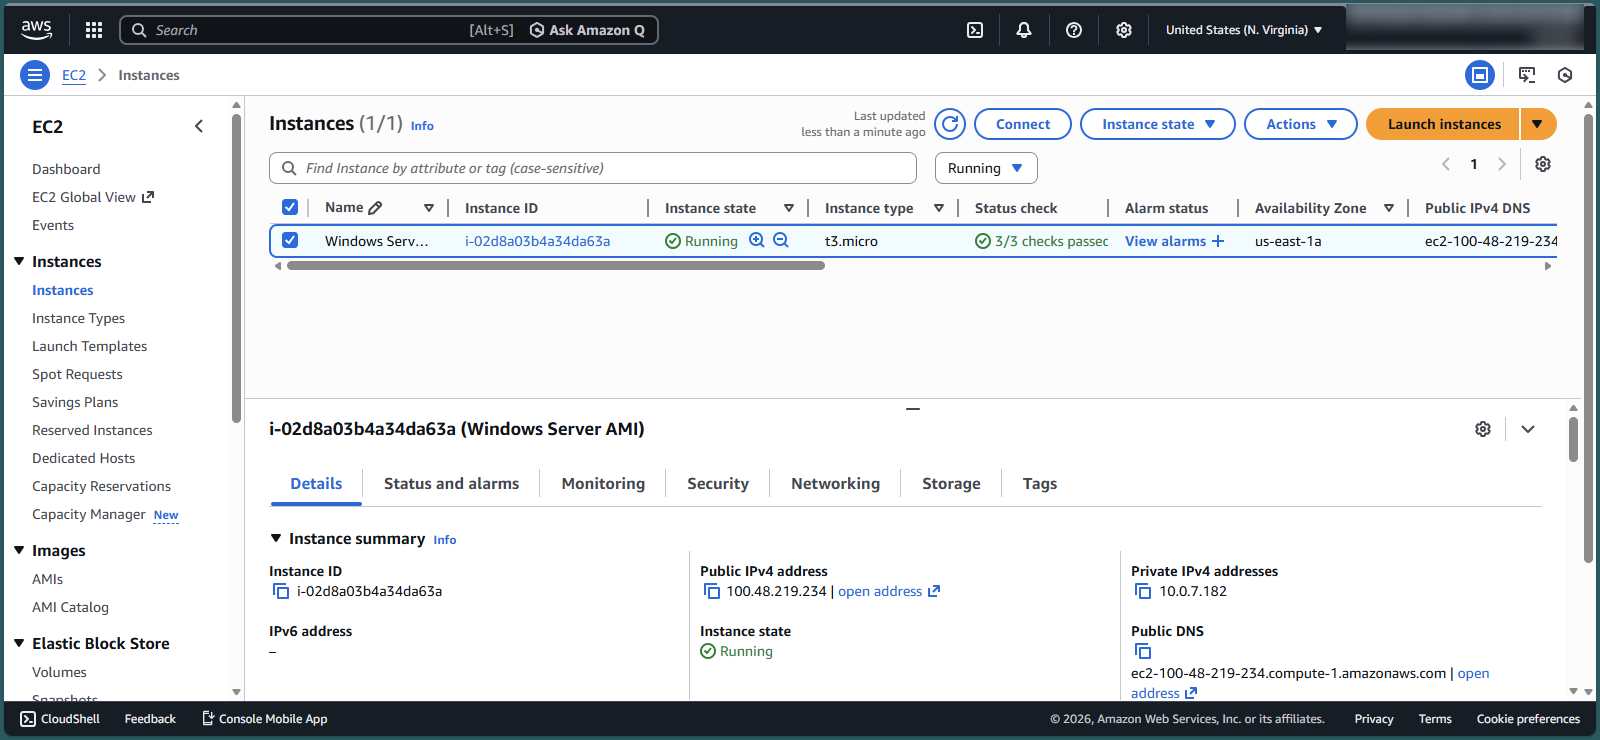
💡 Pro Tip: The “3/3 checks passed” status confirms that the system status check (performed by AWS), the instance status check (performed by the operating system), and the reachability check have all succeeded. Only when all three checks pass is the instance considered ready for use.
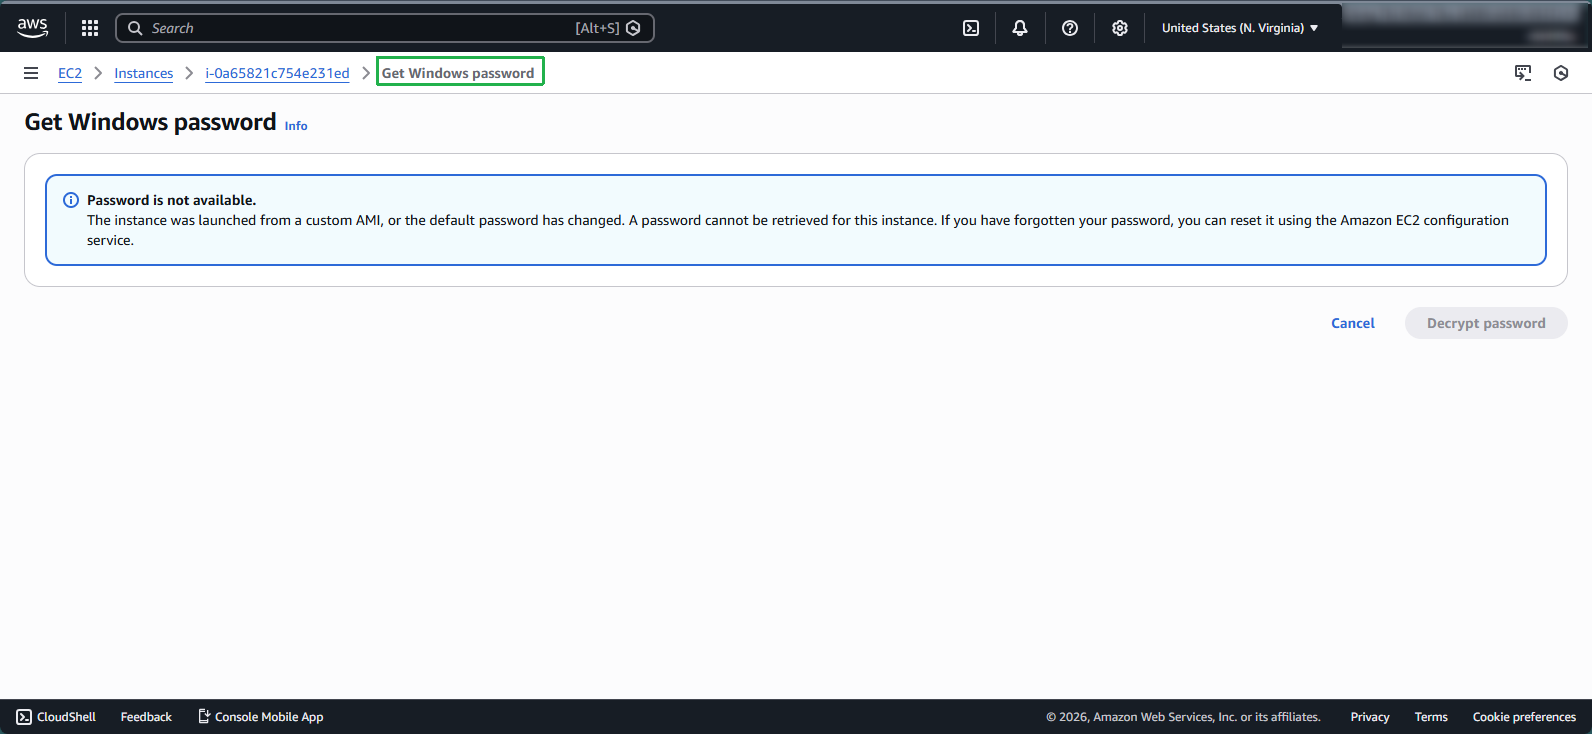
Step 7: Connect to Your Instance
Once the instance is running:
- Select the instance
- Click Connect to access connection options
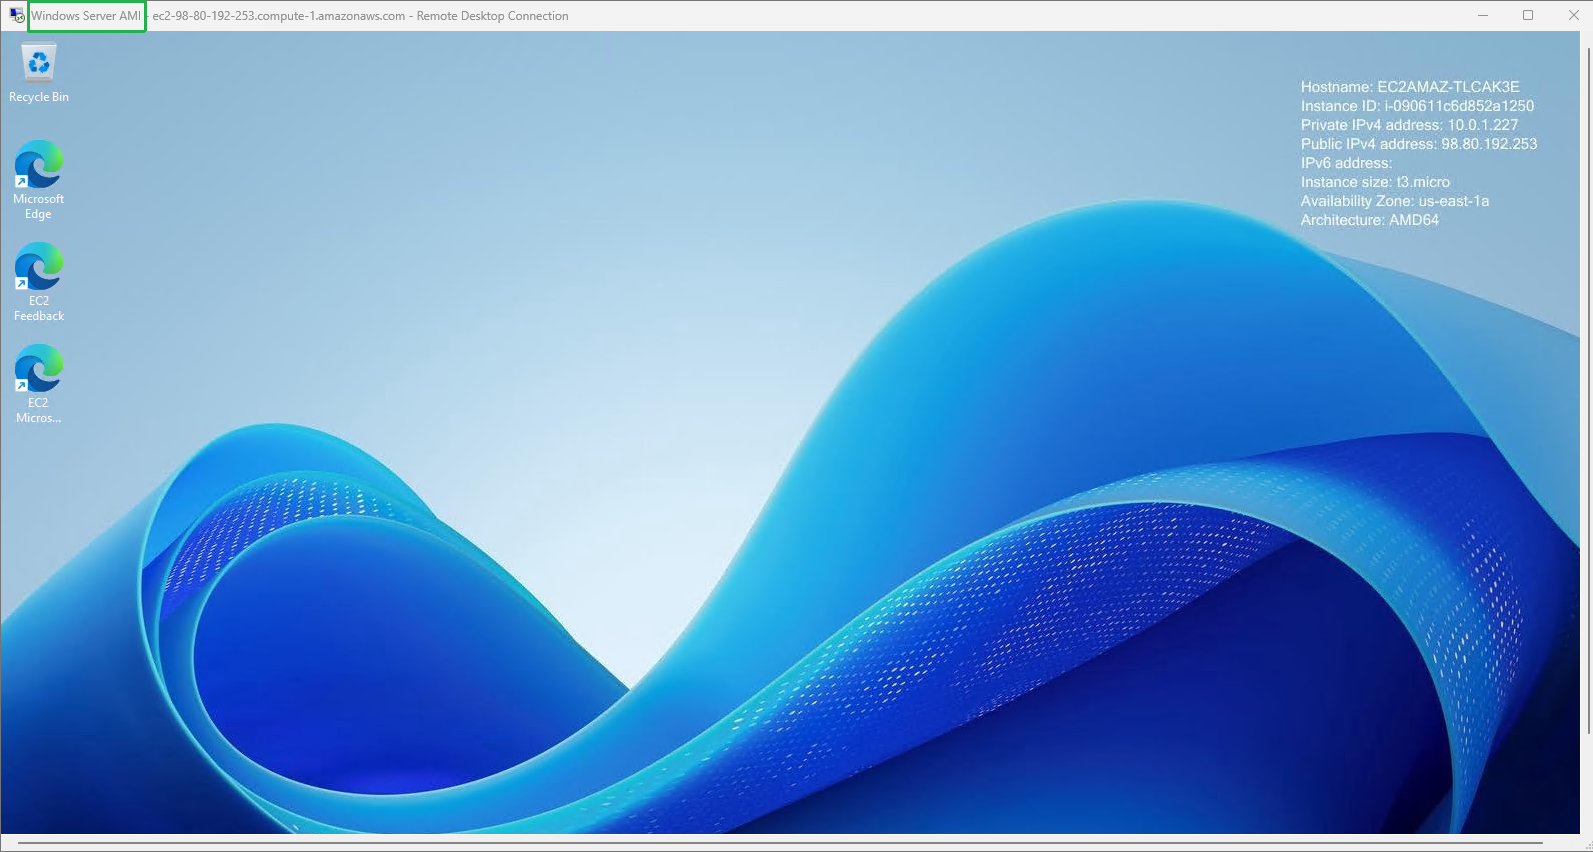
ℹ️ Information: The custom AMI you created includes the Sysprep configuration from lab 3.2, which ensures a clean Windows environment. This eliminates warning messages typically seen when retrieving the administrator password for a new instance.
⚠️ Warning: When connecting to Windows instances, always use the RDP protocol over secure networks or VPN connections. Consider implementing additional security measures such as just-in-time access or session recording for production environments.