Create VPC for Windows Instance
Creating a VPC for Your Windows Instance
ℹ️ Information: In this section, we’ll create a Virtual Private Cloud (VPC) specifically configured for hosting Windows instances. A properly configured VPC provides network isolation and security for your EC2 instances.
Step-by-Step VPC Creation Process
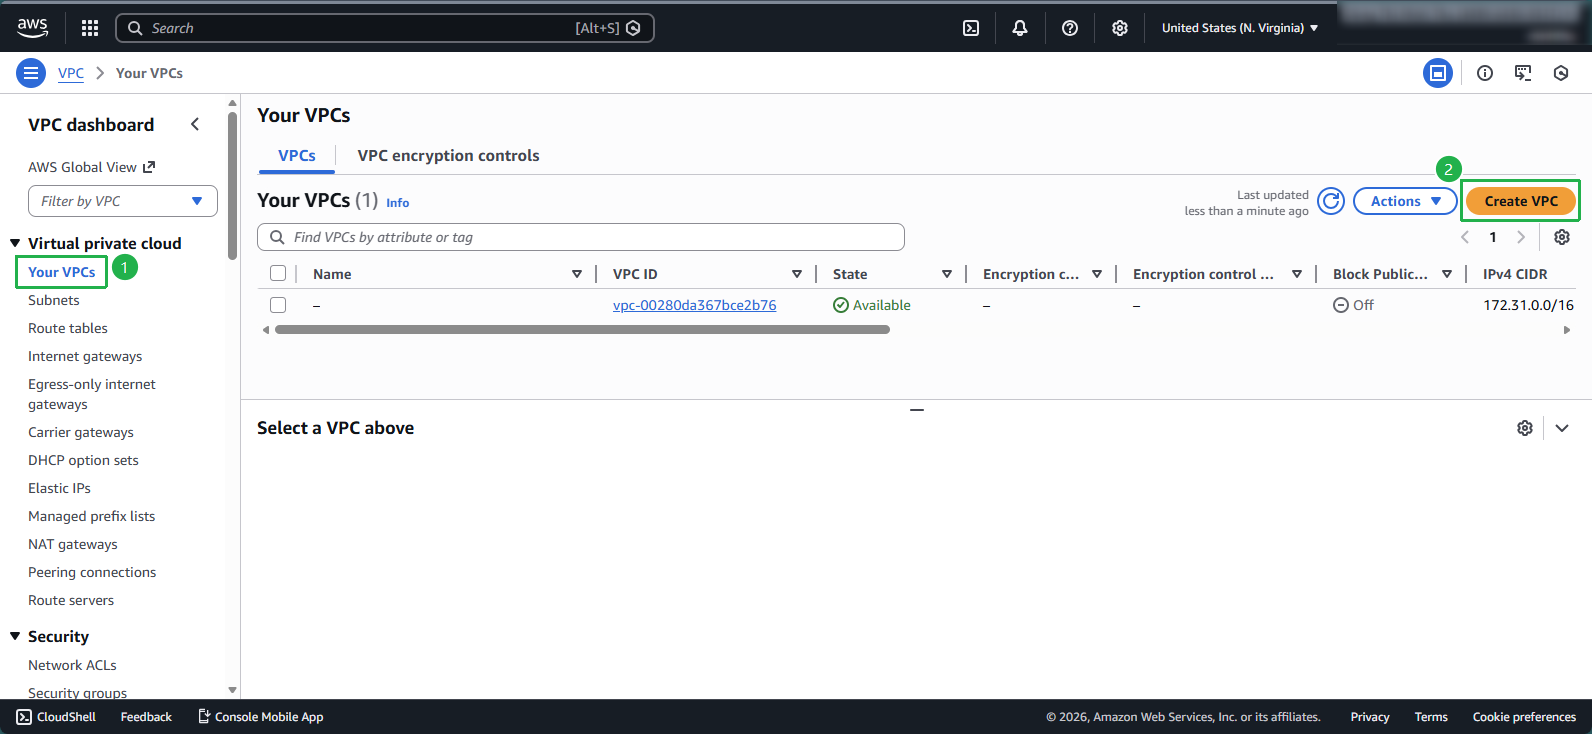
Navigate to the AWS Management Console
- In the search bar, type VPC
- Select VPC from the services list
- In the VPC dashboard, choose Your VPCs
- Click on Create VPC
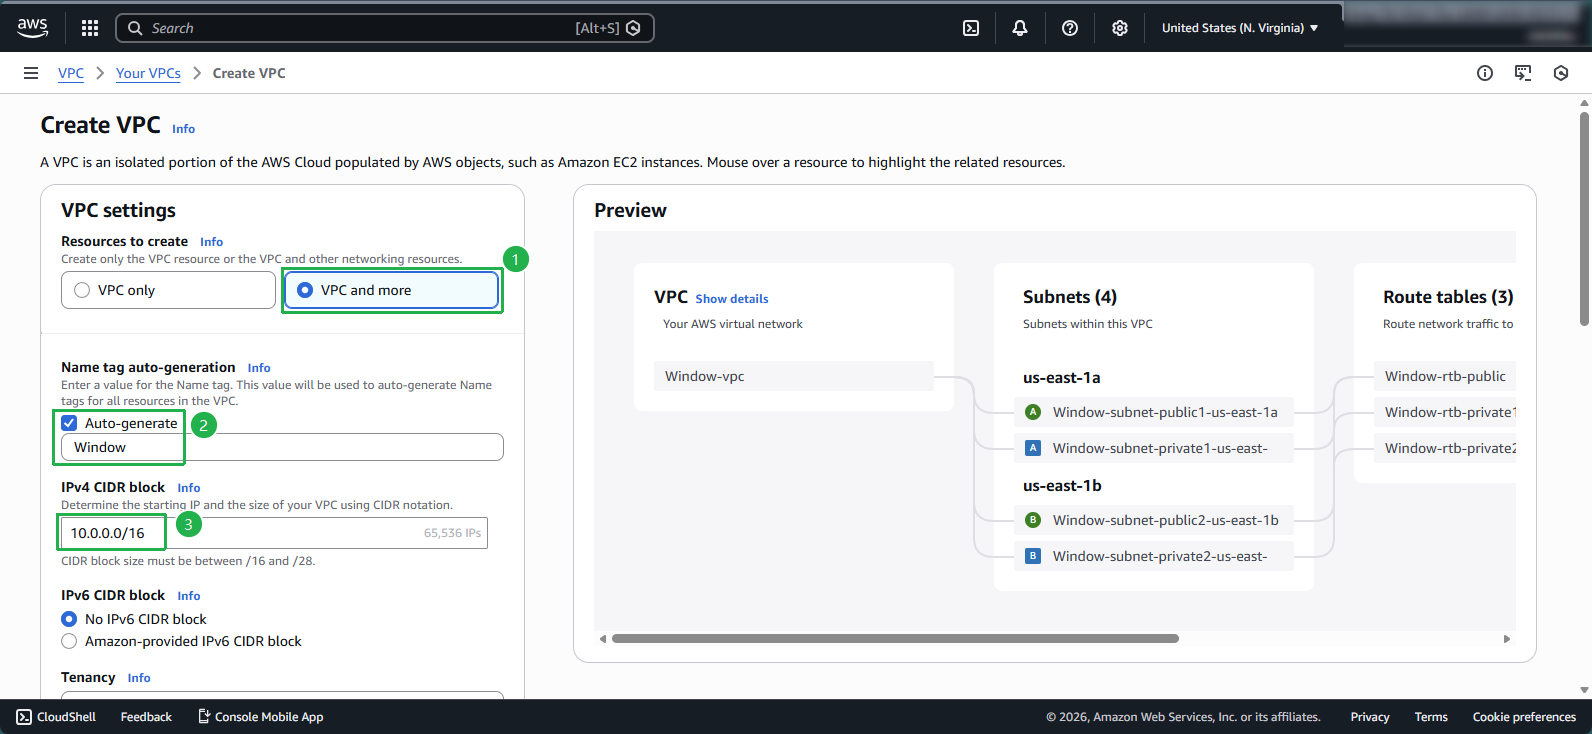
Configure your new VPC:
- Select VPC and more option (creates VPC with subnets, route tables, and gateways)
- Under Name tag auto-generation, enter
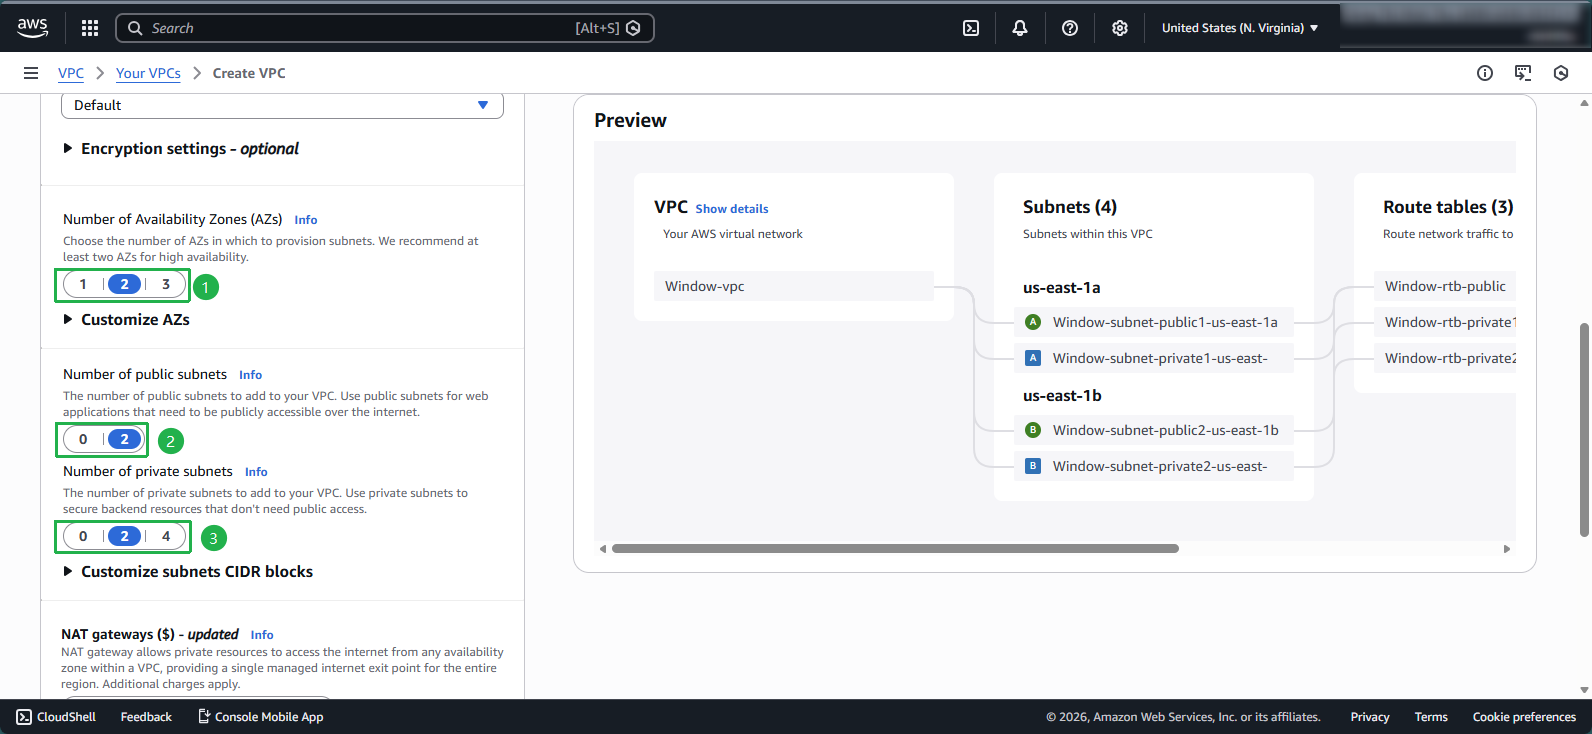
Windowsas the prefix - Number of Availability Zones (AZs): select 2.
- Number of public subnets: select 2.
- Number of private subnets: select 2.
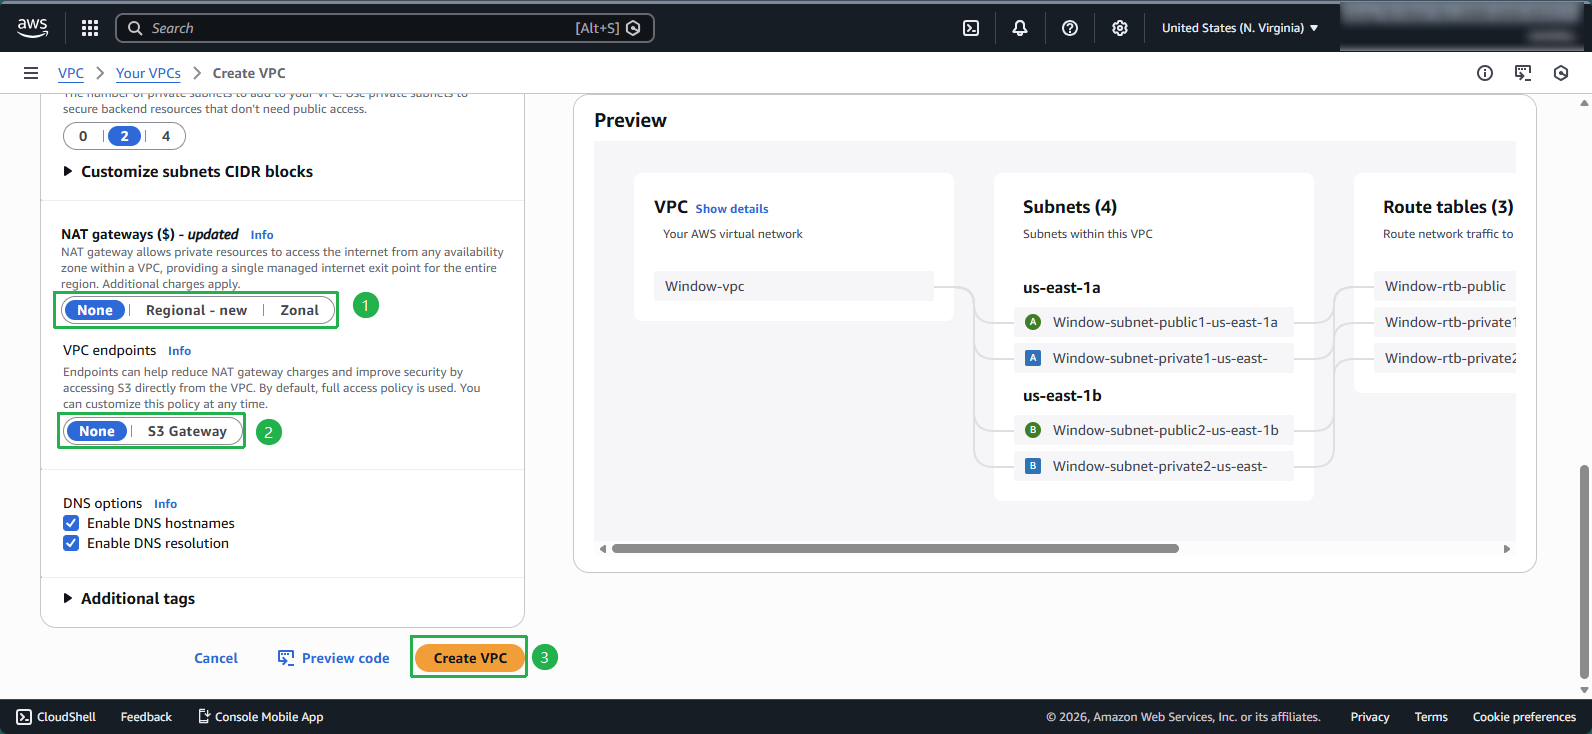
For VPC endpoints:
- Select None
- Click Create VPC to initiate the creation process
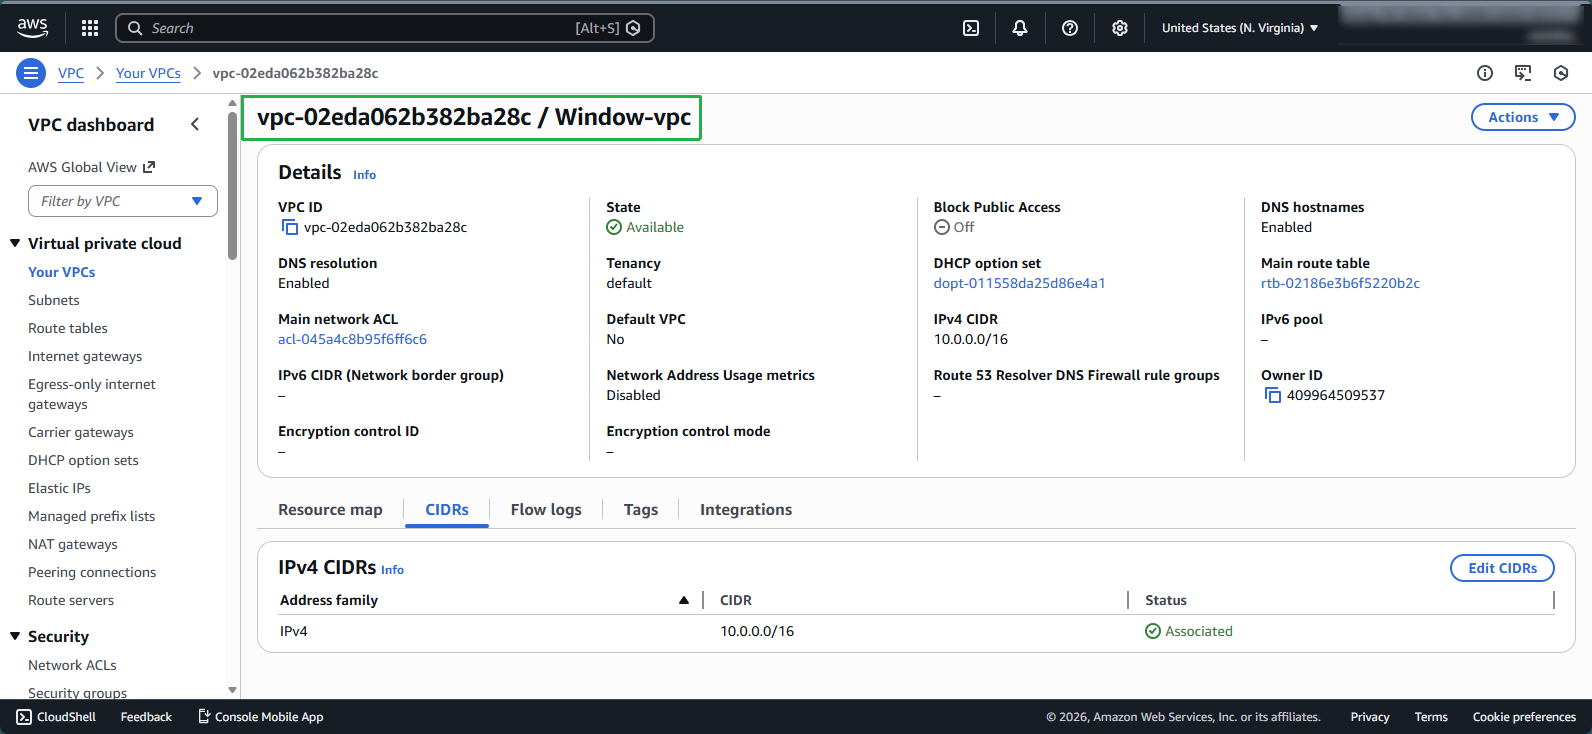
Once creation is complete:
- Click View VPC to examine your new VPC

Configure subnet settings:
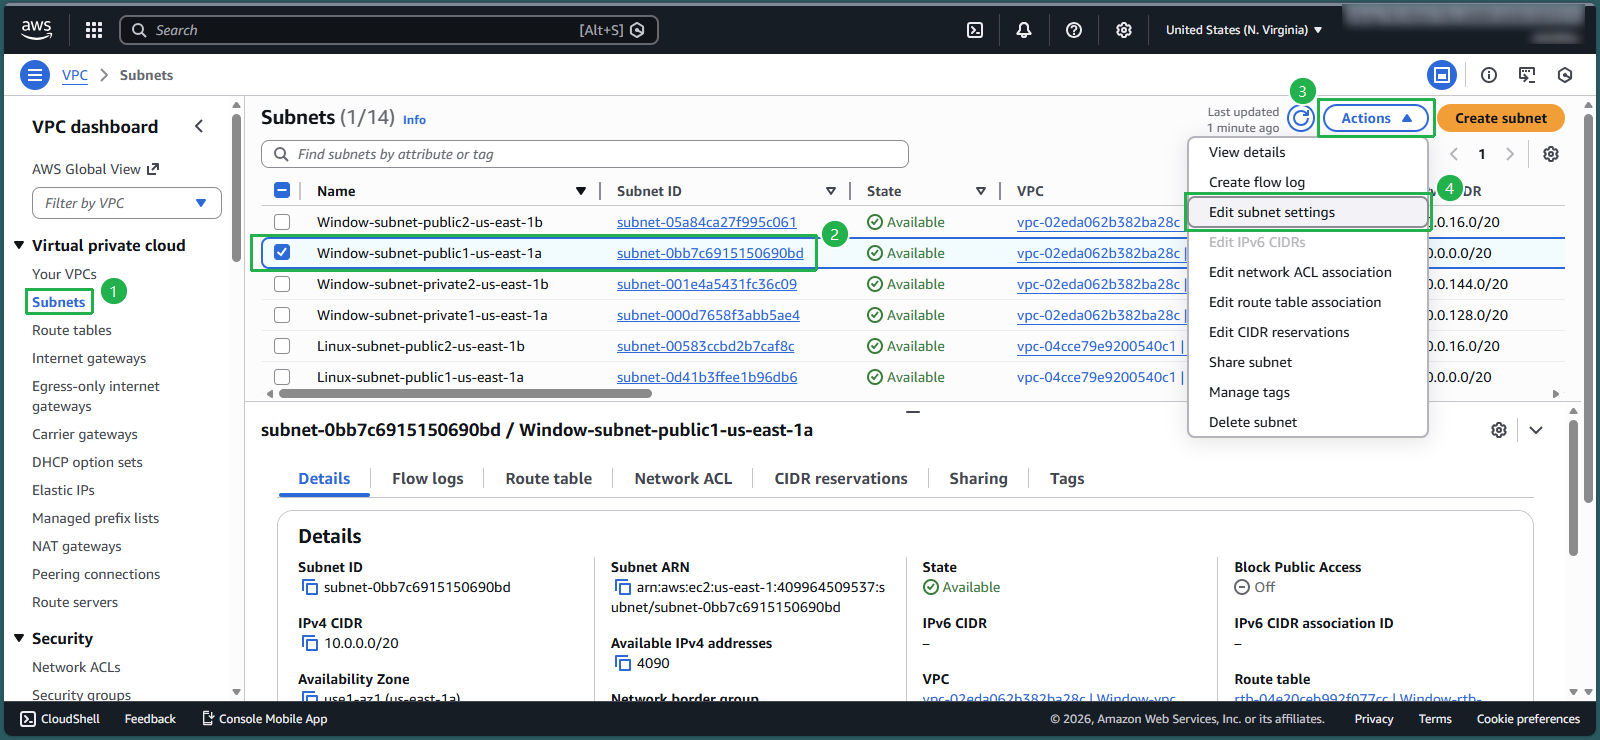
- In the navigation pane, select Subnets
Enable public IP addressing for the public subnet:
- Select the Public subnet
- Click on Actions
- Choose Edit subnet settings
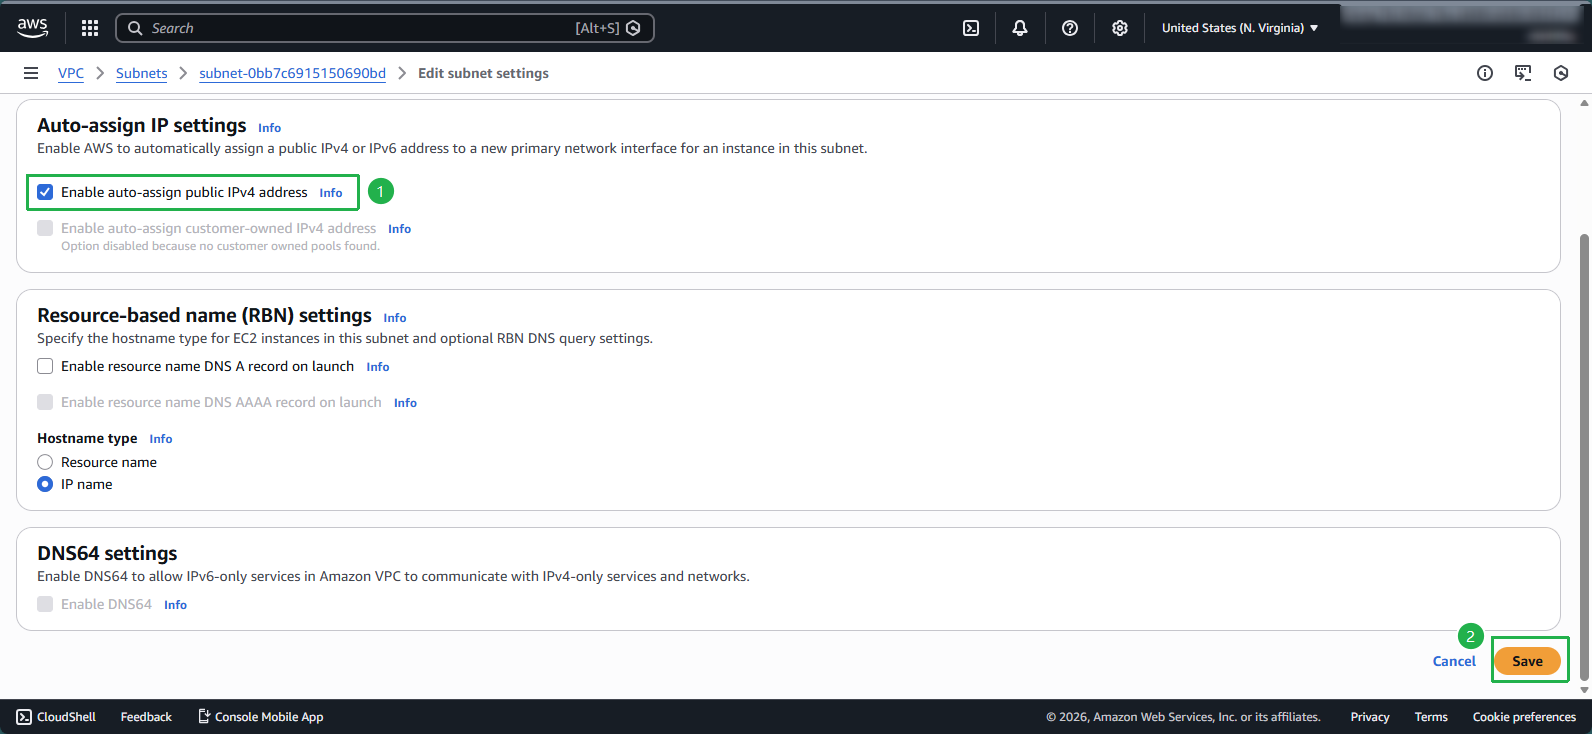
Configure auto-assignment of public IP addresses:
- Check Enable auto-assignment of public IPv4 addresses
- Click Save
Verify your configuration:
- Ensure the public subnet now has auto-assignment of public IPs enabled
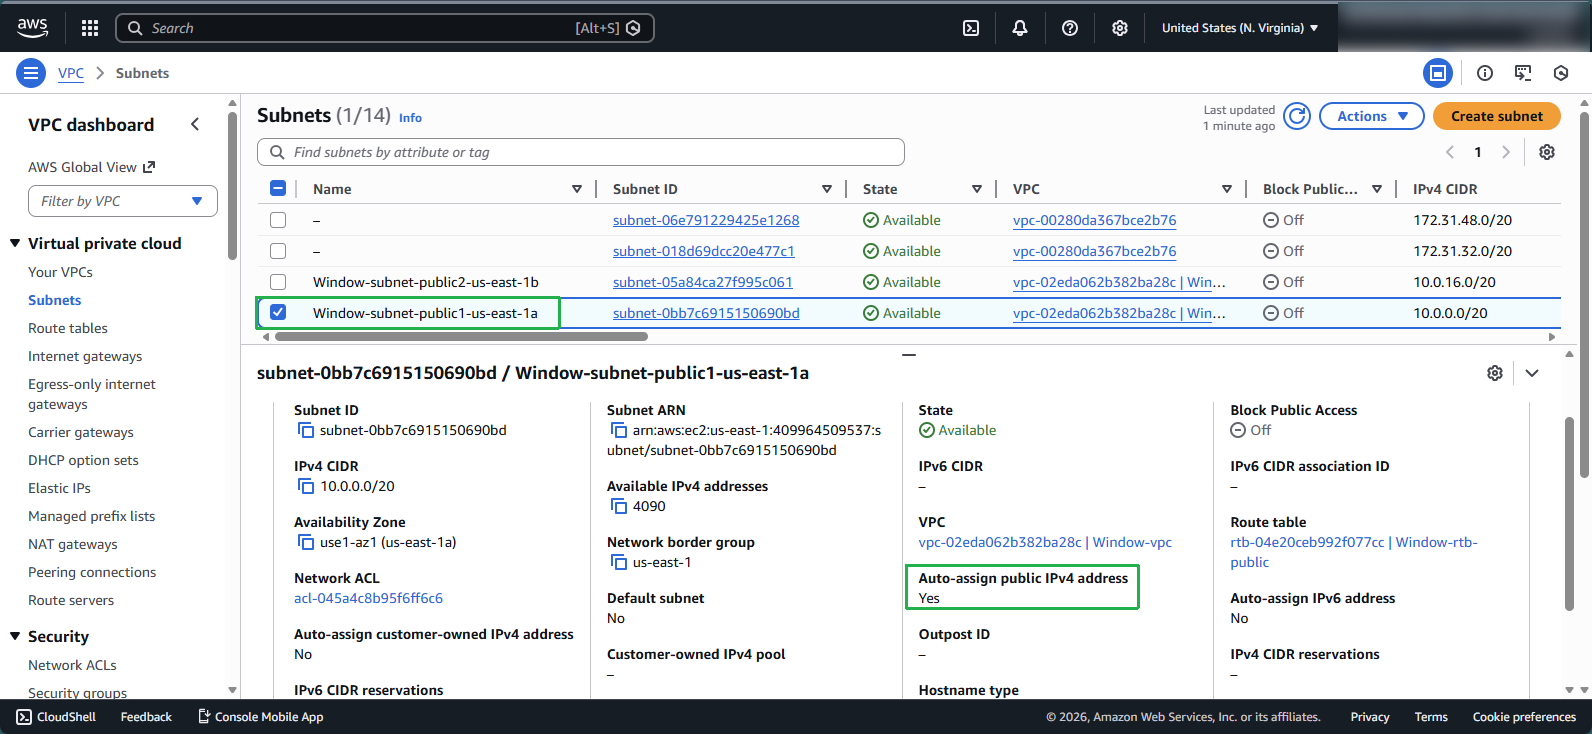
- Your Windows VPC is now ready for instance deployment
Similarly, apply the same configuration to the remaining public subnets.
💡 Pro Tip: A properly configured public subnet with auto-assigned public IPs will allow your Windows instances to communicate with the internet without requiring manual Elastic IP assignment.