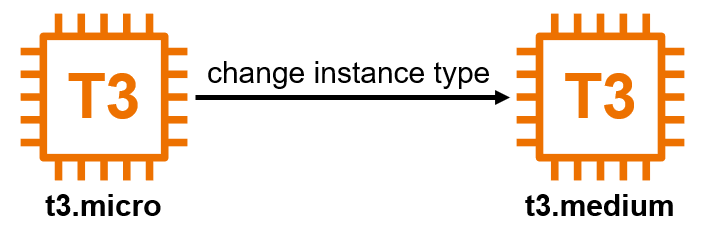
Modify EC2 Instance Type
Modifying EC2 Instance Type
Overview
ℹ️ Information: Selecting the appropriate Amazon EC2 instance type is a critical decision that determines the compute capabilities of your virtual server. The instance type you choose affects several key performance factors:
- Compute: CPU architecture (Intel, AMD, AWS Graviton ARM-based processors, GPU accelerators)
- Memory: RAM allocation for applications and workloads
- Network: Bandwidth and throughput capabilities
- Storage: EBS optimization and local instance storage options
Step-by-Step Instance Type Modification
Step 1: Access the EC2 Instance
Sign in to the AWS Management Console: - Navigate to the EC2 service - In the navigation pane, select Instances - Locate and select your Windows-instance
Step 2: Confirm Instance Stoppage
Make sure the instance is Stopped. If not, choose Instance state → Stop instance and wait for it to stop.
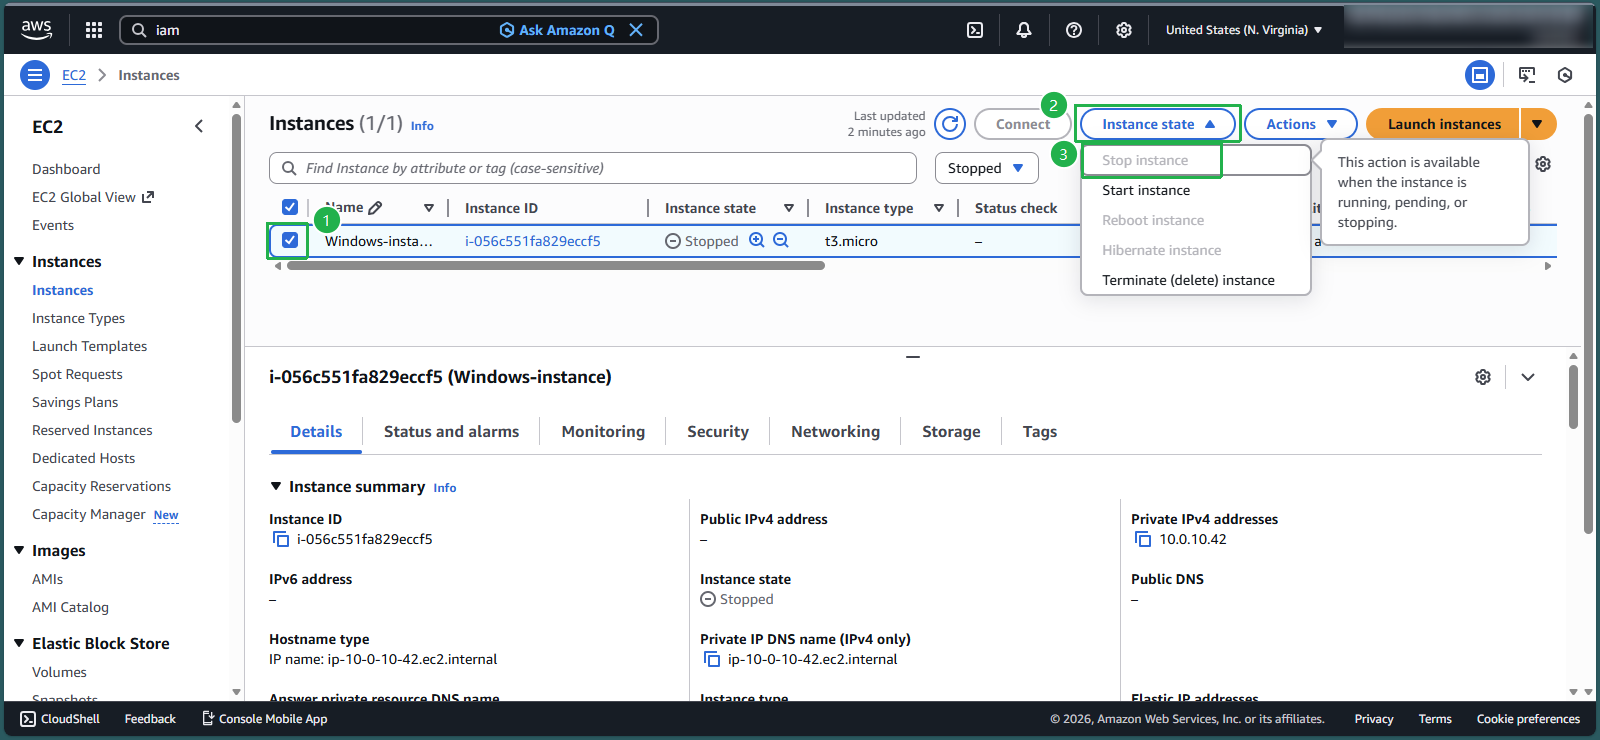
⚠️ Warning: An EC2 instance must be in the stopped state before you can modify its instance type. This will temporarily interrupt any applications running on the instance.
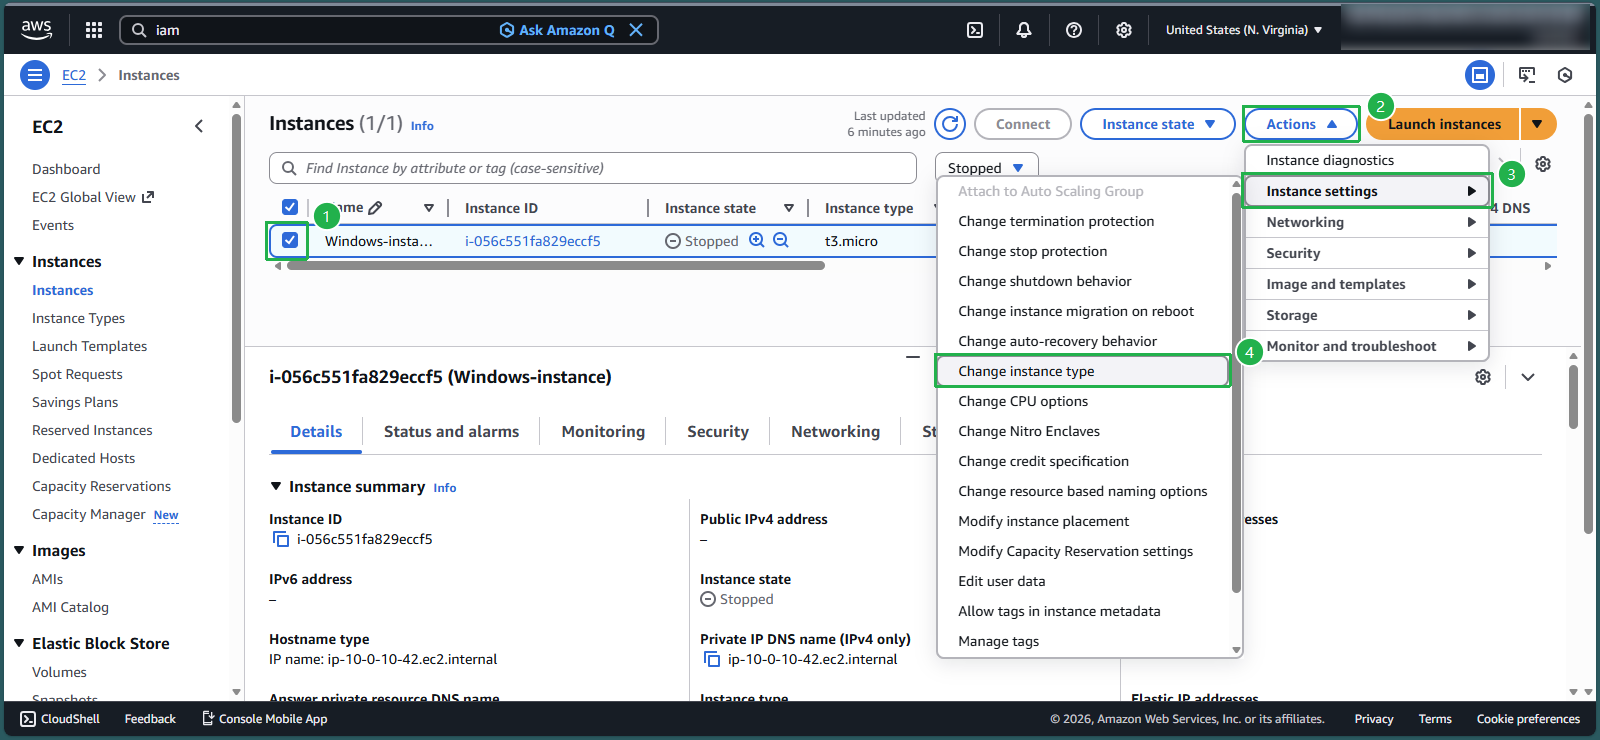
Step 3: Change the Instance Type
Access the instance type settings: - Click on Actions - Expand Instance settings - Select Change instance type
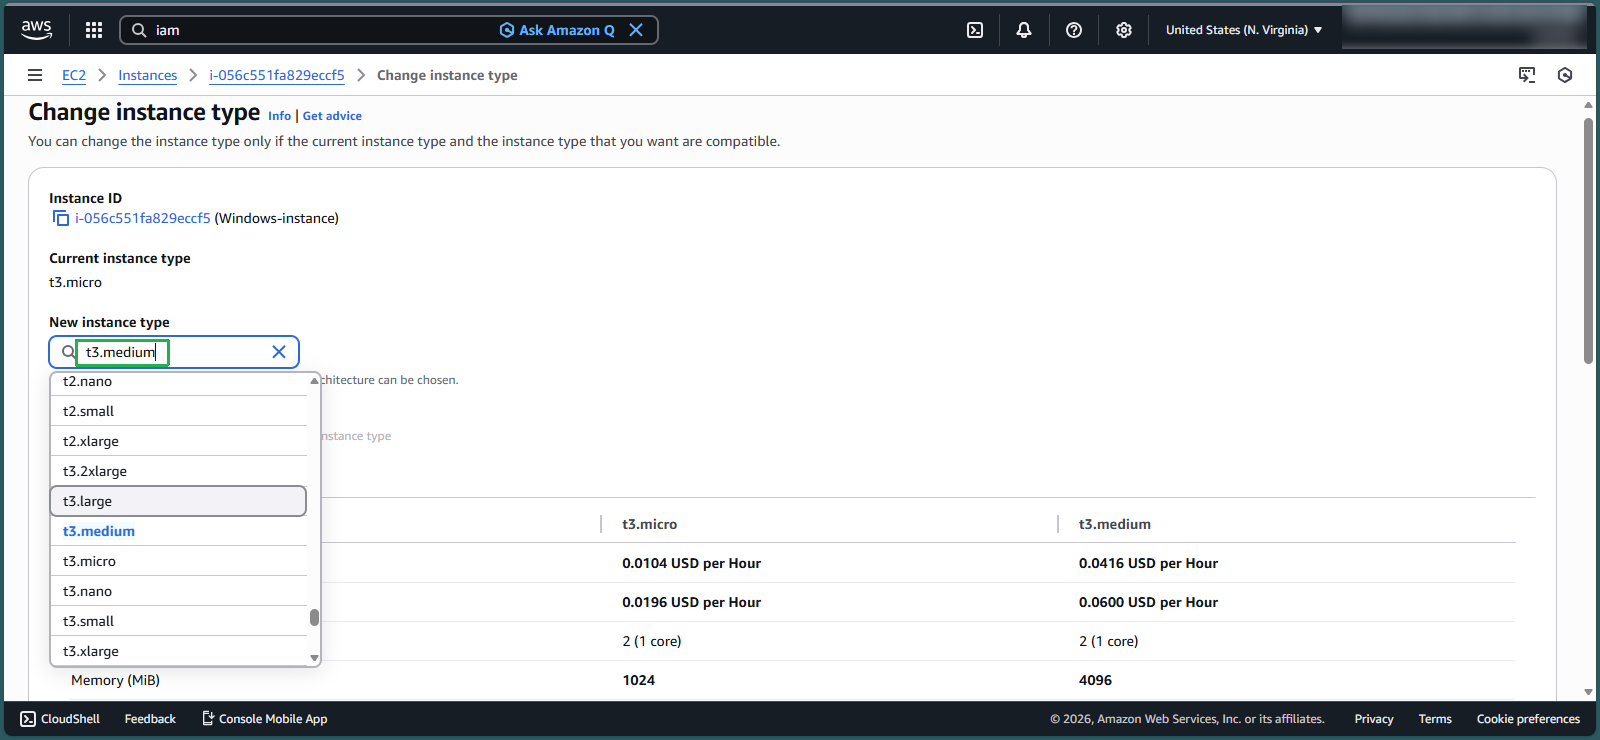
Step 4: Select the New Instance Type
In the Change instance type dialog: - From the New instance type dropdown, search t3.medium and select it. - Review the new specifications (vCPUs, memory, network performance) - Scroll down and click Change instance type
Step 5: Restart the Instance
After the instance type has been changed:
- Select the Windows-instance
- Verify the new Instance type is displayed correctly
- Click on Instance state
- Select Start instance

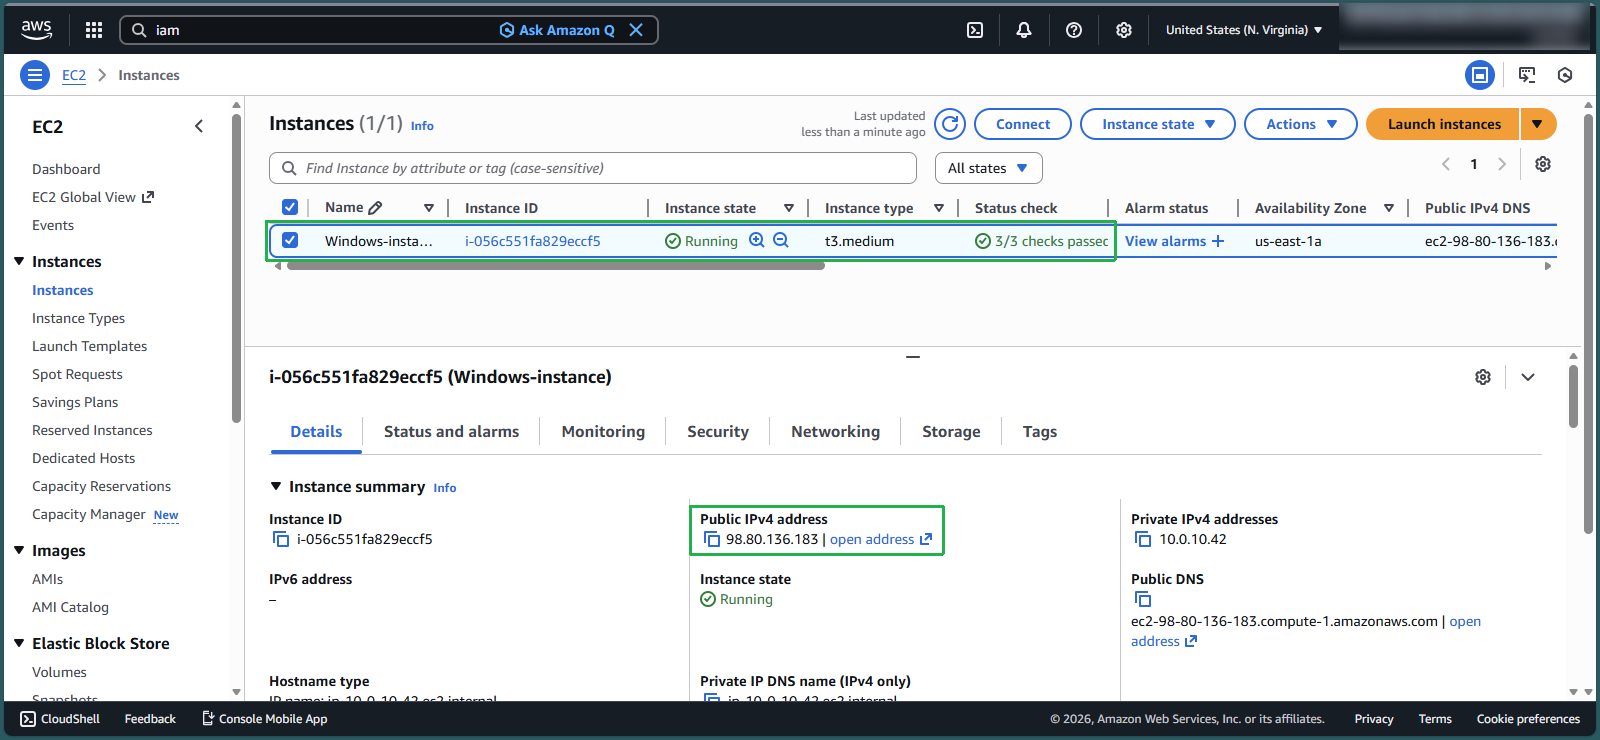
Step 6: Verify Instance Status
Monitor the instance status:
- Wait approximately 5 minutes for the instance to fully initialize
- Confirm that Status check shows 3/3 checks passed
- Verify that Instance state displays Running.
- Note: The public IP address changes after a restart.
🔒 Security Note: When changing instance types, security groups, IAM roles, and other security configurations remain unchanged. However, it’s a good practice to review these settings after any instance modification.