Install Node.js on Amazon Linux 2023
Install Node.js on Amazon Linux 2023
In this guide, we’ll walk you through the process of installing Node.js on Amazon Linux 2023. We’ll also cover setting up the necessary security group rules and using Node.js to run a web application on Amazon Elastic Compute Cloud (Amazon EC2).
Note: Before proceeding, ensure that your Security Group allows inbound traffic on the following ports: SSH (port 22), HTTP (port 80), HTTPS (port 443), and the port you plan to use for your Node.js app (e.g., port 5000).
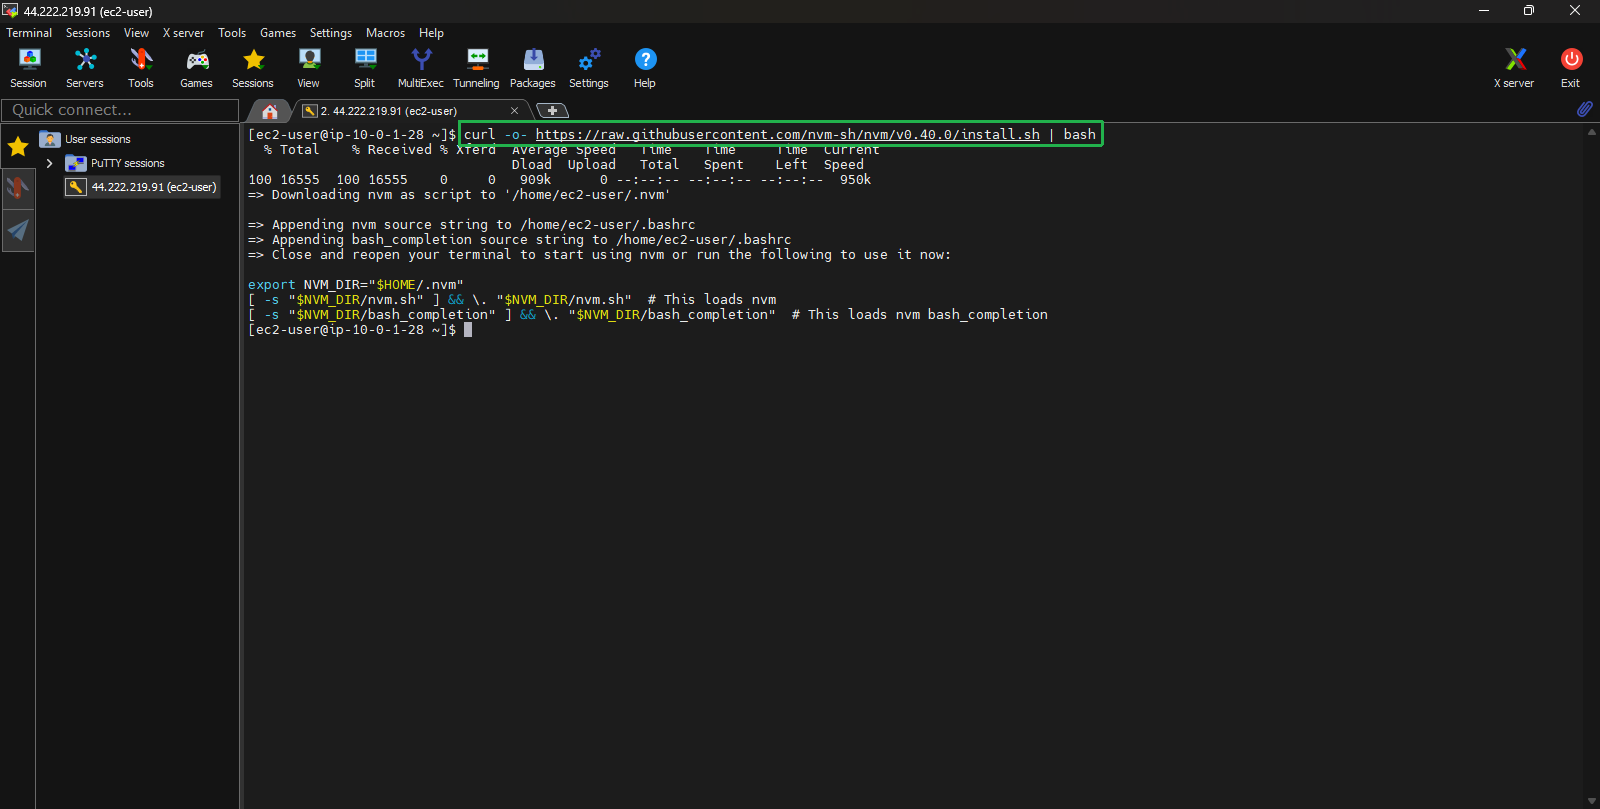
To start, install Node Version Manager (nvm) by executing the following command in your terminal:
curl -o- https://raw.githubusercontent.com/nvm-sh/nvm/v0.40.0/install.sh | bash
Note: We’re using nvm to install Node.js because it enables the installation of multiple Node.js versions and facilitates easy switching between them.
After installing nvm, activate it using the following command:
. ~/.nvm/nvm.sh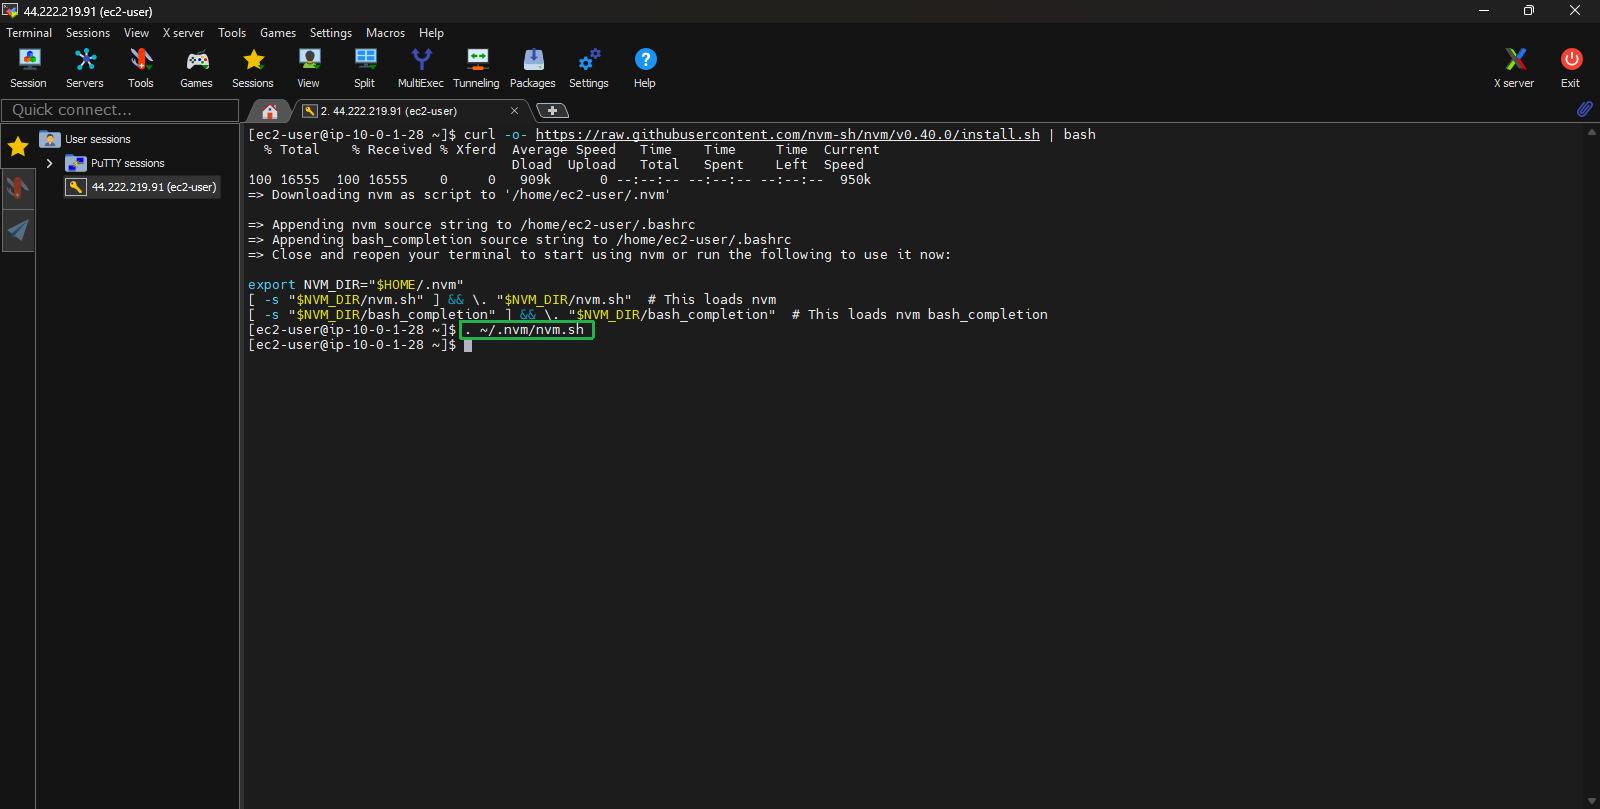
Now, use nvm to install the latest version of Node.js:
nvm install --lts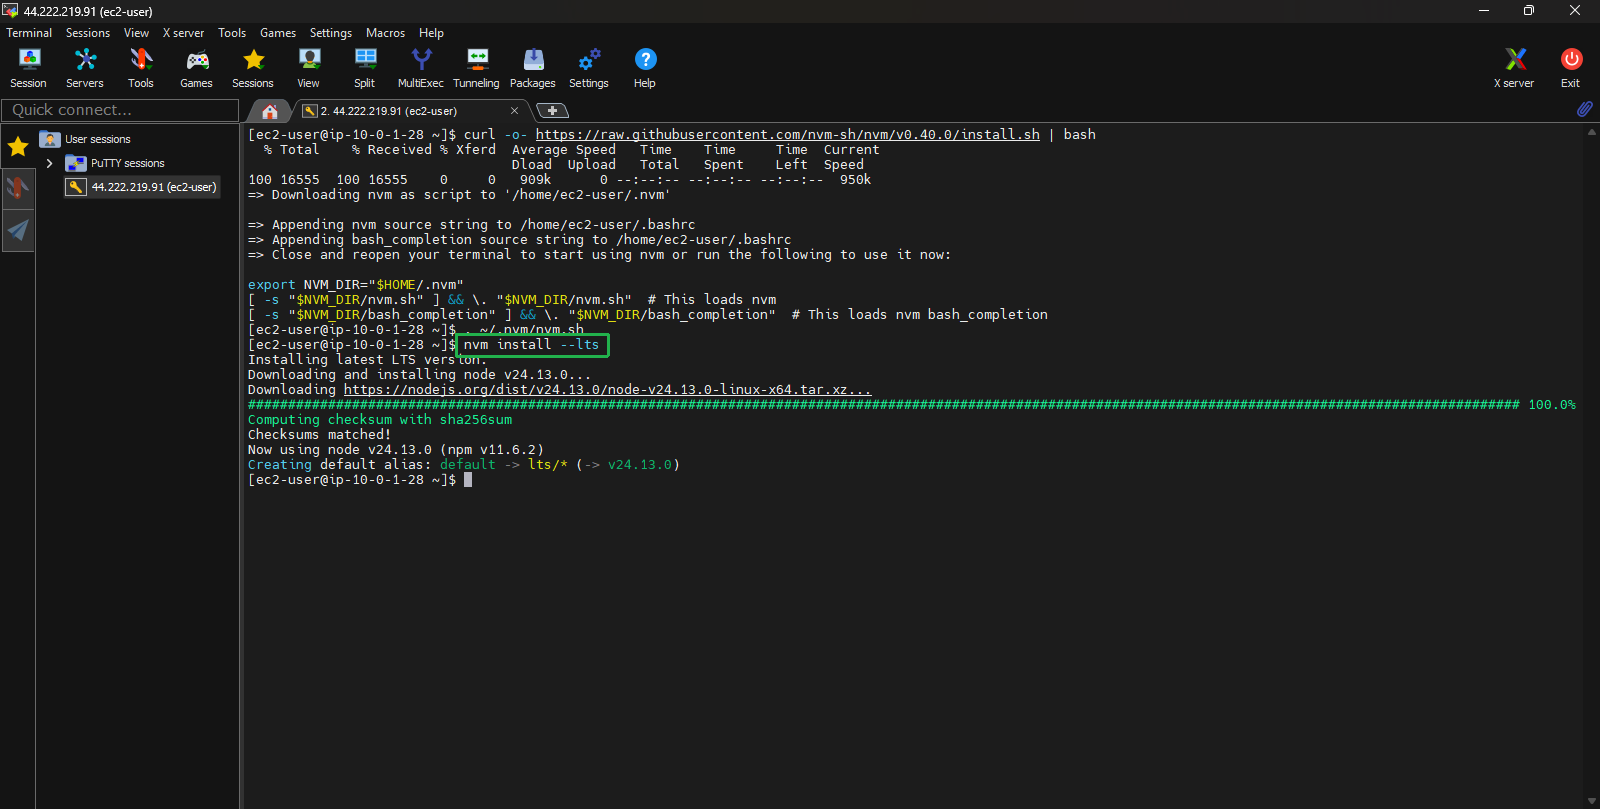
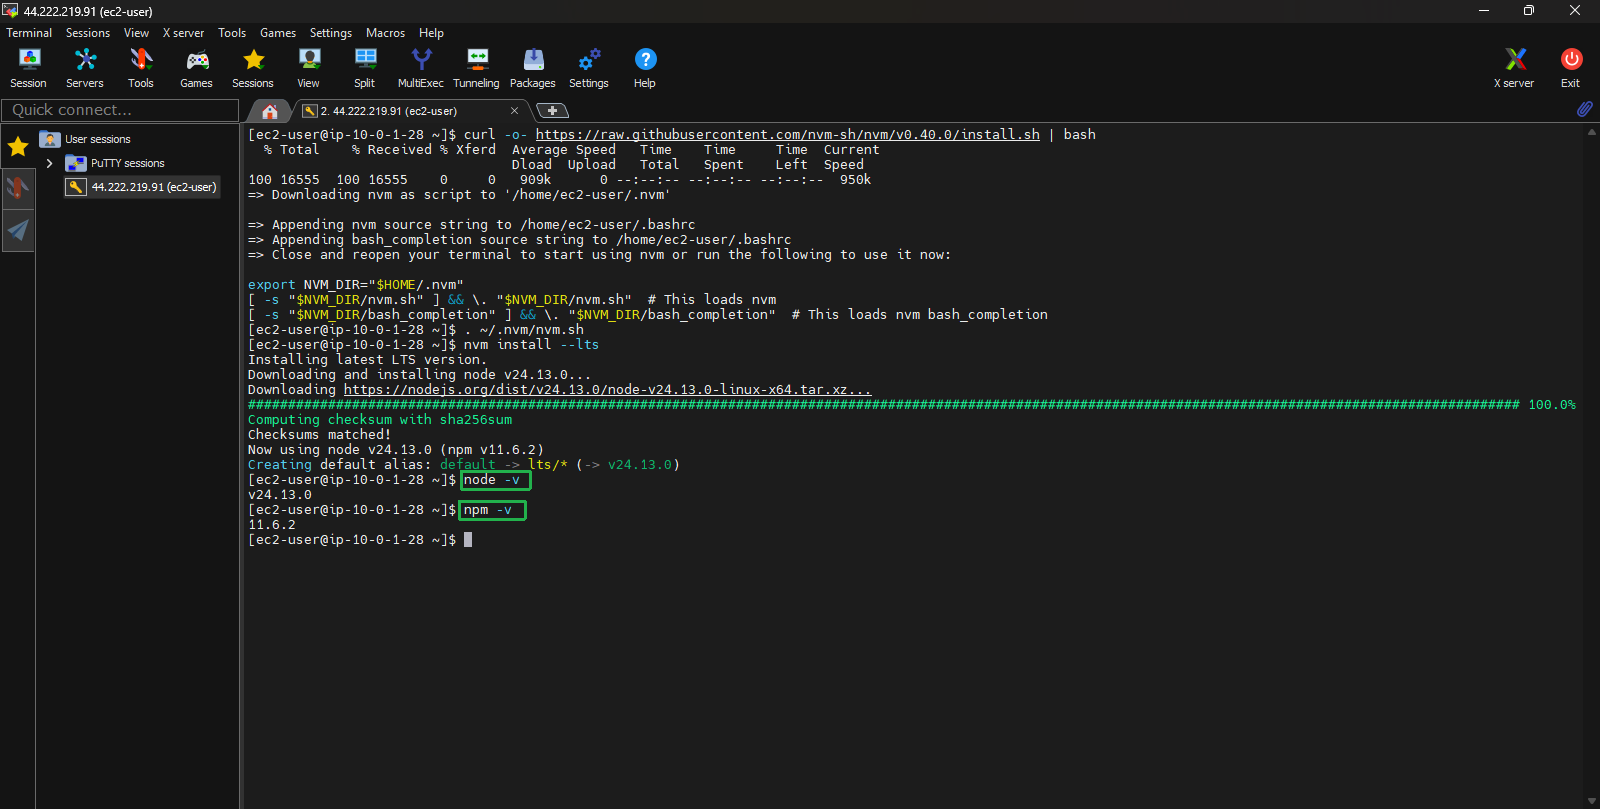
To verify that Node.js was installed successfully, run the following commands in your terminal:
node -v
npm -v