Create Custom AMI
Creating a Custom Amazon Machine Image (AMI)
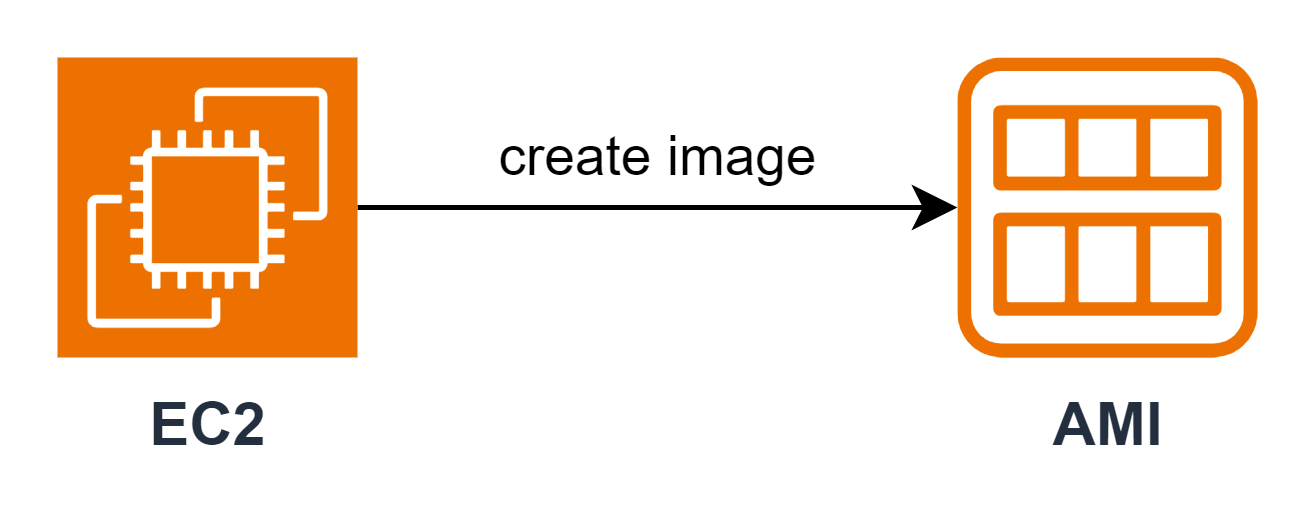
ℹ️ Information: A custom Amazon Machine Image (AMI) allows you to capture the configuration, software, and data of an EC2 instance, enabling you to launch identical instances quickly. This is essential for maintaining consistency across your infrastructure and accelerating deployment processes.
Step 1: Prepare Your EC2 Instance
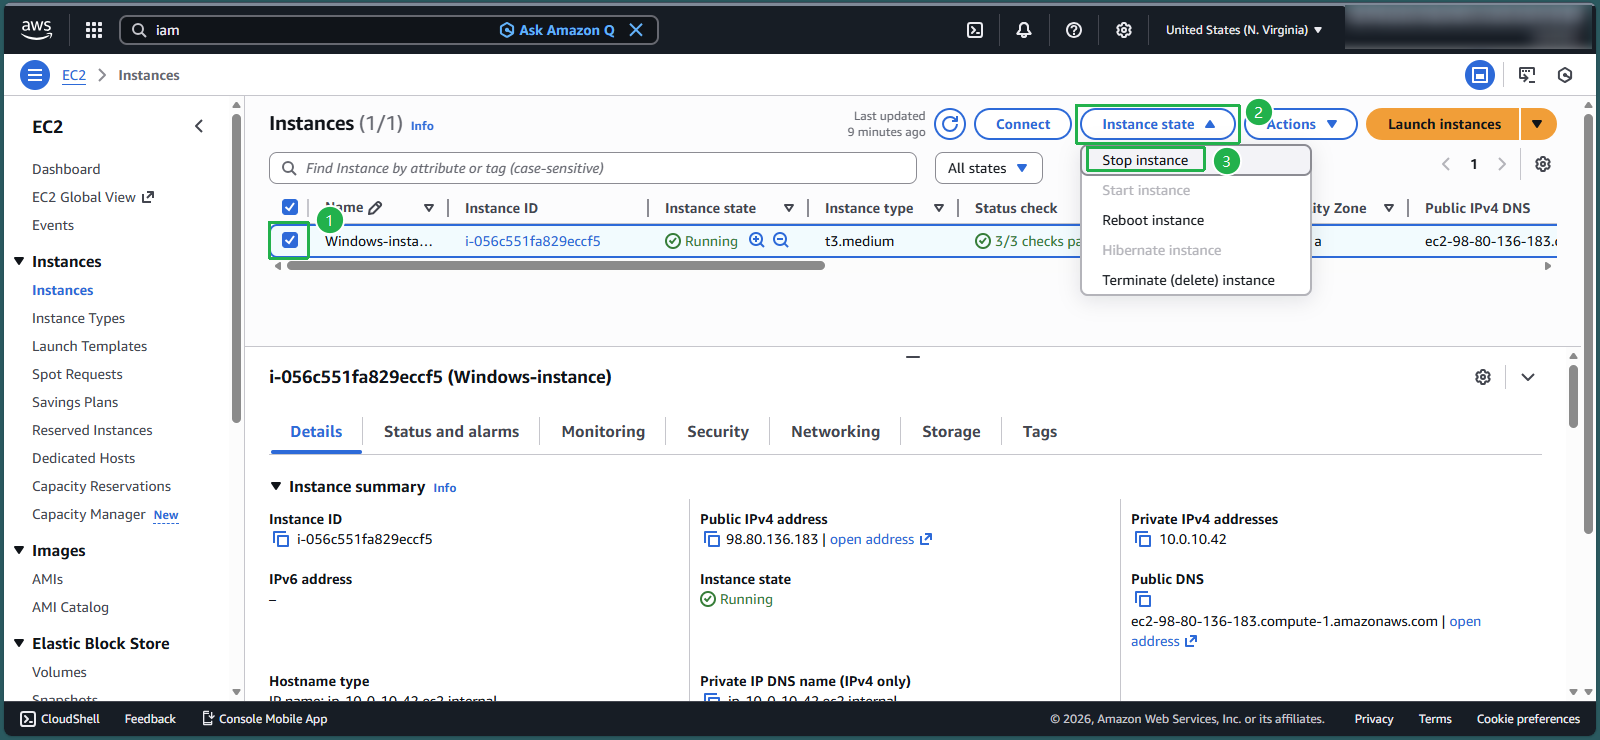
Sign in to the AWS Management Console
- Navigate to the EC2 service
- Select Instances from the navigation pane
- Select your Windows-instance
- Click Instance state, then select Stop instance
Verify the instance has completely stopped:
- Confirm the instance state shows Stopped
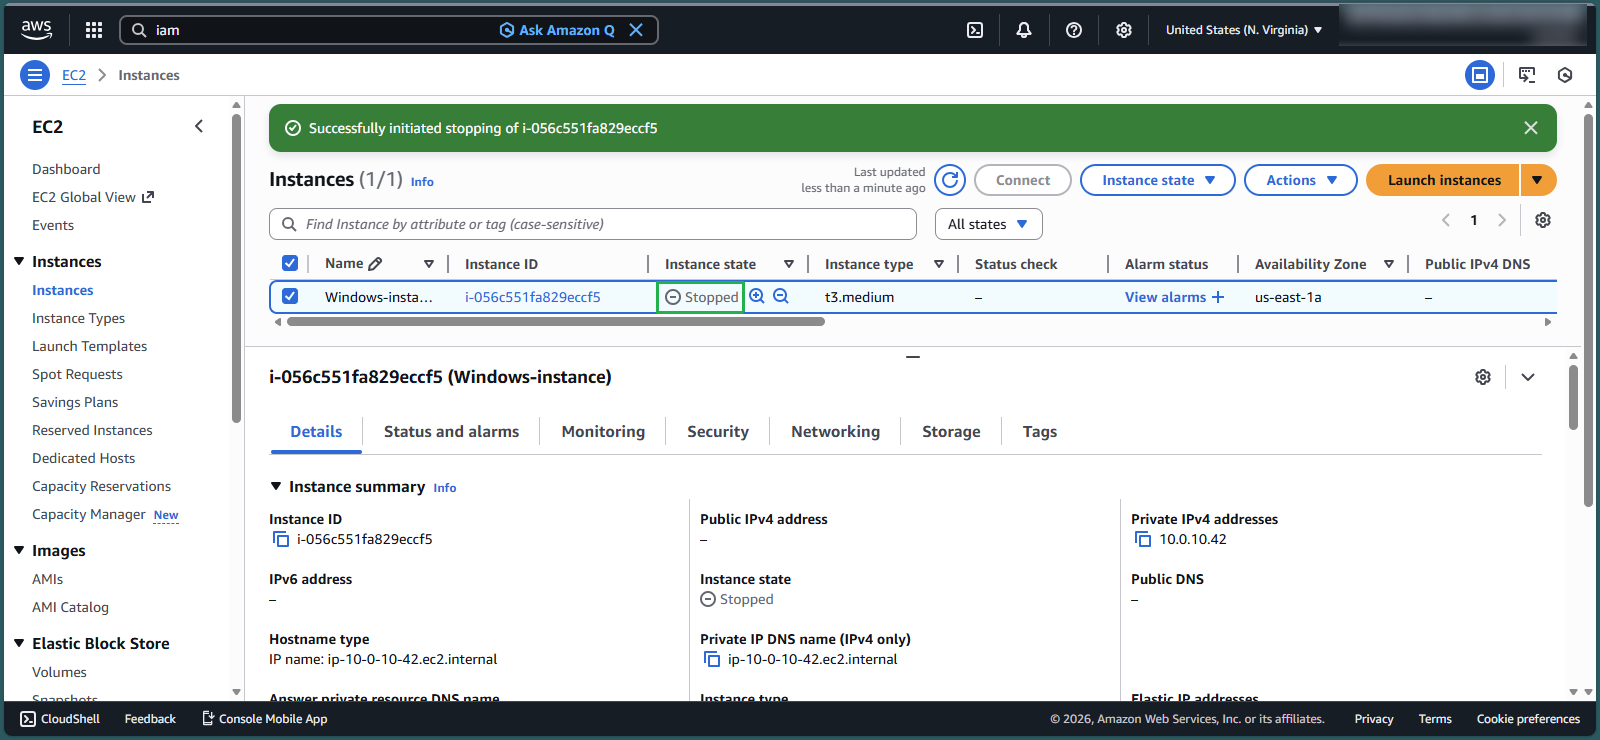
⚠️ Warning: For Windows instances, it’s recommended to stop the instance completely before creating an AMI to ensure that the Sysprep function (configured in lab 3.2) is fully processed. This ensures your AMI will have proper Sysprep configuration information.
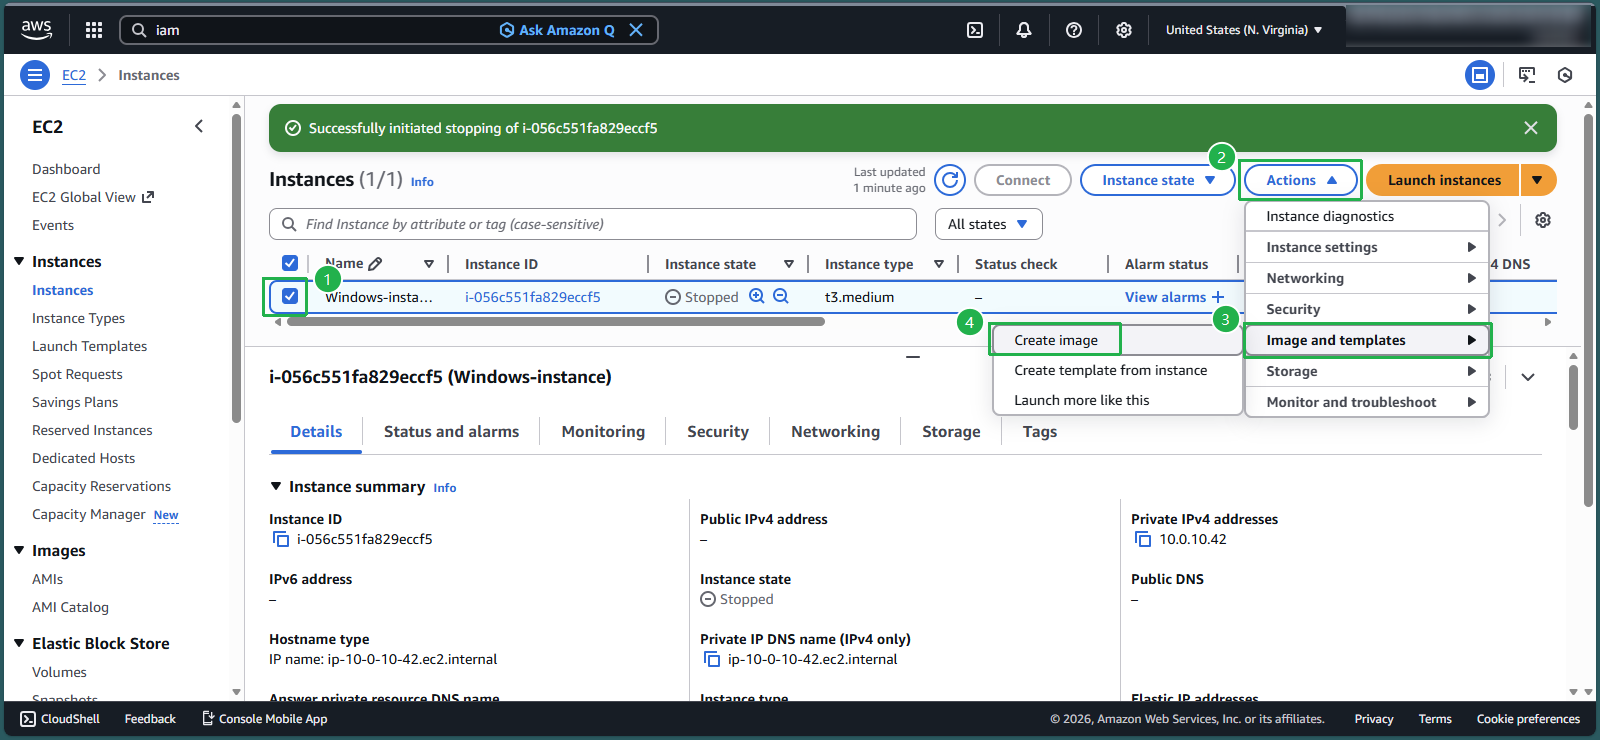
Step 2: Create the AMI
With the instance selected:
- Click Actions
- Expand Image and templates
- Select Create image
Step 3: Configure AMI Settings
In the Create image dialog:
- Image name: Enter
Custom Windows AMI - Image description: Enter
Custom Windows AMI - Uncheck Reboot instance
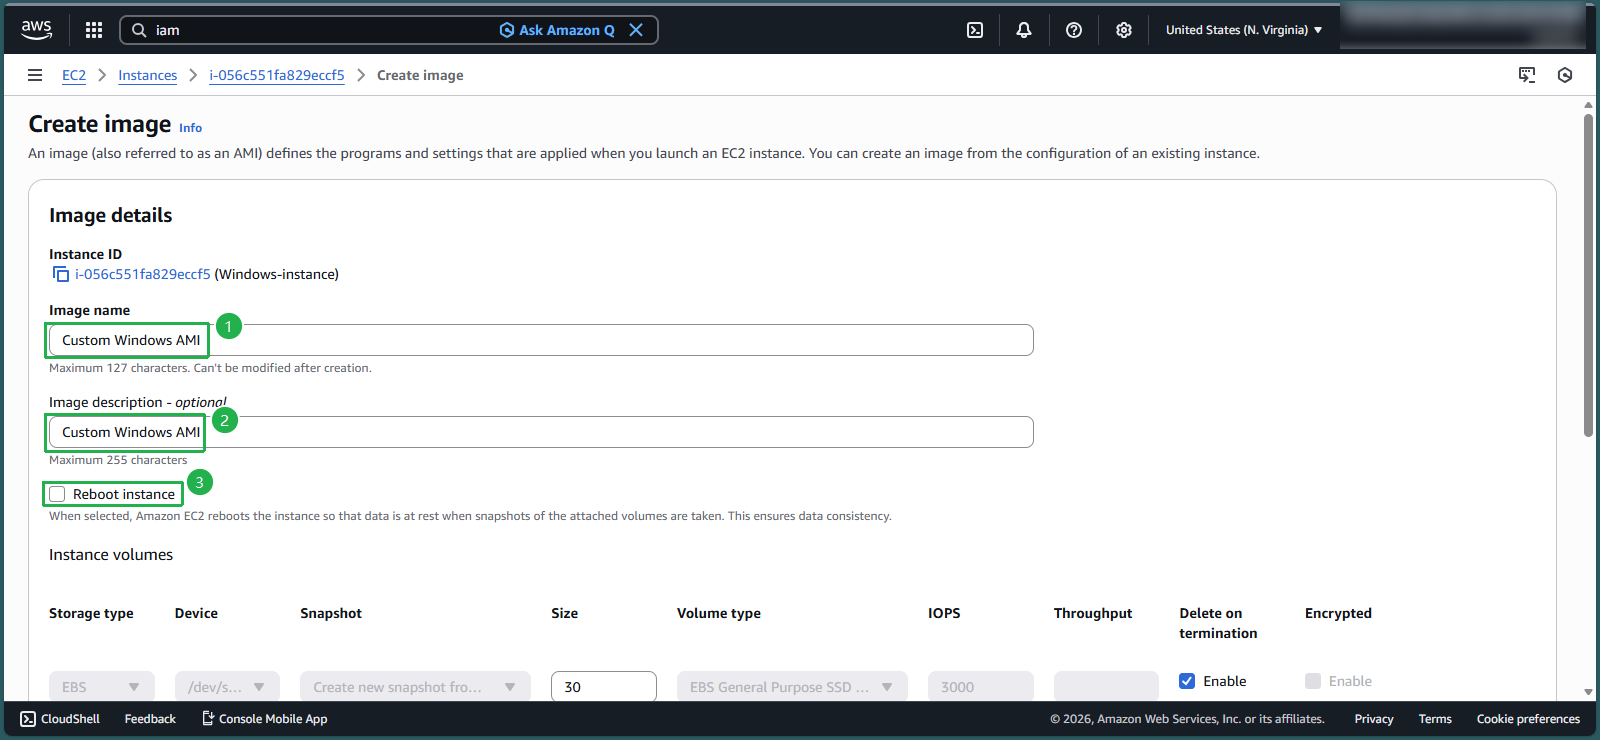
- Image name: Enter
💡 Pro Tip: Uncheck Reboot instance option prevents AWS from rebooting your instance during AMI creation. This is useful when you want to avoid downtime or prevent changes to the instance’s public IP address (for instances in public subnets without Elastic IPs). However, disabling reboot means means AWS cannot guarantee file system integrity in the created image.
Complete the AMI creation:
- Click Create image

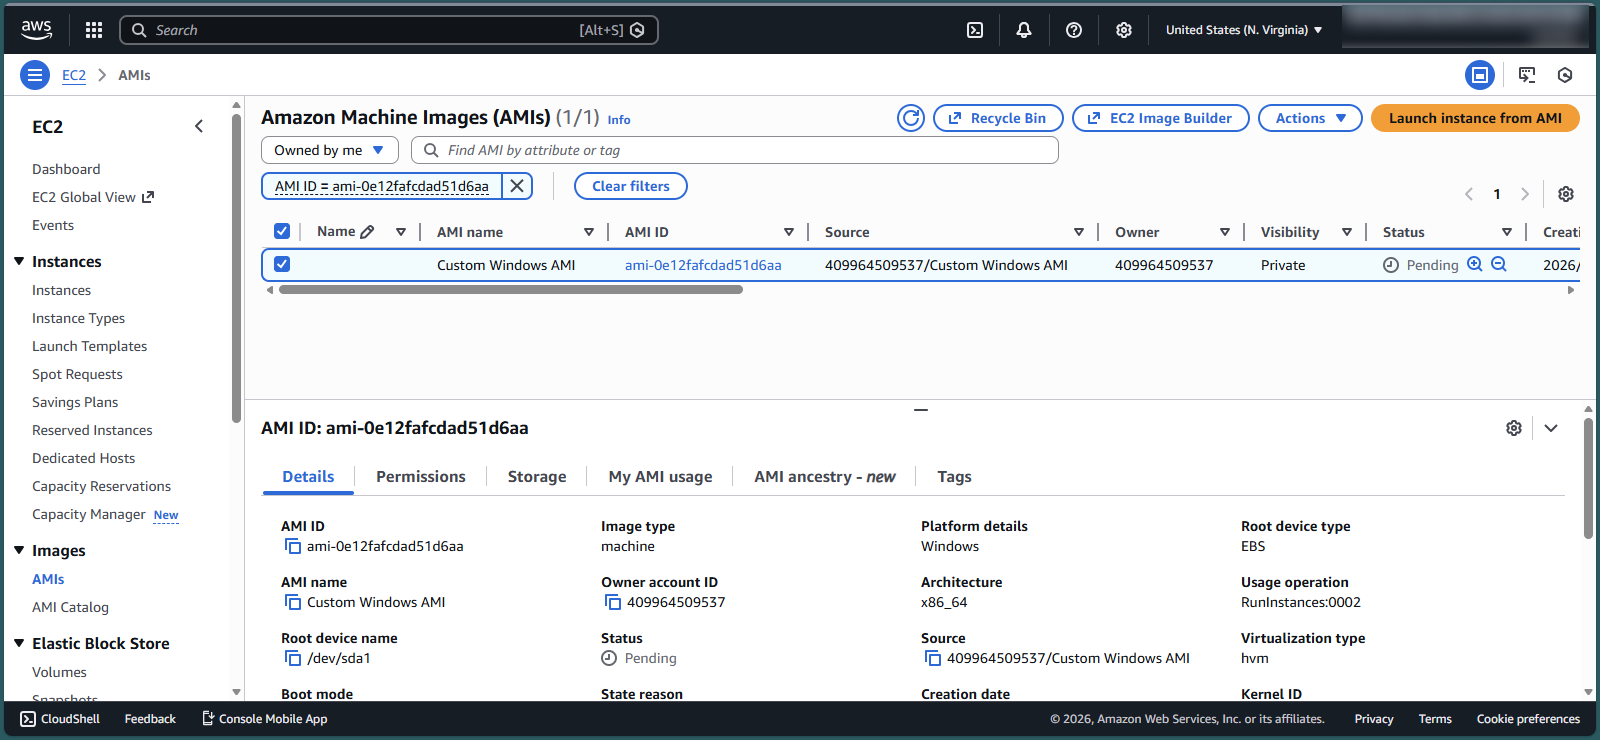
Step 4: Monitor AMI Creation Progress
Navigate to the AMIs section:
- In the EC2 console navigation pane, select AMIs
Monitor the AMI creation process:
- Wait approximately 5 minutes for the AMI initialization to complete
- The status will change from pending to available when ready

🔒 Security Note: Custom AMIs contain all data from the source instance. Ensure you’ve removed any sensitive information, credentials, or personal data before creating an AMI that might be shared with others or used across multiple environments.