Install XAMPP on Windows instance
Installing XAMPP on Microsoft Windows Server 2025
ℹ️ Information: XAMPP is a comprehensive software bundle that integrates five key components: Cross-Platform (X), Apache (A), MariaDB (M), PHP (P), and Perl (P). This integrated development environment provides everything needed to set up a local web server environment on your Windows instance.
Understanding MariaDB in XAMPP
While XAMPP historically included MySQL as its relational database management system, current versions utilize MariaDB, a community-developed fork of MySQL created by the original MySQL developers. This combination of MariaDB with Apache Web Server and PHP provides robust data storage capabilities for web applications in the AWS environment.
Implementation Steps
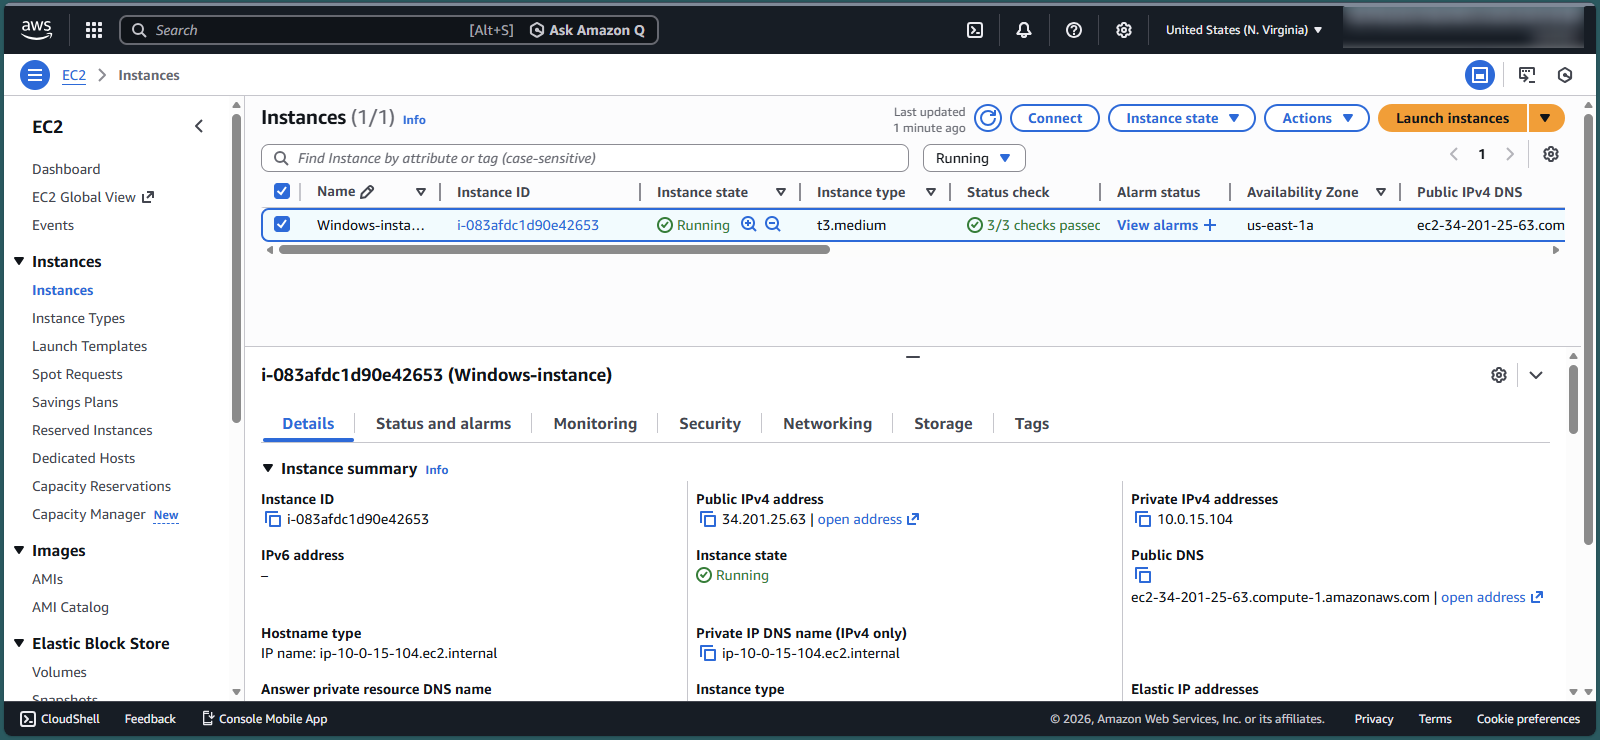
Access your EC2 instance:
- Navigate to the EC2 console
- Select Instances from the navigation pane
- Locate and select your Windows-instance
- Review the configuration details in the lower panel
Connect to your Windows Server instance:
- Access the Remote Desktop Connection interface
- If you haven’t connected yet, follow the connection steps from the EC2 console
If you have not yet connected to the Microsoft Windows Server 2025 instance, please repeat Step 3.2: Connect to the Windows instance.
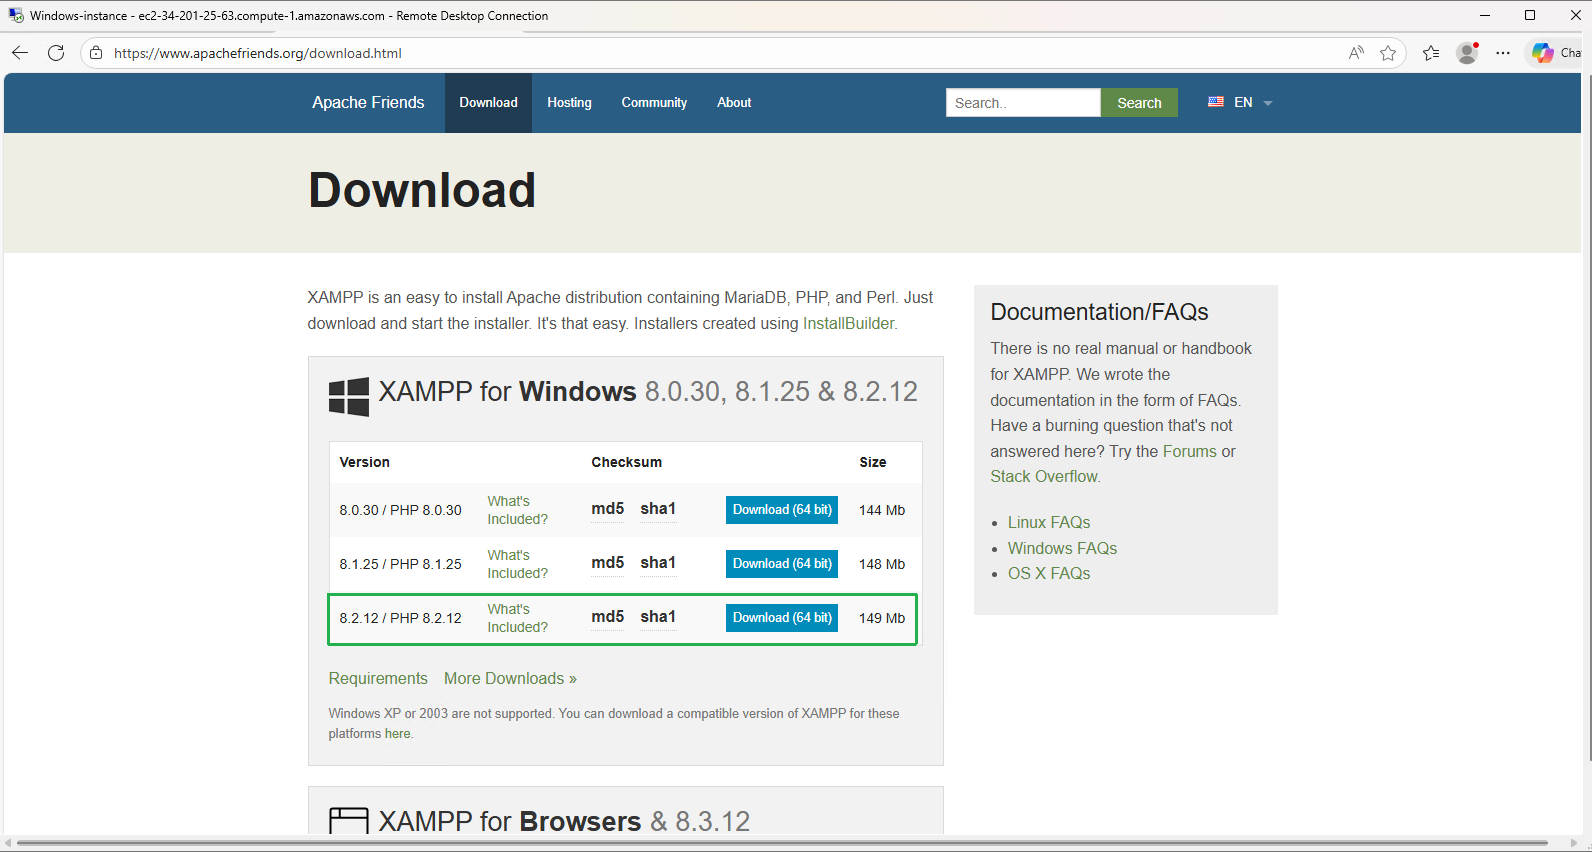
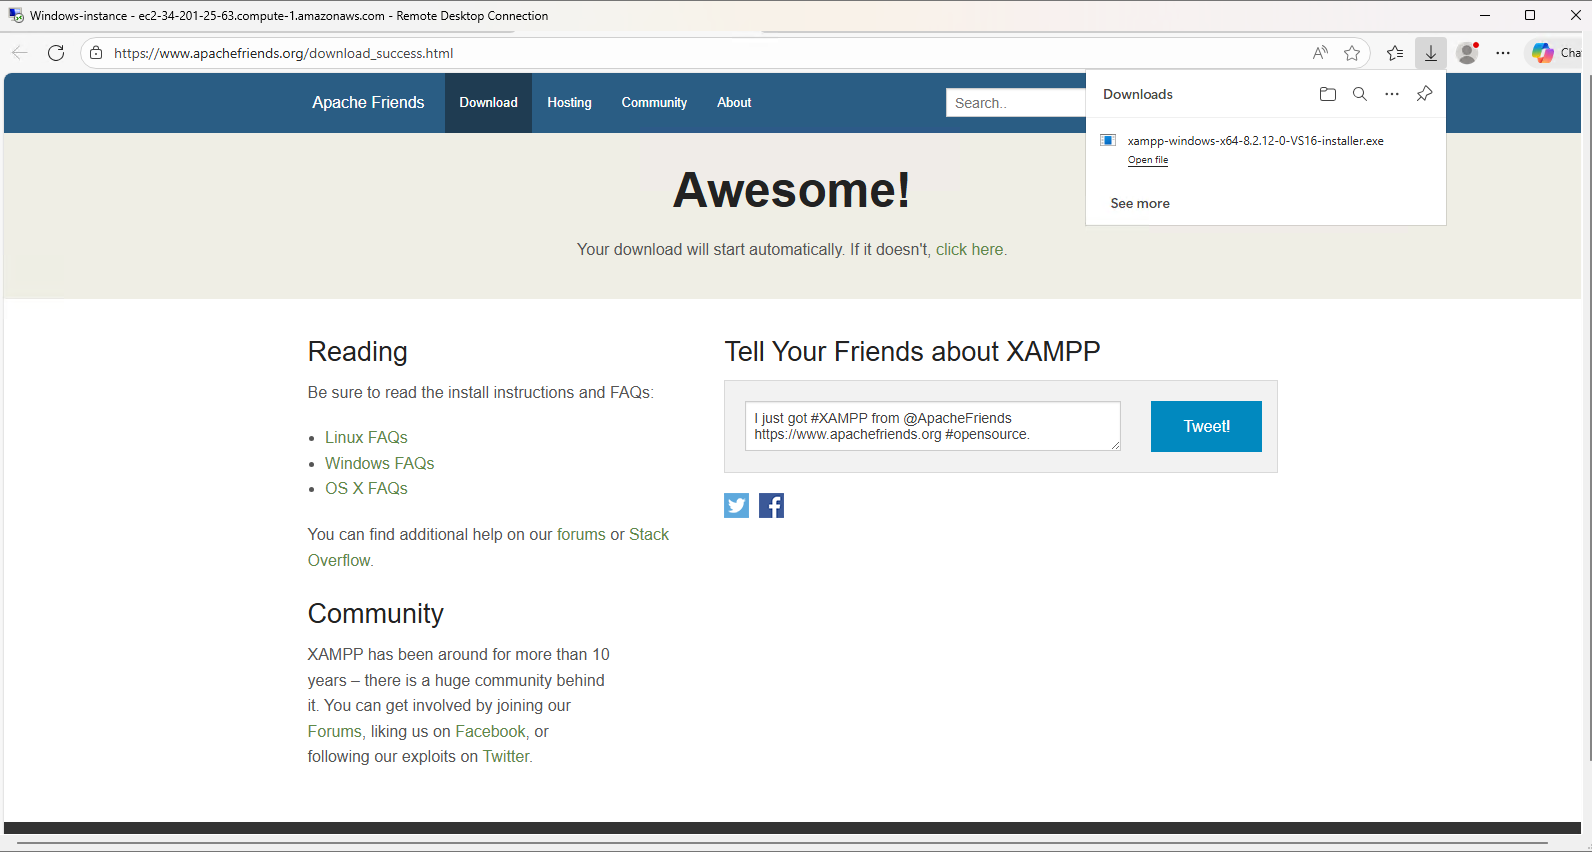
Download and install XAMPP:
- Visit the official XAMPP website at https://www.apachefriends.org/download.html
- Download the latest version compatible with Windows
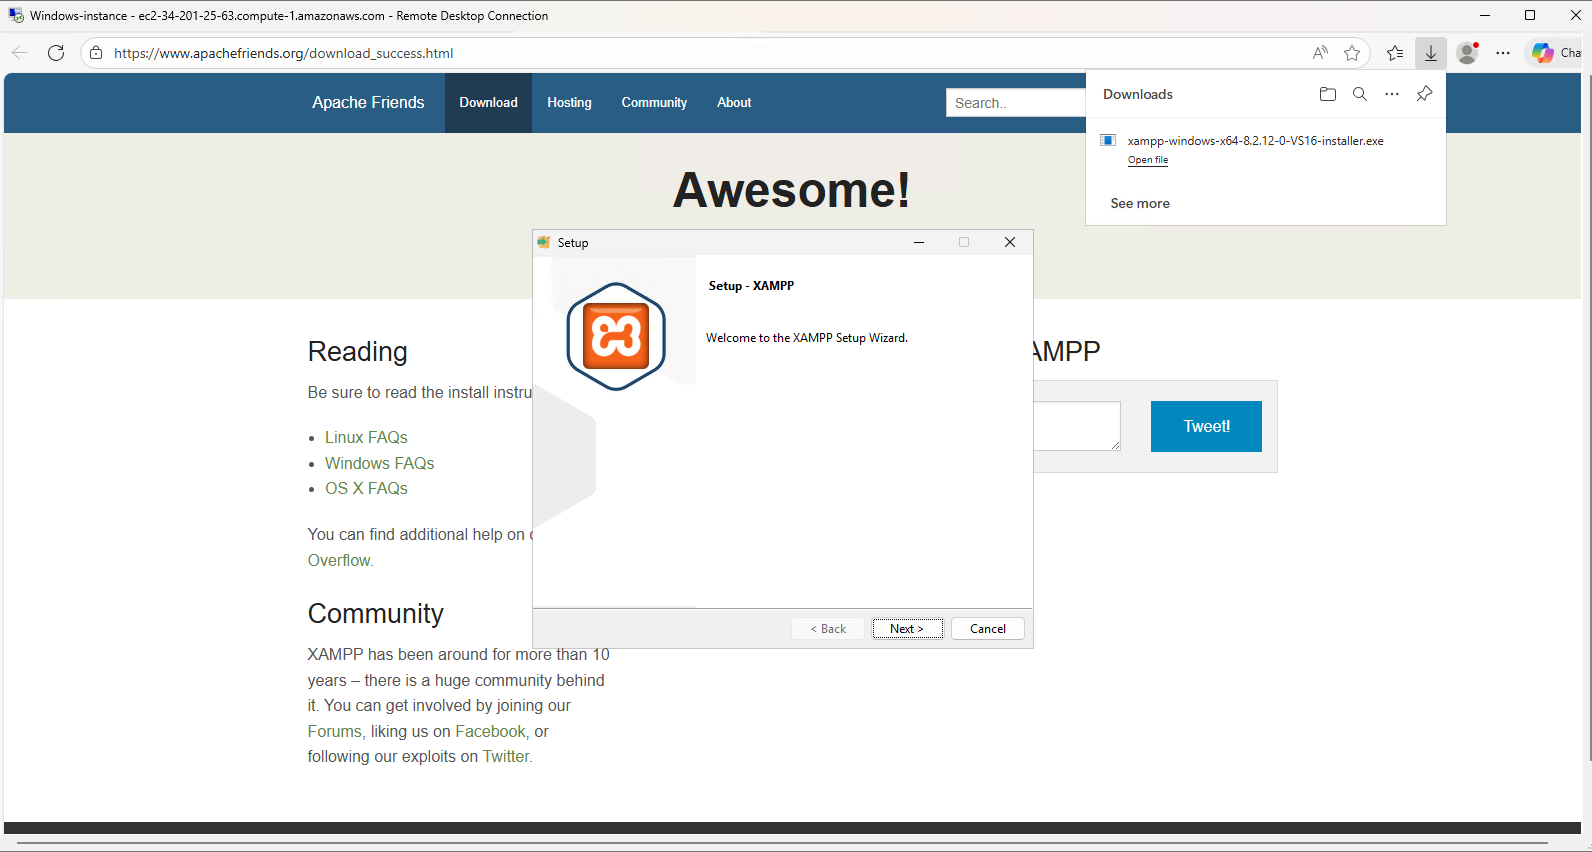
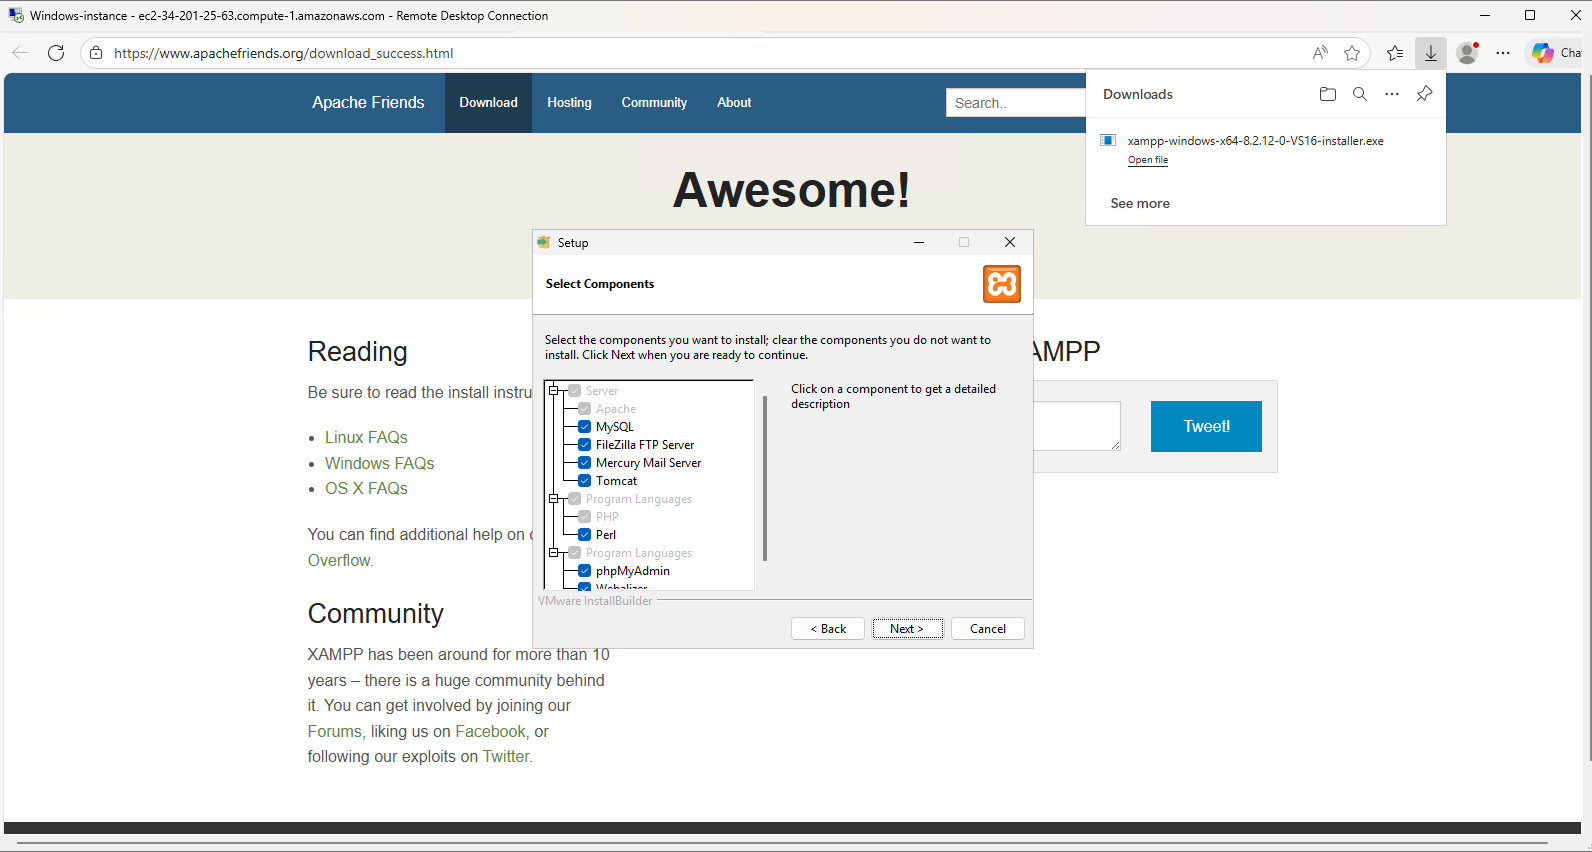
Complete the XAMPP installation wizard:
- Follow the on-screen instructions to install XAMPP
- Accept the default installation options unless you have specific requirements
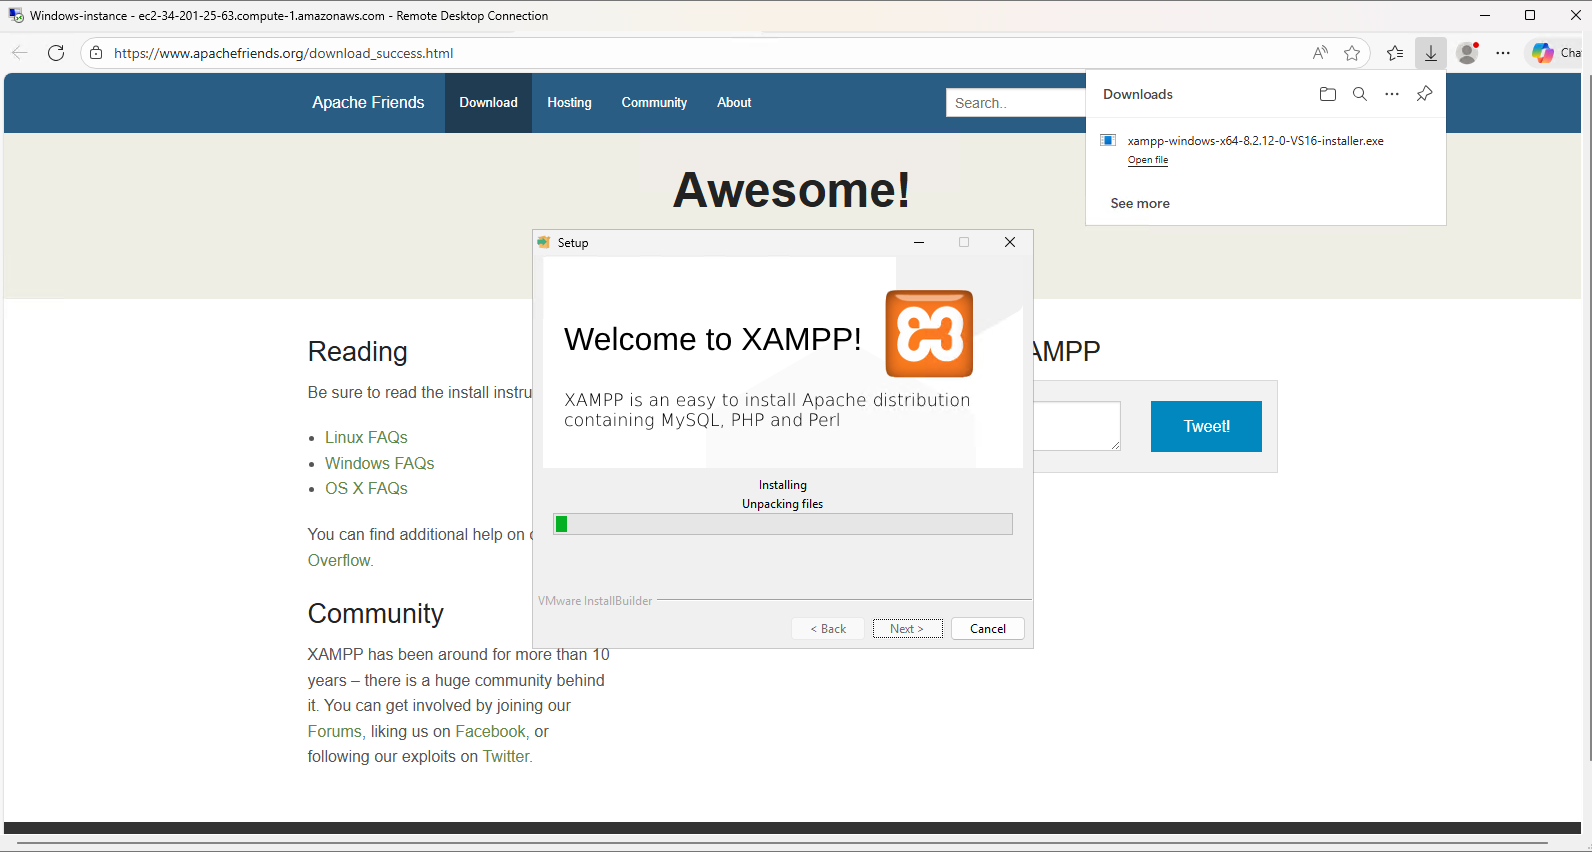
Finalize the installation:
- Click Finish to complete the setup process
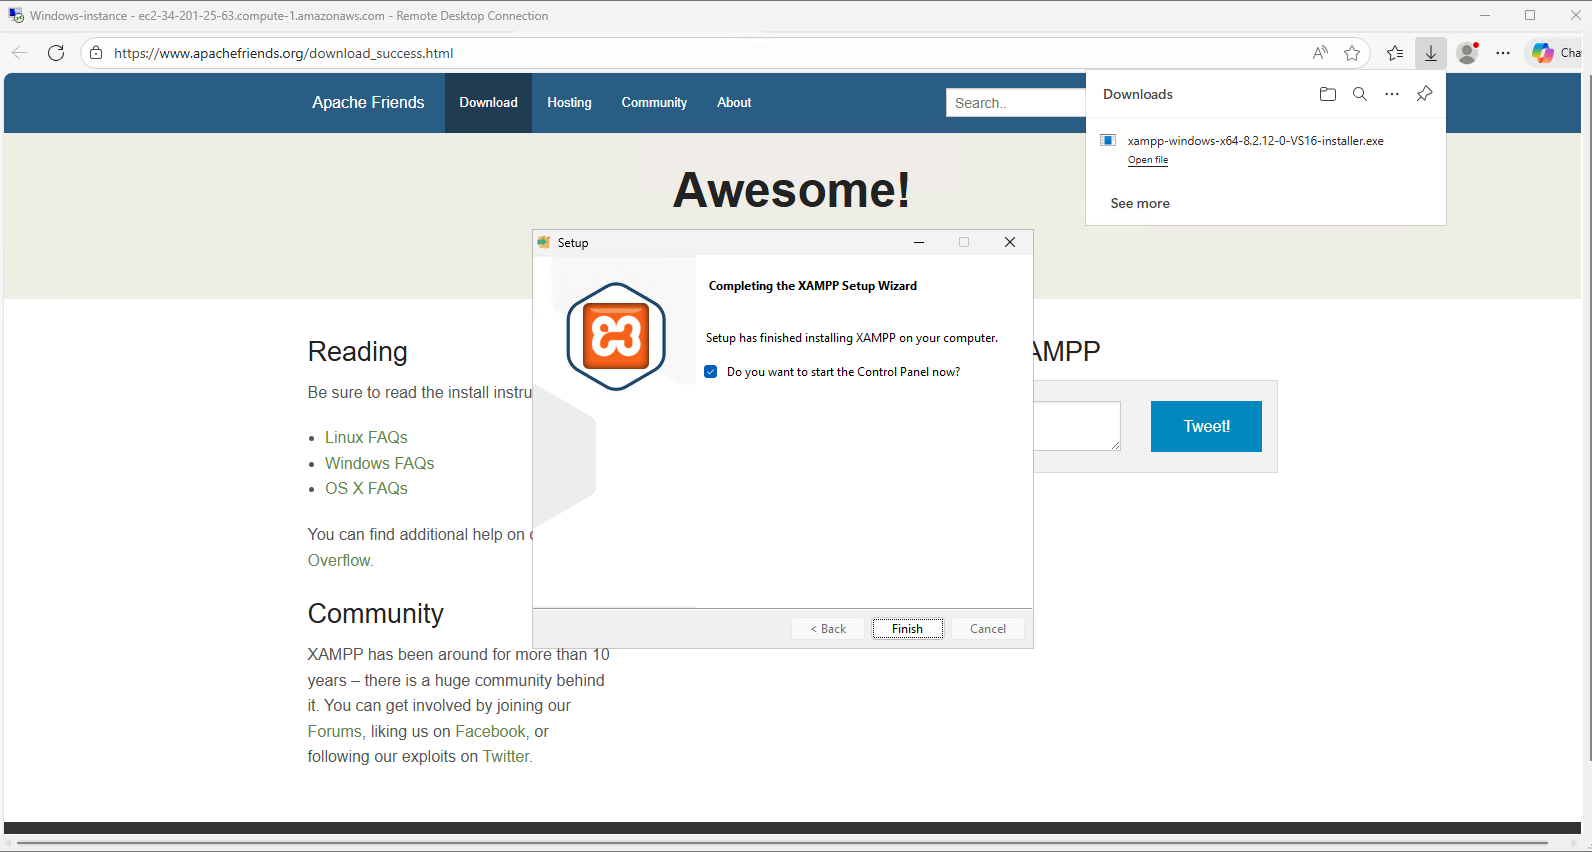
- The XAMPP Control Panel will launch automatically

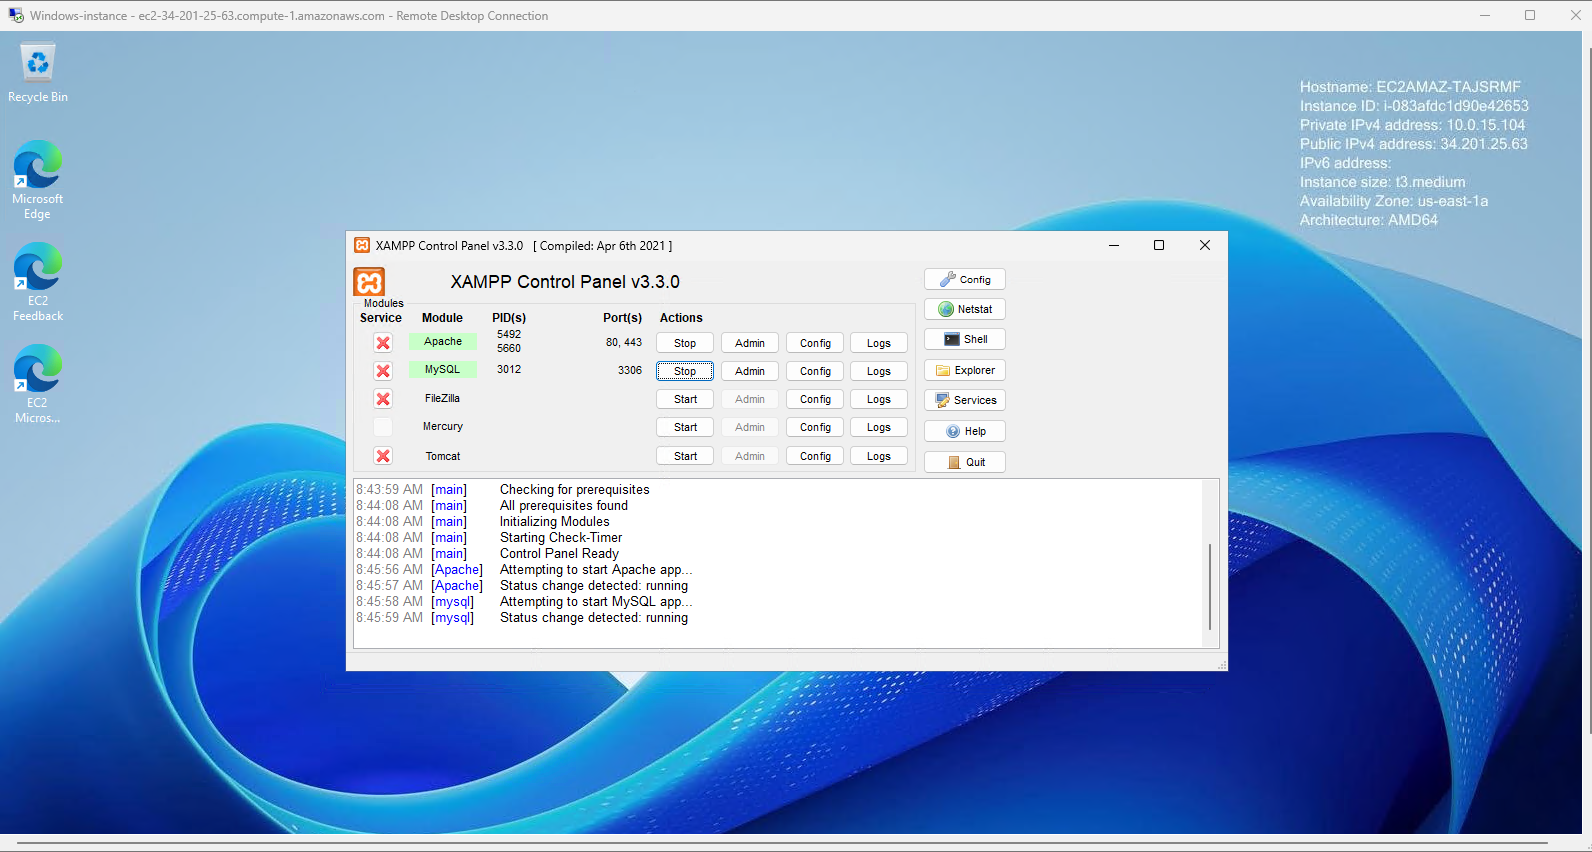
Configure XAMPP services:
- In the XAMPP Control Panel, start the following services:
- Apache web server (using port 80 or 443)
- MySQL database server (using port 3306)
- Ensure both services show a green status indicator
- In the XAMPP Control Panel, start the following services:
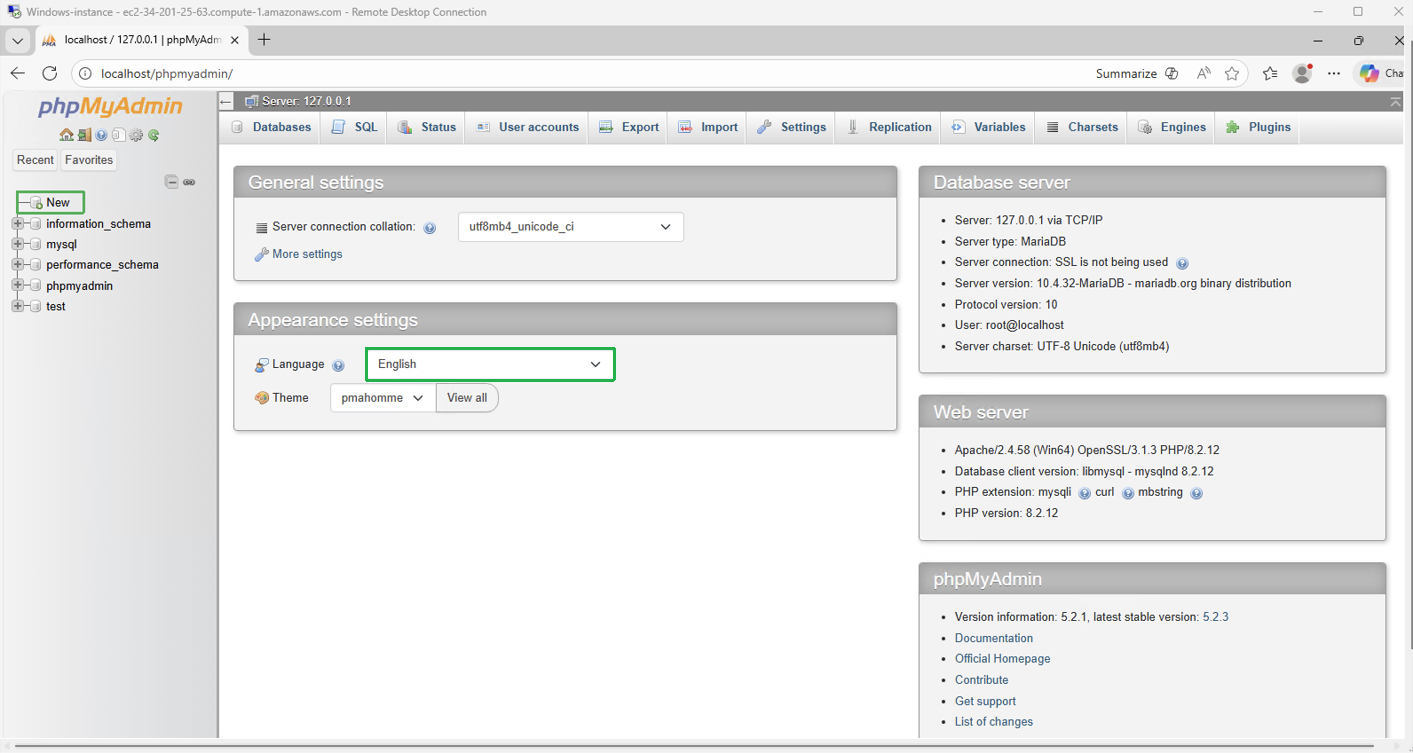
Access phpMyAdmin:
- Open your web browser and navigate to http://localhost/phpmyadmin
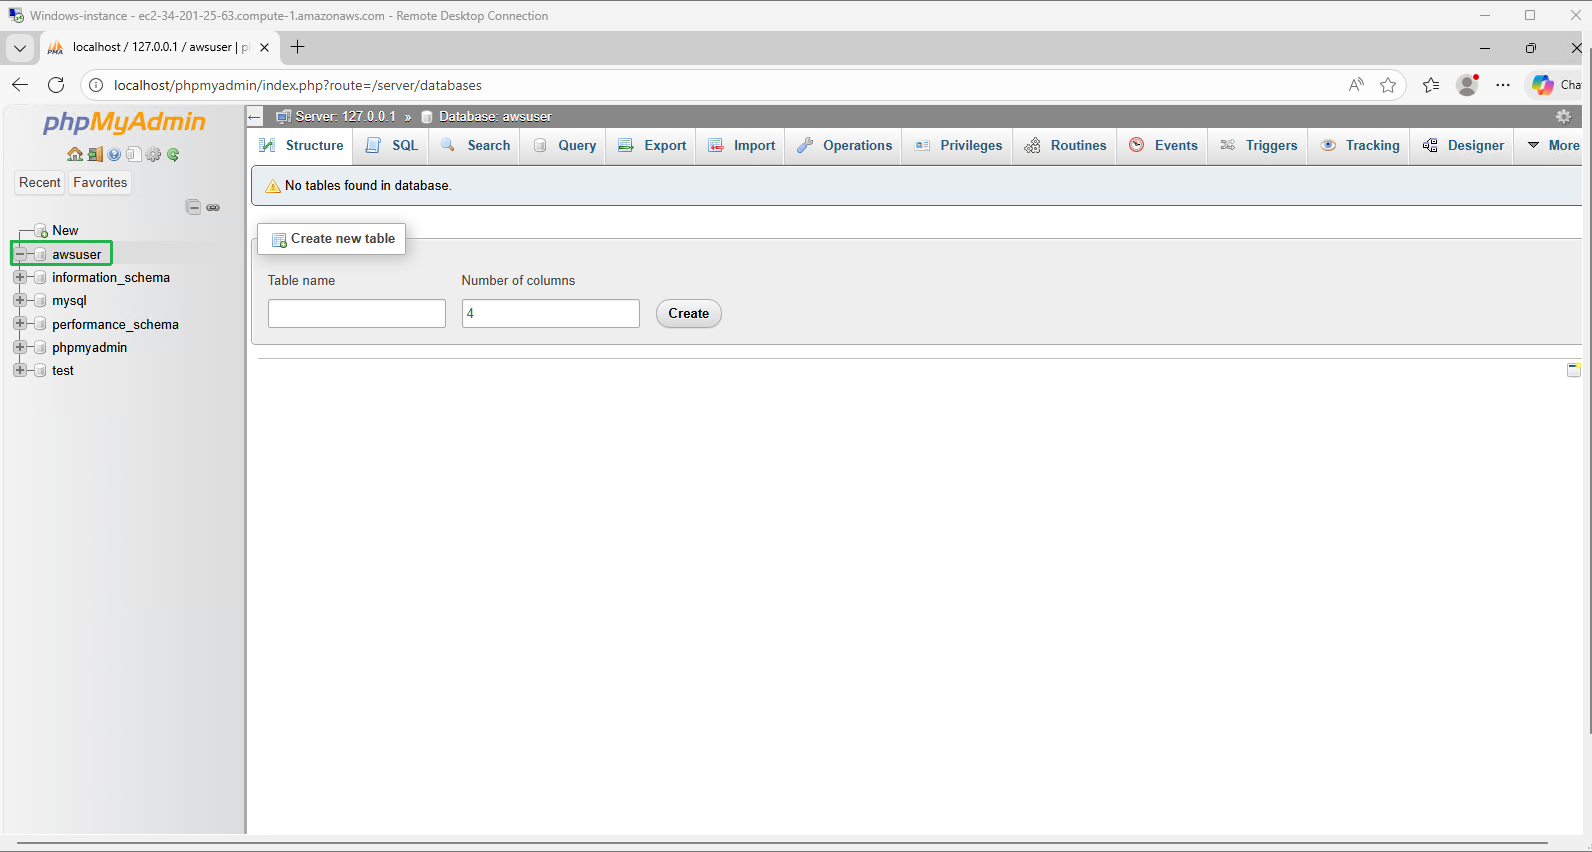
Create a new database:
(Optional) You can change the language in the Appearance Settings section.
In the phpMyAdmin interface, select New from the left navigation panel
Configure the database:
- Enter
awsuseras the database name - Click Create to generate the new database
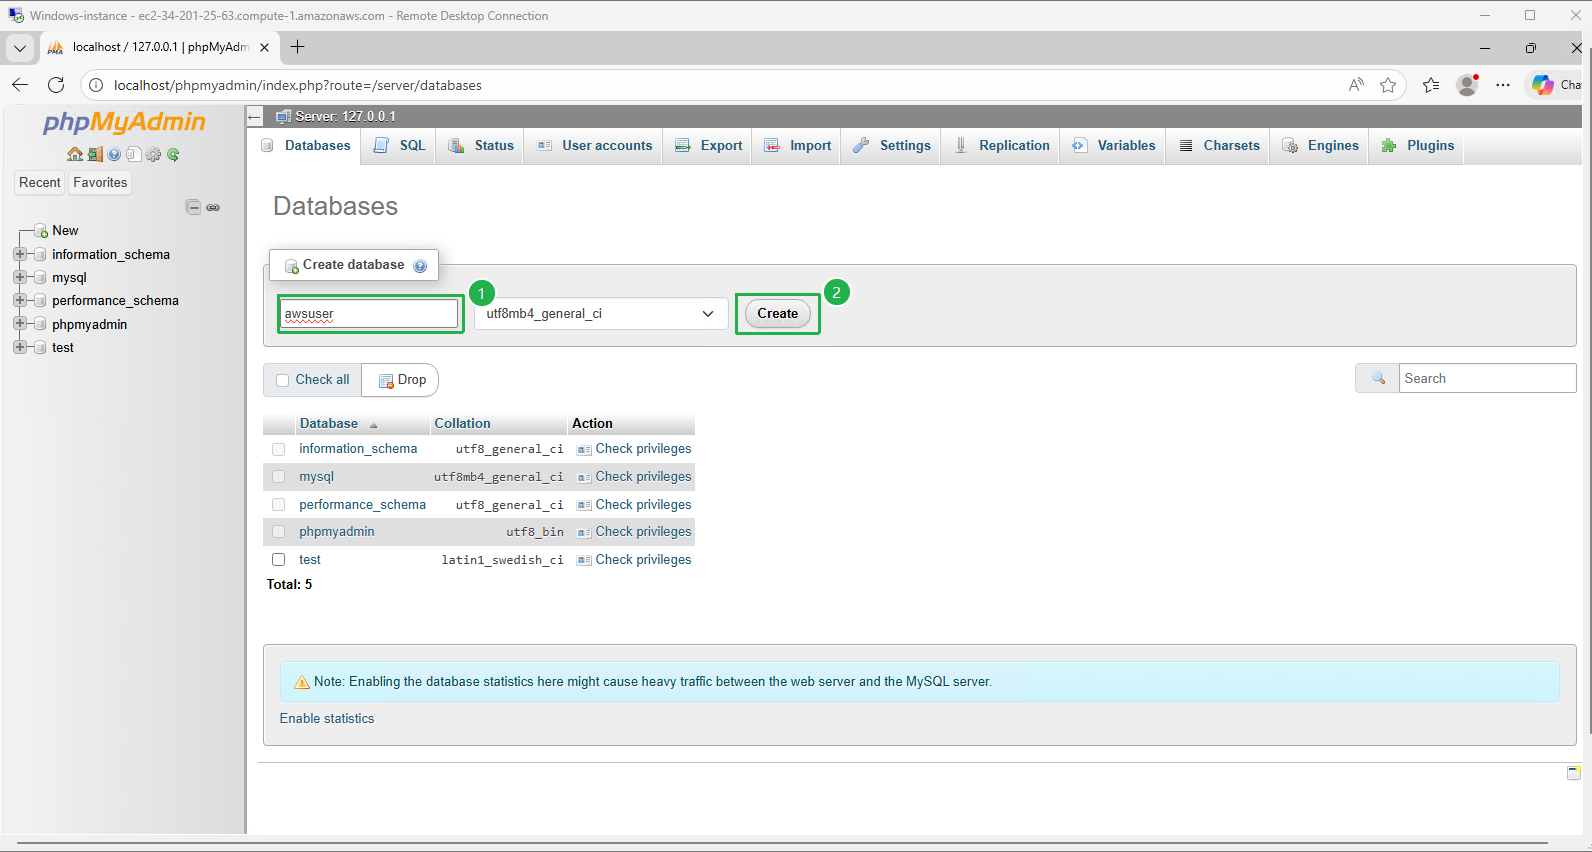
- Enter
Verify database creation:
- The new database should appear in the left navigation panel
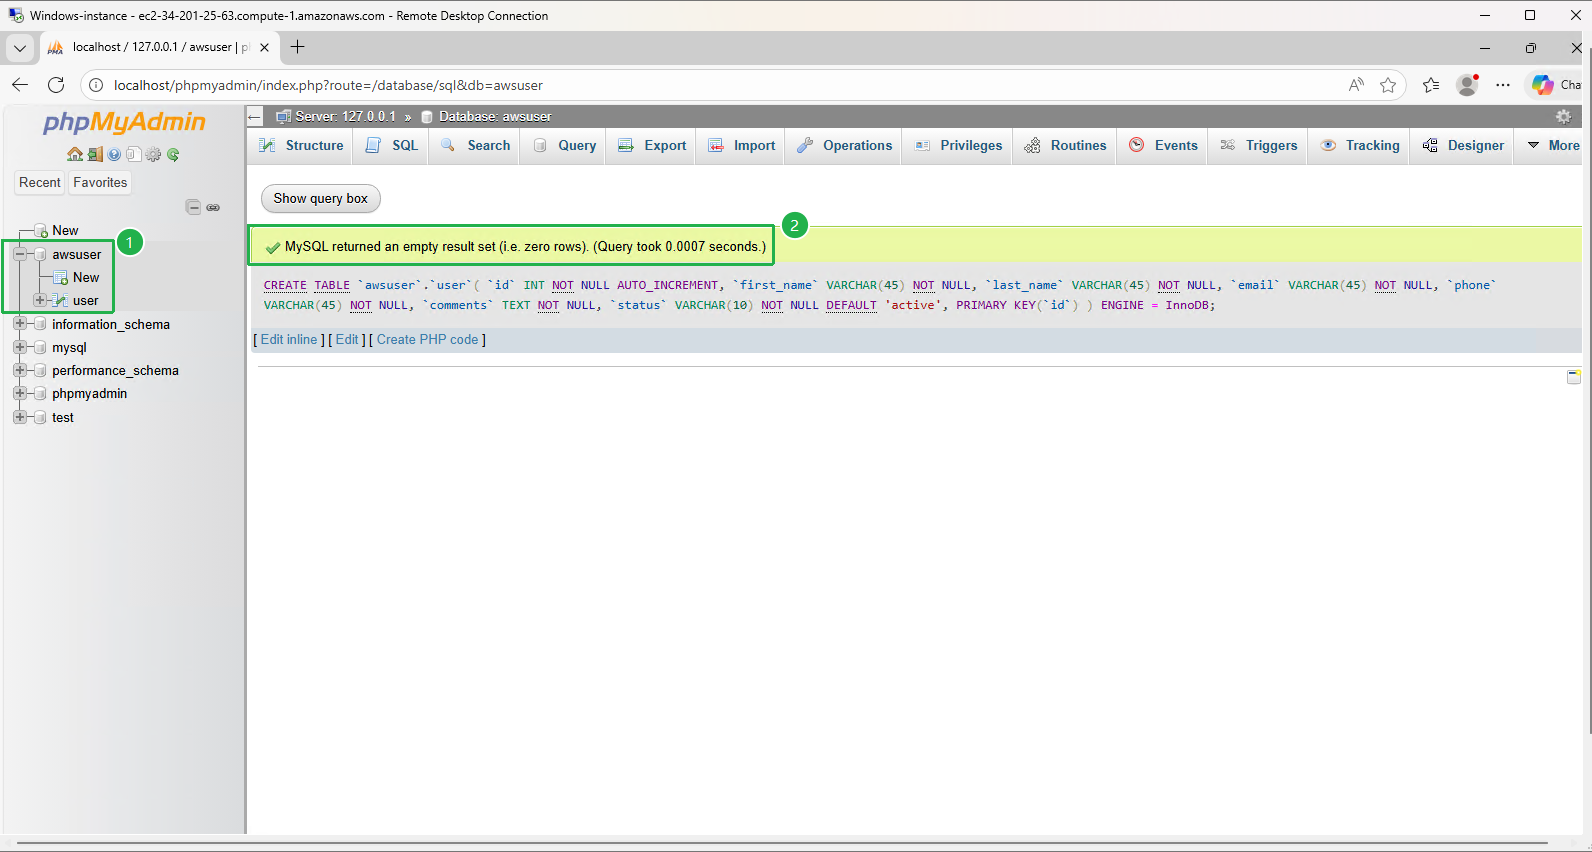
Creating the Database Schema
- Execute the SQL schema:
- Select the awsuser database from the left panel
- Click the SQL tab in the main interface
- Enter the following SQL query to create the user table:
CREATE TABLE `awsuser`.`user` ( `id` INT NOT NULL AUTO_INCREMENT , `first_name` VARCHAR(45) NOT NULL , `last_name` VARCHAR(45) NOT NULL , `email` VARCHAR(45) NOT NULL , `phone` VARCHAR(45) NOT NULL , `comments` TEXT NOT NULL , `status` VARCHAR(10) NOT NULL DEFAULT 'active' , PRIMARY KEY (`id`)) ENGINE = InnoDB;
- Click Format
- Click Go
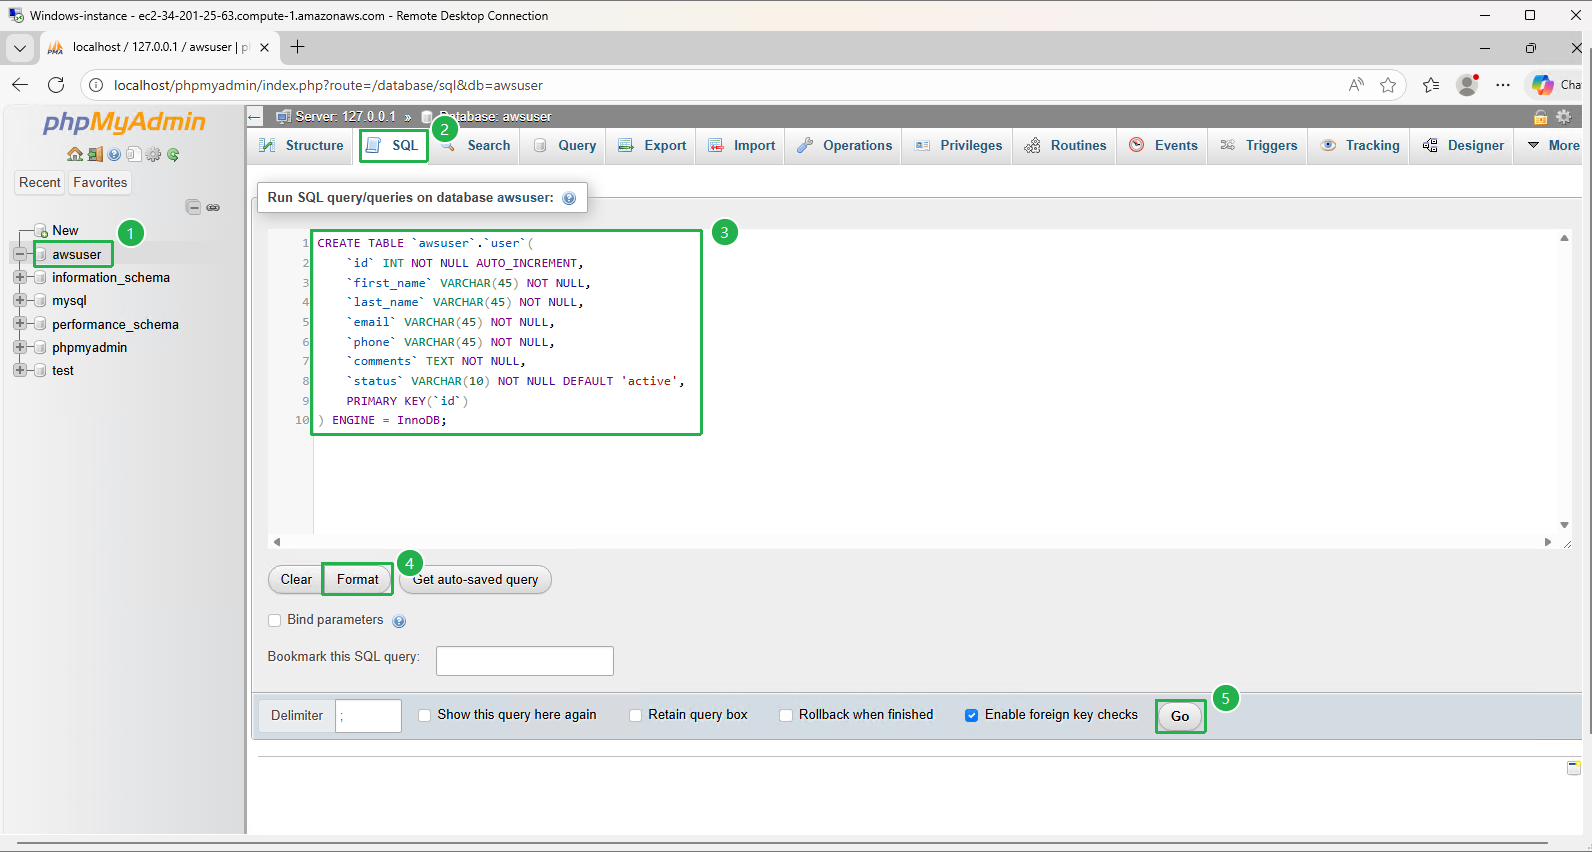
- The user table was successfully created.